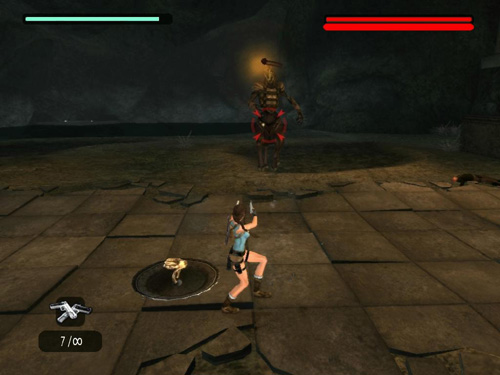
Continue using regular pistols to attack either centaur. It doesn't matter which one you target, but try to concentrate your fire on one enemy at a time. Stay close to the fallen shield as you shoot but keep moving to avoid incoming fireballs.
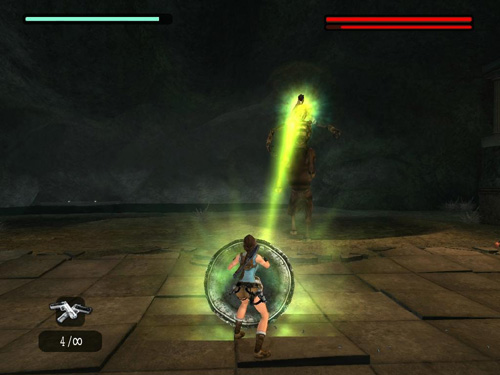
When the centaur you're attacking becomes enraged and starts to stare green rays at Lara, run to the shield and press Interact to pick it up. If necessary, press Left/Right to pivot on the spot and face the centaur. (Lara can't run with the shield, only pivot.)
When you hold up the shield, the petrification ray will be reflected back at the centaur, temporarily turning it to stone.
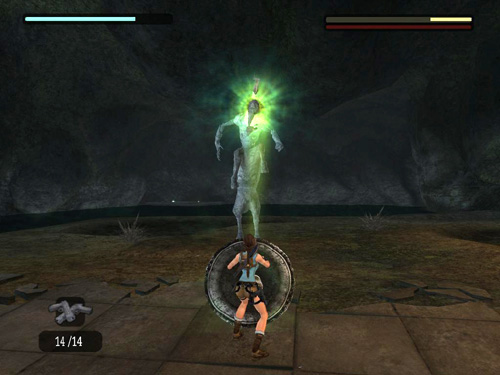
You only have a few seconds to act, so if you have ammo available, switch to more powerful weapons during the brief cut scene that shows the centaur being petrified. The first you petrify a centaur, Lara automatically drops the shield after the cut scene. So as soon as you regain control, run toward the petrified centaur shooting. Try to do as much damage as you can before it revives. Then switch back to regular pistols and start the process again. Subsequently, you need to drop the shield yourself by pressing Interact. (In these screenshots, I've already damaged the centaur with other successful attacks, so its health bar is low.)
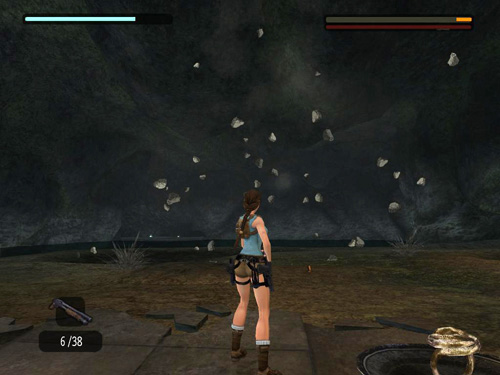
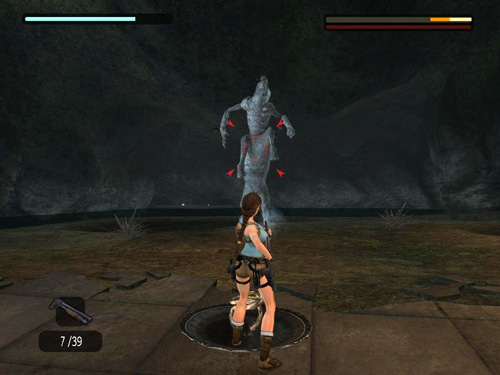
When the centaur's health bar is depleted it will shatter into tiny pieces.
[Return to the Tomb of Tihocan Walkthrough]
Copyright © 2007- Stellalune (). All rights reserved. The TRA screenshots included here were made using Fraps. Feel free to copy or print this walkthrough for personal use. By all means, share it with friends, but please include this credit line so people can send me their feedback. No part of this walkthrough may be reproduced on another site without permission. Follow this link for details about this site's advertising and privacy policy.
|