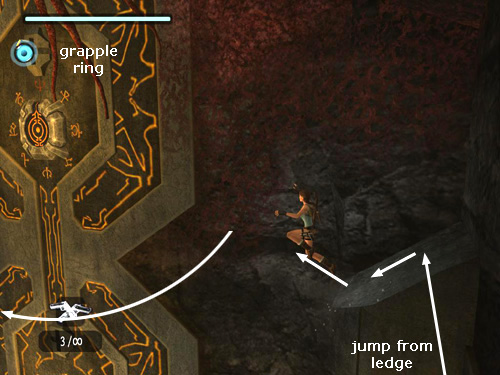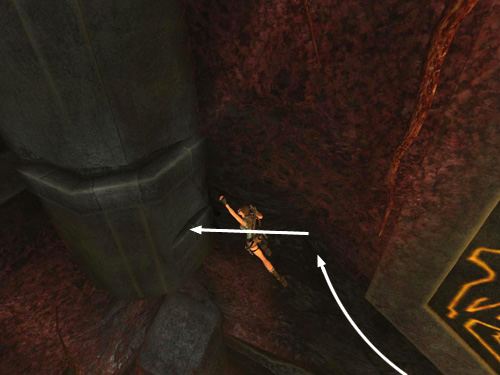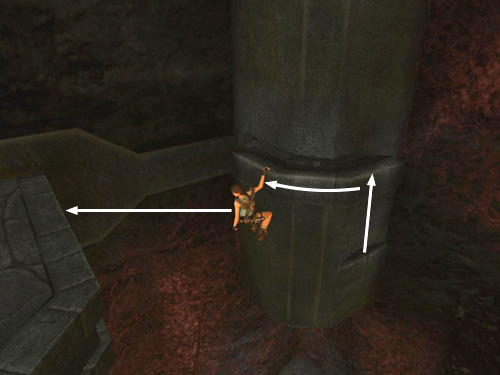
One way to reach the first ring is to take a running jump to the broken pillar in the corner, slide, jump and grapple the ring (as shown in the screenshot above), just as you did on the THIRD RETRACTING LEDGE. If you slide and jump to grapple the ring, just continue wall running to the left and jump to the broken pillar in the next corner (shown in the third screenshot, below).

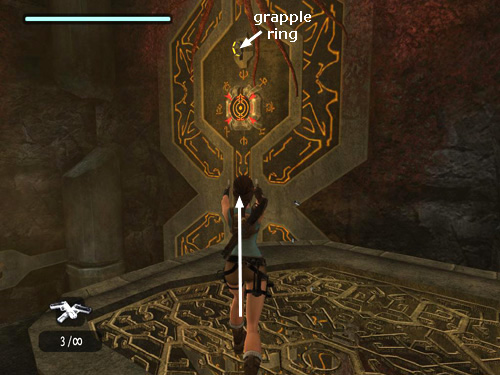
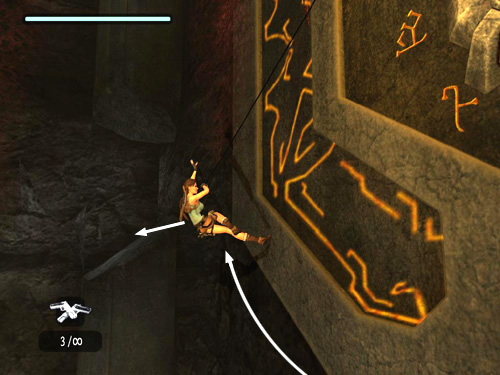
Or, take a running jump from the ledge directly at the ring, as you did on the SECOND RETRACTING LEDGE. The screenshot above shows where to jump so that Lara can reach and grapple the ring safely. Be sure to hold down the Jump key after takeoff for maximum air time before grappling. Once Lara is hanging from the ring, you should not have to adjust the cable length. Wall run to the left, right, then left again, and jump onto the broken column (as shown in the screenshot below).

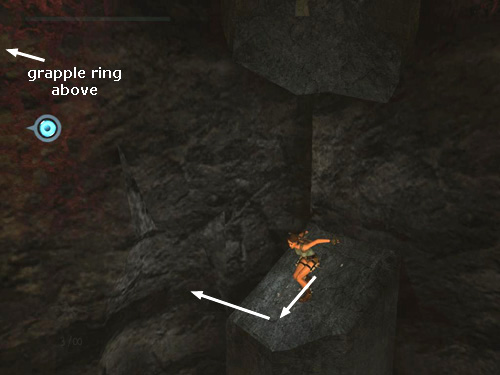
This screenshot shows the broken corner column, where Lara lands after the wall run.

Once you land on the slope beyond the first ring, slide for just a moment, jump and grapple the second ring.

Wall run to the left and jump to grab one of the handholds on the third corner column.

If Lara grabs the lower handhold, jump to the higher one. Then climb around to the left and jump back to grab the wide ledge behind you. Pull up to CHECKPOINT 8.
[Return to the Great Pyramid Walkthrough]
Copyright © 2007- Stellalune (). All rights reserved. The TRA screenshots included here were made using Fraps. Feel free to copy or print this walkthrough for personal use. By all means, share it with friends, but please include this credit line so people can send me their feedback. No part of this walkthrough may be reproduced on another site without permission. Follow this link for details about this site's advertising and privacy policy.
|
