Shipwreck Beach - Cliffside Northeast of the Survivors' Camp
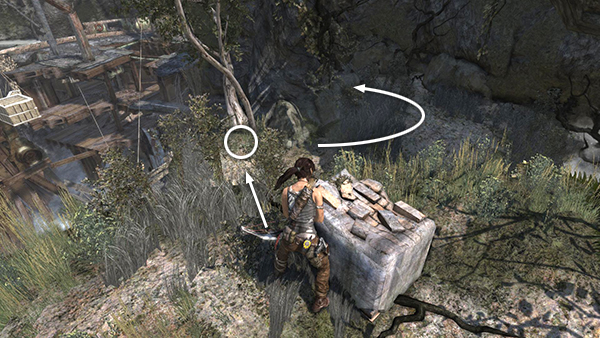
After fighting the 2 Solarii guarding the Challenge Tomb entrance, jump down from the grassy plateau at the base of the zip line to the ledge on the left. Grab the GPS cache (11/15) sitting at the base of the tree. Go around to the right behind the large rock to find a salvage crate.
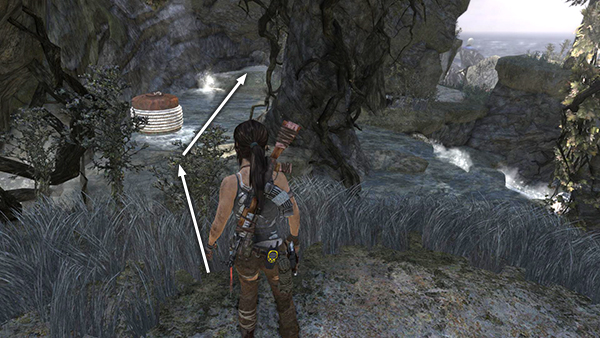
Open it and then turn around and move back up the slope and straight ahead. Cross the stream near the orange rope-wrapped float. (Ignore it. If you got the 8th GPS cache down on the beach, you won't need the float at all. If you missed that pickup, you'll use the float to get it later, when you return to this area after visiting the Endurance.)
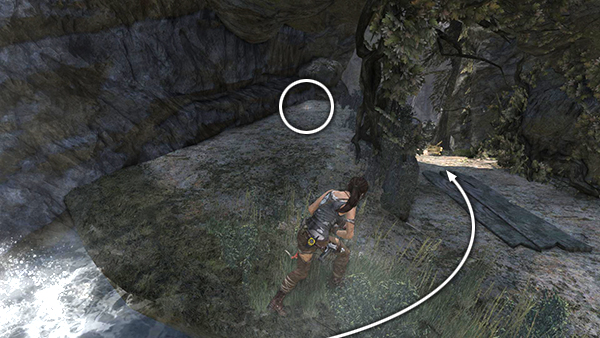
As you approach the opposite bank of the stream, Lara draws her weapon indicating enemies are nearby. Notice the GPS cache (12/15) on the grassy ledge on the left but wait to pick it up. First, move down the path on the right...
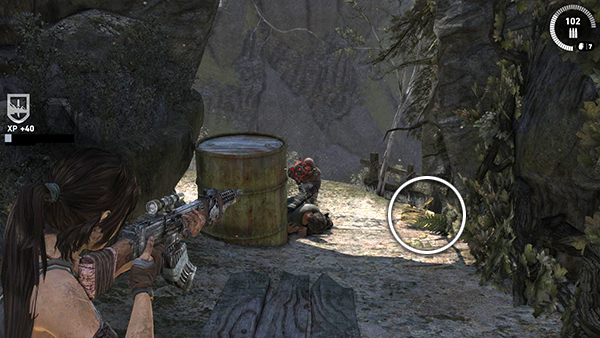
...and take out 2 approaching soldiers, one with a rifle and one with a shotgun. When the coast is clear, get the GPS cache, loot the bodies and open the salvage crate near where the enemies fell.
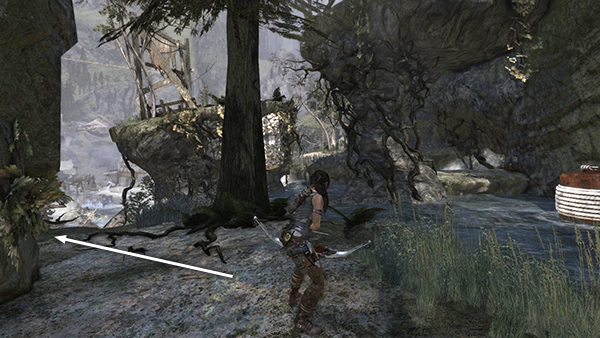
Then go back up the path to the stream. Follow the path around to the left...
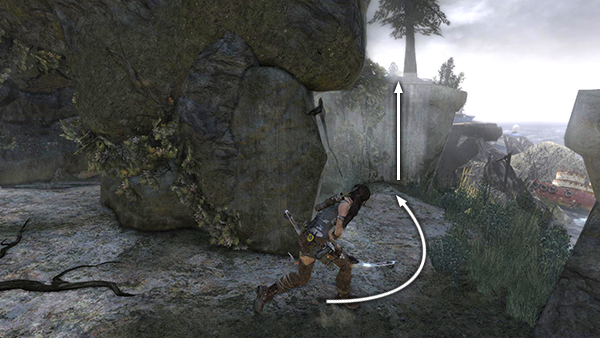
...and climb onto the ledge...
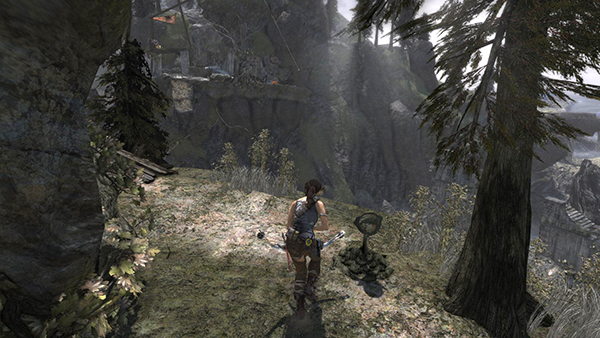
...to find the final cairn (5/5) for the Cairn Raider Challenge. If you've found and dismantled all of them, you'll get a 150 XP bonus.
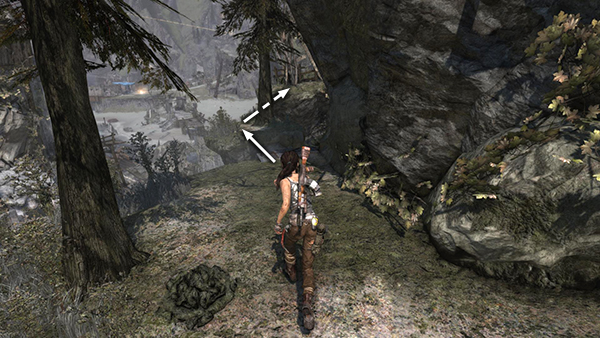
Now return to the Challenge Tomb entrance. You can either go back along the ledge the way you came, jump to the little plateau ahead...
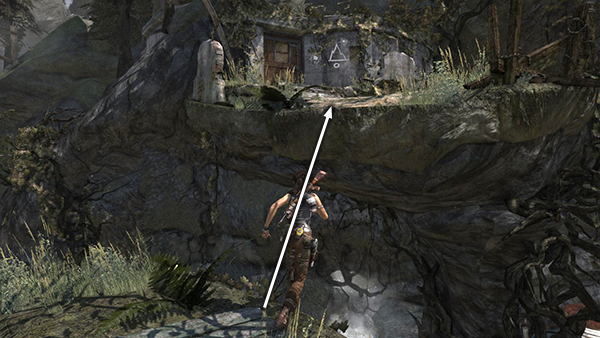
...and from there to the one below the ledge with the tomb.
- OR -
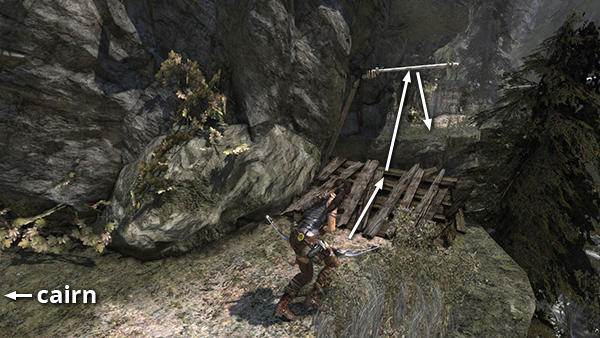
From the 5th cairn, continue around to the left. Use the horizontal pole to cross the gap.
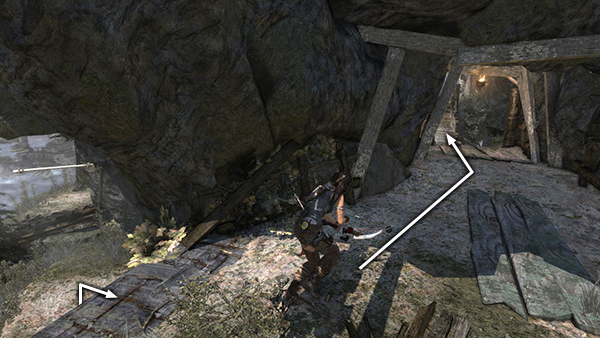
Then climb onto the ledge ahead, turn left, and follow the wooden bridge back to the tomb.
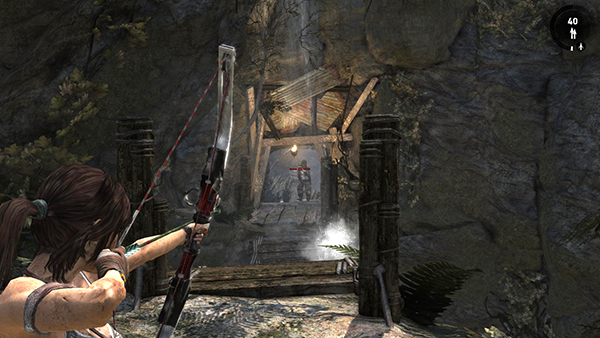
Whichever way you approach it, when Lara reaches the end of the wooden bridge near the tomb entrance, another enemy appears at the other end of the bridge. Deal with him.
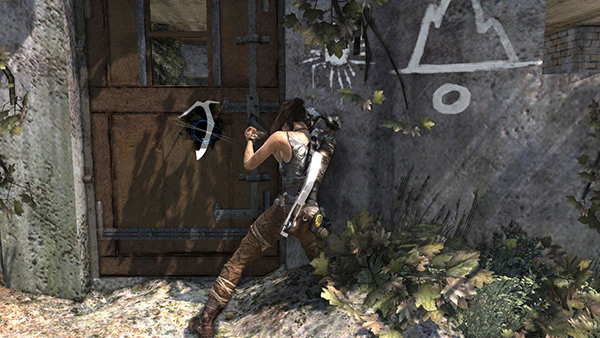
Then pry open the metal door and enter the bunker.
[Return to the Shipwreck Beach Walkthrough]
Copyright © 2013- - Stellalune (). All rights reserved. The screenshots and videos included here were made using Fraps. Feel free to copy or print this walkthrough for personal use. By all means, share it with friends, but please include this credit line so people can send me their feedback. No part of this walkthrough may be reproduced on another site without permission. Follow this link for details about this site's advertising and privacy policy.