Shipwreck Beach - Multi-Level Shipwreck
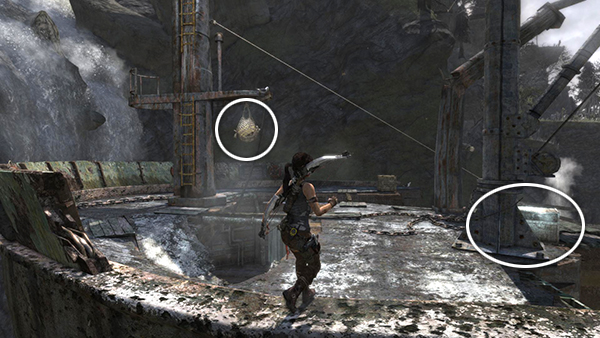
On the ship's upper deck, shoot the salvage net with a fire arrow. (You'll drop down later to get the crate that falls out.) Go around the mast on the right and pry open the salvage trunk.
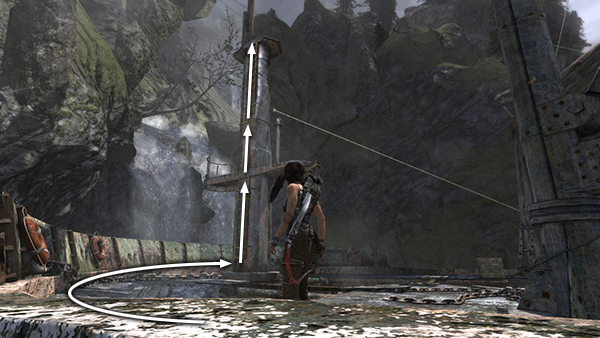
Then move around to the other mast and climb the yellow ladder. At the top of the ladder double-jump straight up to scramble up the mast and grab the next section of ladder.
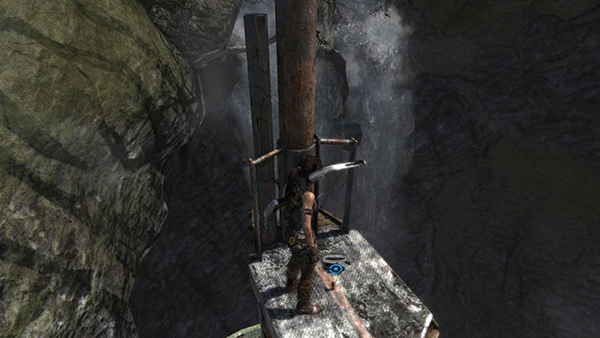
Continue climbing to the top to find another GPS cache (7/15).
NOTE: It's possible to drop from this high platform, grab onto the zip line below, and then slide down to the beach, but if you do this now you'll miss the next few pick ups. If you want everything, be sure to climb back down the ladder to the deck and continue exploring the wreck. Later, if you want to get back to the wrecked ship, just stand near the anchor post on the beach and fire a rope arrow into the rope-wrapped beam inside the wreck. (screenshot) Use the line to climb up and slide back down again when you're ready.
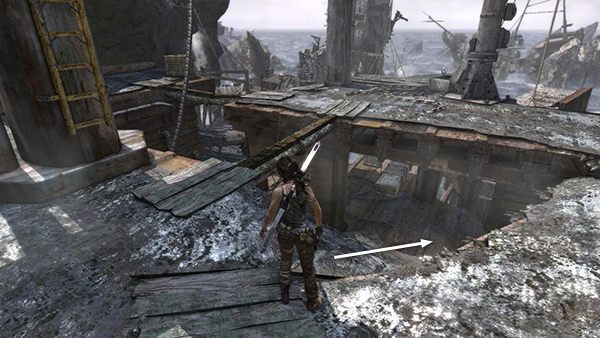
From the deck with the salvage trunk, either drop down to the level below or use the ramp near the base of the yellow ladder to descend.
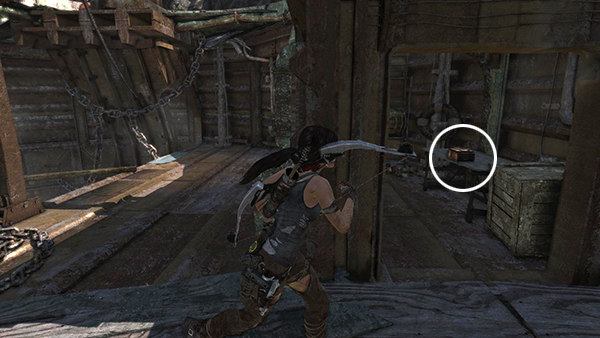
In the little room to the southeast there's a relic (2/6), a Stuffed Bunny from the Family Outing set. Examine it closely for additional info and XP.
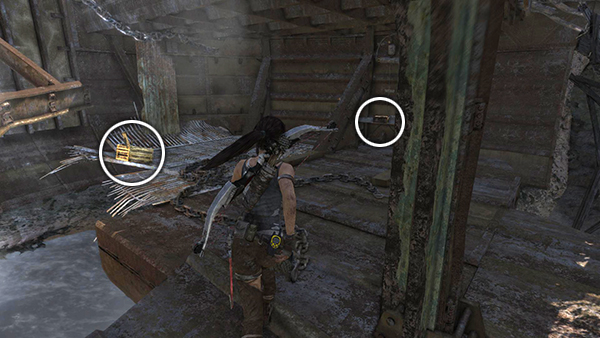
Carefully drop down to the level below to find the salvage crate you freed from the net above, plus another relic (3/6), a Stained Jade Headrest from the Yuan Dynasty Jade set.
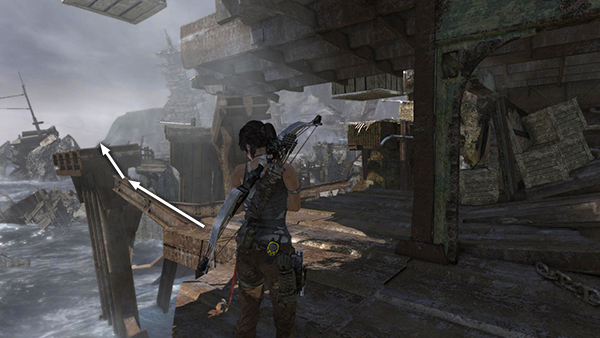
Now climb back to the upper deck. There are several possible ways to get there. Here's one: From the table where you found the relic, turn around and walk out ontot he girder shown in the screenshot above. Jump from the end of the girder to the platform ahead.
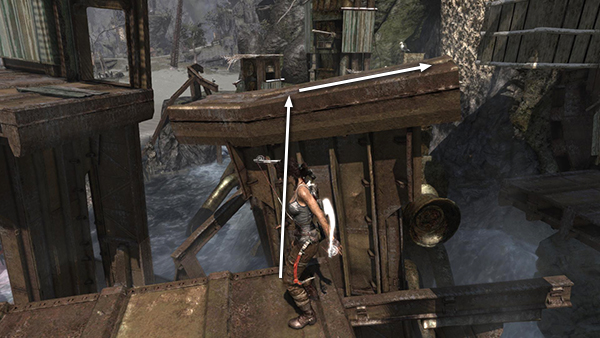
Turn right and jump to grab the metal beam. Pull up, turn right and walk to the end.
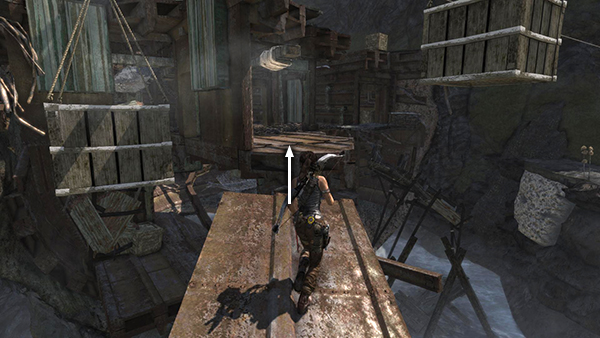
Take a running jump across the gap over to the second highest level of the ship.
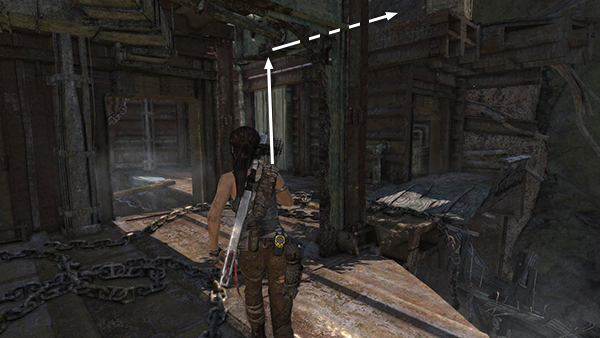
Scramble up the painted wall onto the top deck and head to the right.
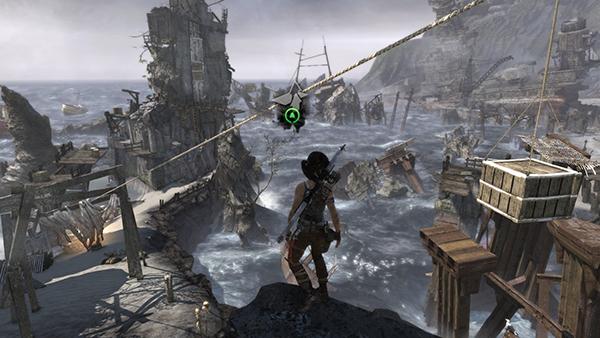
Move out to the edge beyond the small, wooden crate and use the zip line to slide down to the beach.
[Return to the Shipwreck Beach Walkthrough]
Copyright © 2013- - Stellalune (). All rights reserved. The screenshots and videos included here were made using Fraps. Feel free to copy or print this walkthrough for personal use. By all means, share it with friends, but please include this credit line so people can send me their feedback. No part of this walkthrough may be reproduced on another site without permission. Follow this link for details about this site's advertising and privacy policy.