Shantytown - Battle on the Towers - Part 2
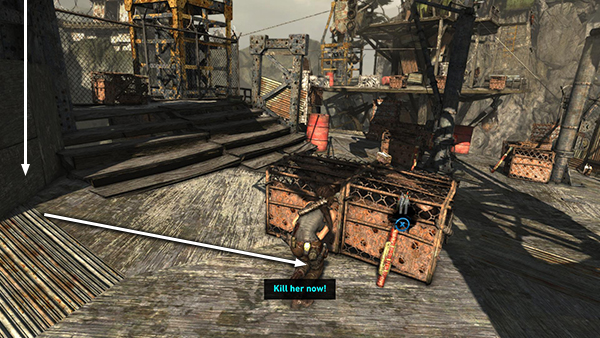
As soon as you drop down, immediately take cover as more enemies emerge. If you need ammo during the upcoming fight, there are 5 bundles of arrows, 2 boxes of shotgun shells and 4 boxes of rifle/SMG ammo scattered around this area.
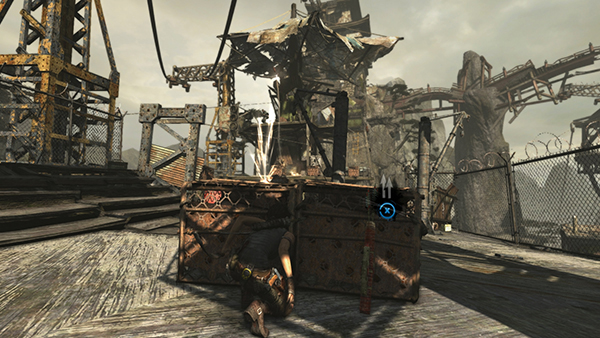
As far as tactics go, it's basically the same scenario as the last big fight. The Solarii on the other tower shoot at you with rifles and throw explosives. Shoot back with your long-range weapons, the bow and rifle, and release aim to make better use of cover when the hail of bullets gets too intense (as shown above).
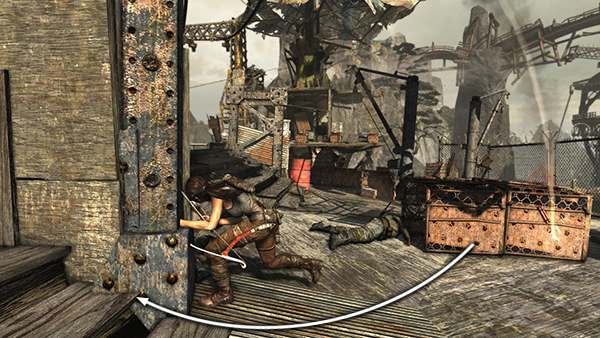
Change position and take cover when you see incoming dynamite or Molotov cocktails.
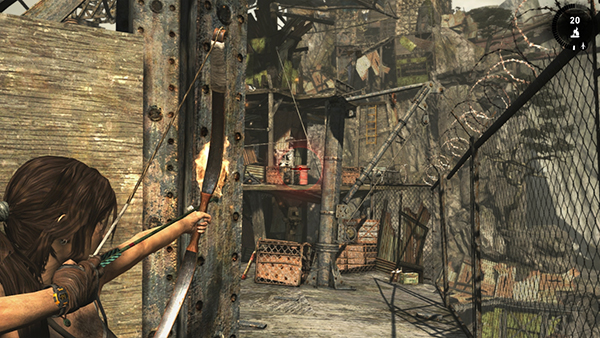
Try and shoot the demolitions men as they're about to throw, making them fumble their dynamite and blow themselves up. Also, aim for the fuel barrels to blow up any nearby enemies. Here Lara hits a barrel near a demo man.
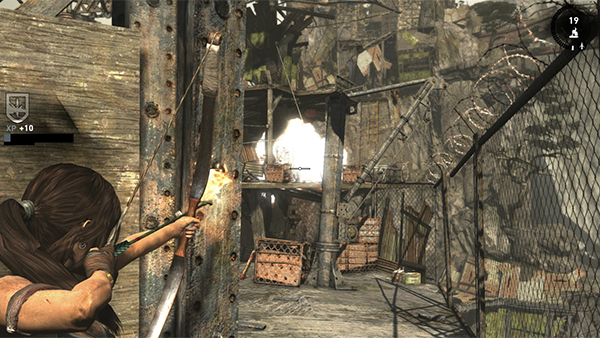
The barrel explodes...
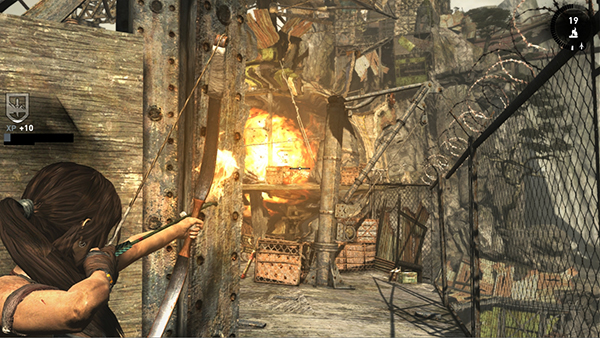
...followed by the dynamite. Bonus!
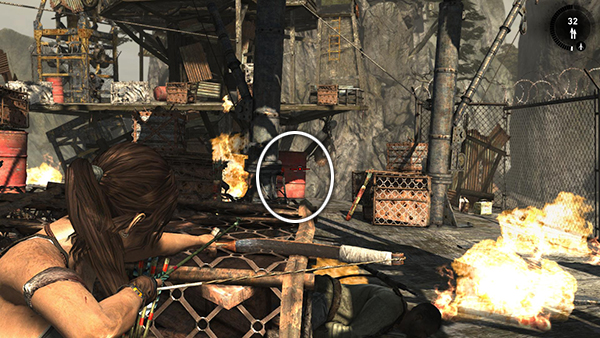
Keep in mind that the enemies can do this too, so don't linger near the hazards on your side. If you want to move up to the metal crates at the front edge of the platform, destroy the fuel barrels there first.
[Part 1 | Part 3 | Return to the Shantytown Walkthrough]
Copyright © 2013- - Stellalune (). All rights reserved. The screenshots and videos included here were made using Fraps. Feel free to copy or print this walkthrough for personal use. By all means, share it with friends, but please include this credit line so people can send me their feedback. No part of this walkthrough may be reproduced on another site without permission. Follow this link for details about this site's advertising and privacy policy.