Research Base - Hallways Beyond the Elevator/Lift Shaft - Part 1
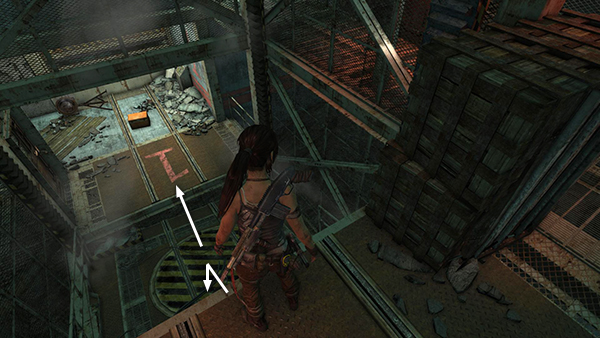
After sending the elevator crashing down its shaft, descend to LEVEL 1 and move forward onto the big number "1" painted on the floor.
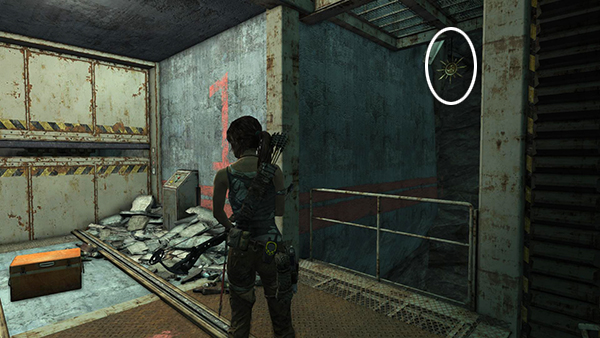
Turn right to spot the next totem (4/5) for the Sun Killer Challenge. It's beyond the railing, hanging from the underside of the walkway above. Shoot it. Then raid the food cache.
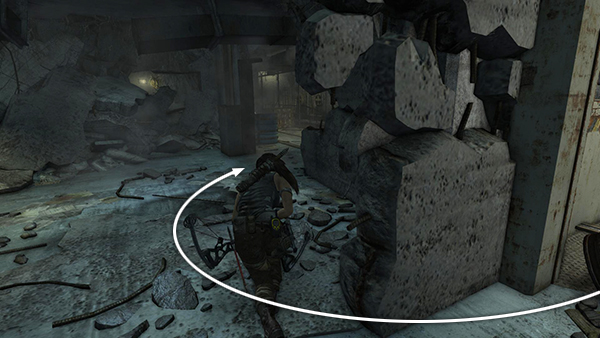
Continue around to the left. As you move past the big, metal doors, Lara hears 2 enemies in the next hallway.
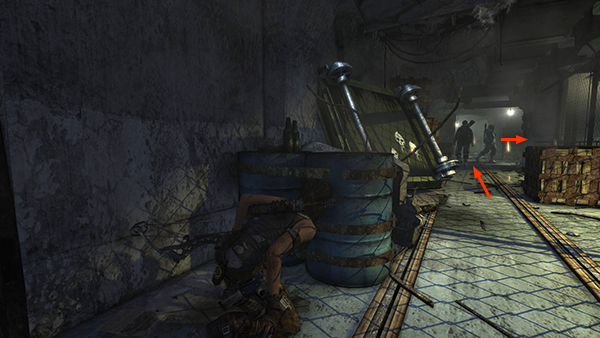
Sneak forward to the blue barrels on the left side of the hallway with the metal tracks in the floor. From here you can watch the men as they complain about various facets of island life. When one of them moves down the hallway to the right, wait for the other to turn his back and then kill him using a silent headshot. When the other guy comes to investigate, take him out with your weapon of choice.
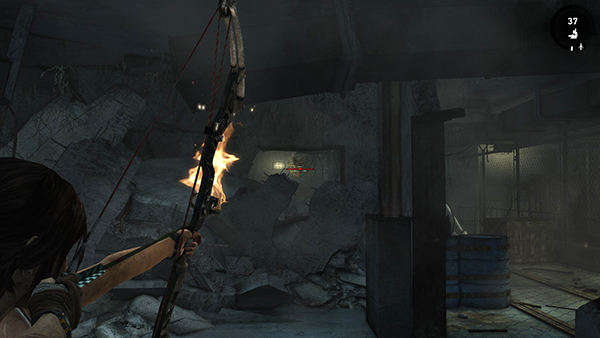
Move back into the previous room for a moment. Notice the partially blocked window to the left of the doorway near the blue barrels. In the room beyond the window is a salvage net. Use a fire arrow to shoot it through the opening. You'll actually retrieve the salvage in a minute.
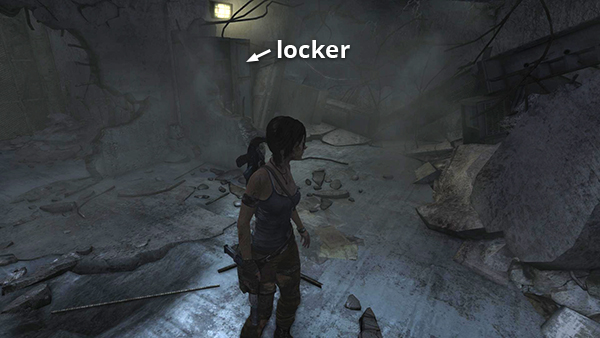
First, pry open the salvage locker in this room. It's behind Lara and to her left if she's facing the window.
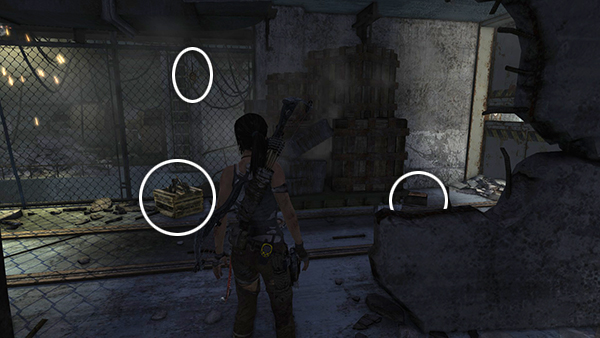
Step back into the hallway with the tracks on the floor. Crack open another salvage crate, which is sitting on the floor across from the blue barrels. Shoot the totem (5/5) on the other side of the chain-link fence. If you've destroyed the others as well, this completes the Sun Killer Challenge and earns you 150 XP. Then go around to the right side of the stacked boxes to find another relic (2/2), a Ceremonial Helmet.
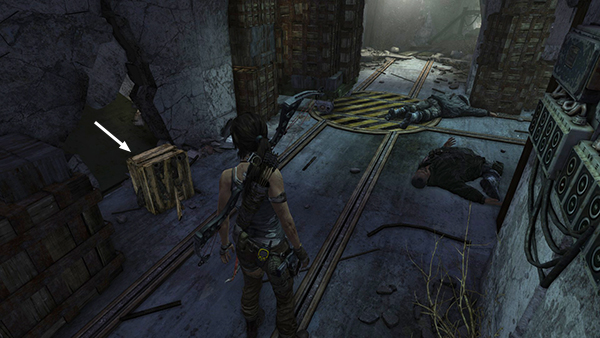
Continue along the hallway to where the last 2 enemies fell. Loot the bodies and crack open the salvage crate from the net you just burned. It should be lying on the floor where it fell out through a hole in the wall.
[Part 2 | Return to the Research Base Walkthrough]
Copyright © 2013- - Stellalune (). All rights reserved. The screenshots and videos included here were made using Fraps. Feel free to copy or print this walkthrough for personal use. By all means, share it with friends, but please include this credit line so people can send me their feedback. No part of this walkthrough may be reproduced on another site without permission. Follow this link for details about this site's advertising and privacy policy.