Research Base - Elevator/Lift Shaft Puzzle - Part 2
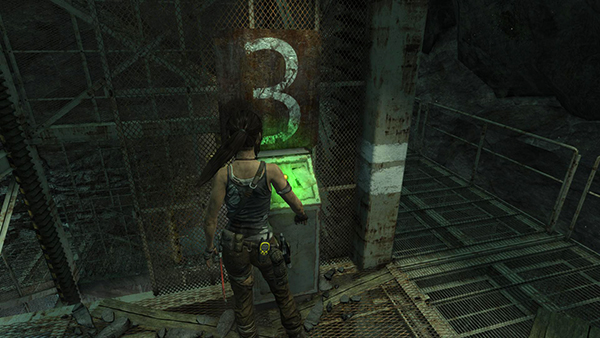
Use the console on LEVEL 3 to call the elevator.
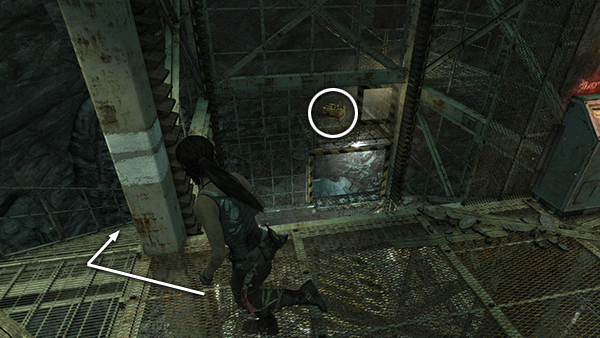
As it rises, notice the salvage crate behind the fence at the back of the elevator shaft. This is where you're headed next, but you need to go around behind to get there. So go back down the stairs to the landing below.
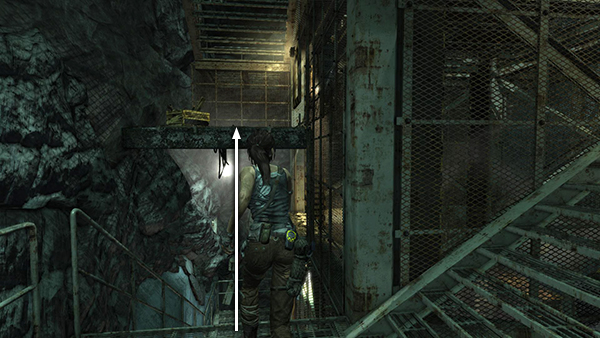
Jump from there to grab the ledge with the salvage crate. Pull up and crack it open.
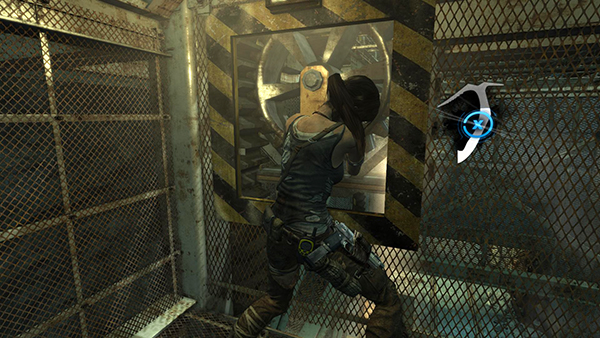
Then use your axe to pry off the second gear, which is accessible through the square hole in the fence surrounding the elevator shaft.
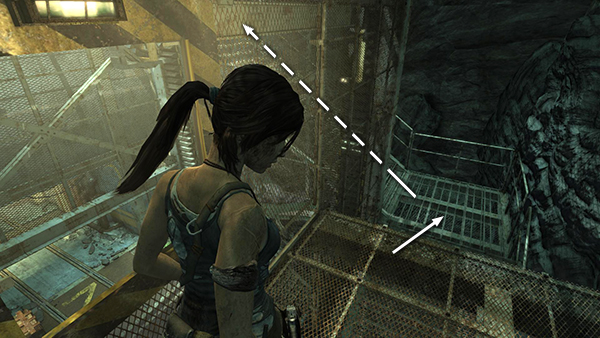
Drop back down and return upstairs to LEVEL 3.
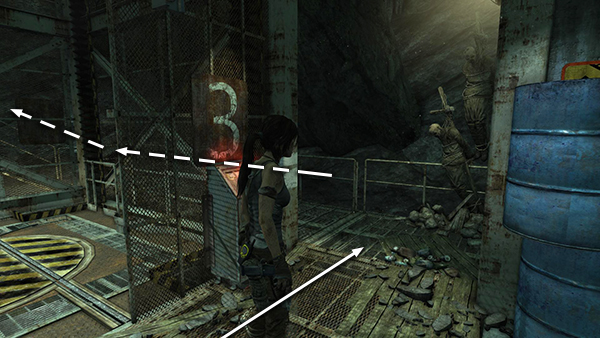
Go past the elevator and around to the left.
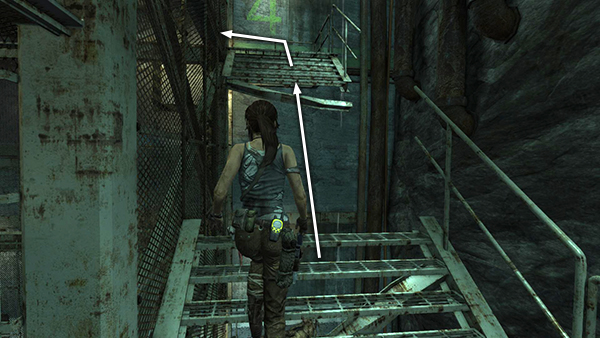
Continue all the way up to LEVEL 4, jumping across the gap in the stairs on the top flight.
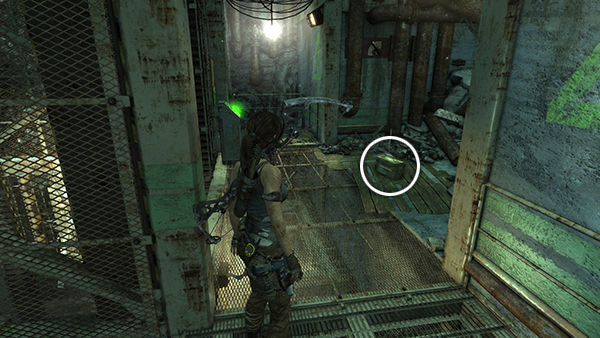
Grab the shotgun shells on the landing if you need them.
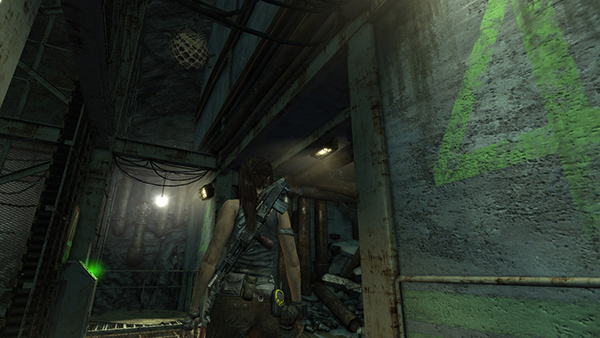
Then look up above the console to spot another salvage net.
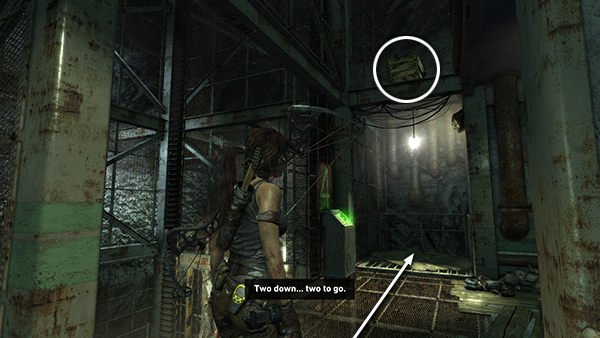
When you burn it with a fire arrow, the crate falls onto the beam below. To get it down, move underneath the beam...
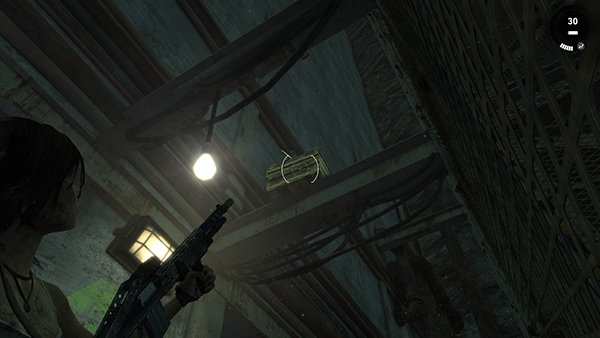
...and turn around to face the console. Shoot the crate with the shotgun to knock it to the floor so you can open the crate.
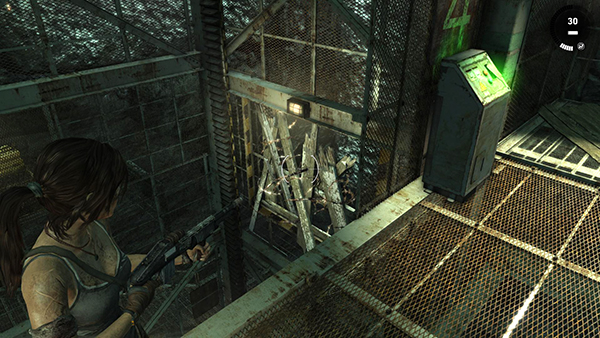
Then use the shogtun once more to shoot out the plank-and-barbed-wire barrier inside the elevator shaft. Notice the climbing wall beyond the opening you just made. That's where you're headed next.
[Part 1 | Part 3 | Return to the Research Base Walkthrough]
Copyright © 2013- - Stellalune (). All rights reserved. The screenshots and videos included here were made using Fraps. Feel free to copy or print this walkthrough for personal use. By all means, share it with friends, but please include this credit line so people can send me their feedback. No part of this walkthrough may be reproduced on another site without permission. Follow this link for details about this site's advertising and privacy policy.