Geothermal Caverns - Guarded Tunnel with Base Camp - Part 2
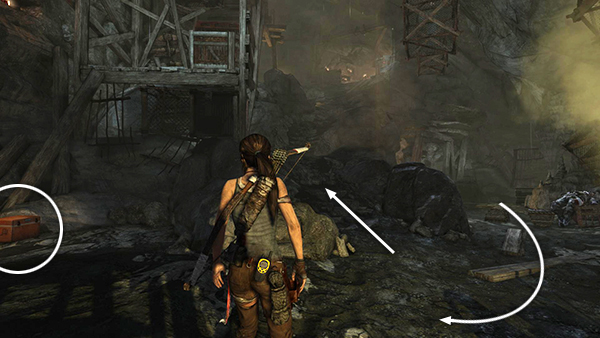
Approach the gate near the broken spotlight. Then turn around to look back down the tunnel the way you came. Crack open the food cache on the left. Then head up the stone steps in the middle of the tunnel. At the top you'll find the Catacombs Base Camp, but before going all the way up...
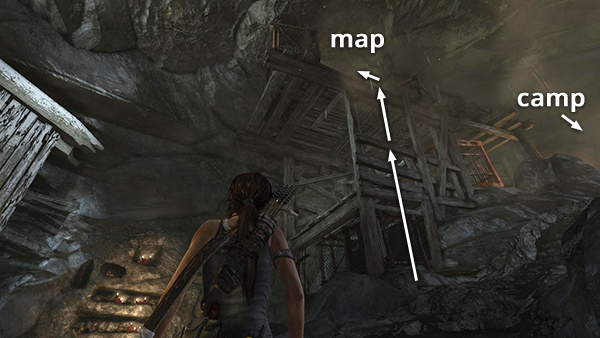
...stand facing the wooden structure with the metal cage set into it. Grab onto the wooden slats and climb up as far as you can. Jump straight up to clear the gap in the ladder and grab the edge of the platform. Then pull up.
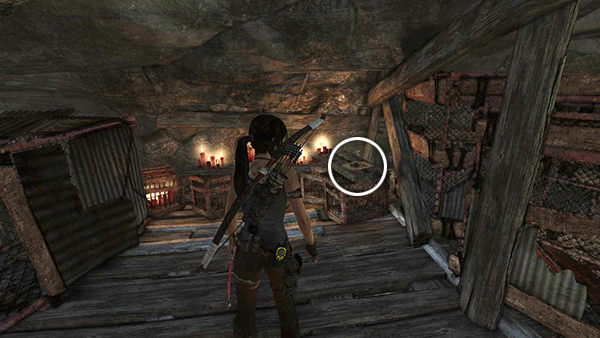
On top you'll find the Treasure Map for this level.
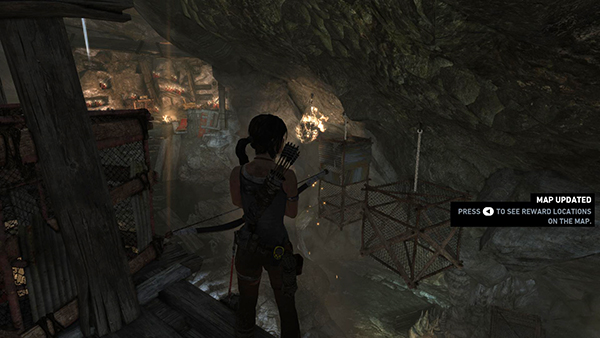
While you're up on this ledge, it's easy to spot the salvage net hanging on the other side of the cave. Shoot it with a fire arrow and then drop down for the salvage. Then climb the stairs to the campsite.
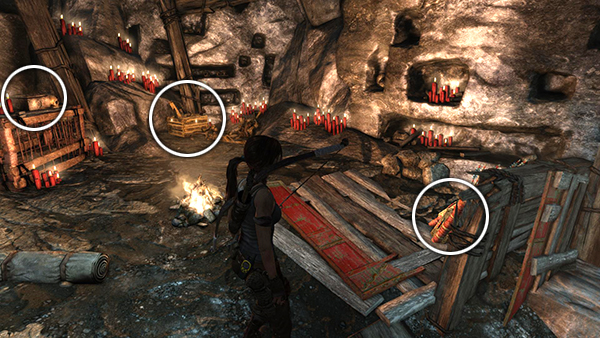
Crack open another salvage crate near the campfire and pick up another relic (2/3), a Wedding Fan, plus 2 bundles of arrows.
NOTE: I suppose for story-related reasons, Fast Travel is not available at this time, but later you can use any other Fast Travel camp to return here. This will be handy if you miss any of the collectibles in the Geothermal Caverns.
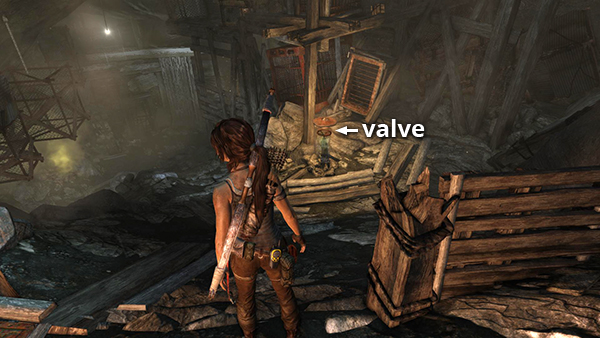
When you're ready to continue, come halfway down the steps and crank open the gas valve.
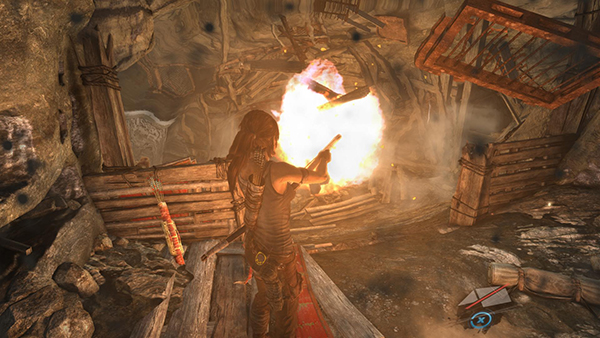
Move back up to the camp and then shoot the escaping gas with a fire arrow. This splinters the wooden scaffolding, allowing one of the metal cages to slide down to the floor.
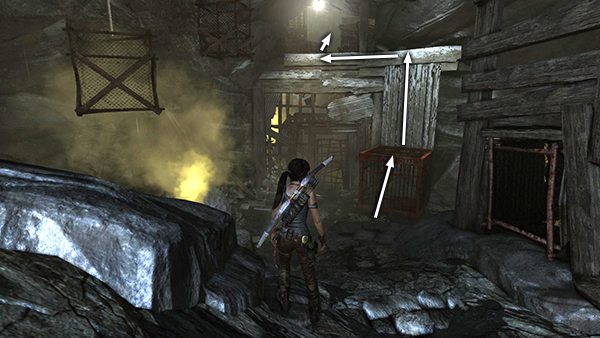
Climb on top of the cage, scramble up the painted wall, traverse to the left and pull up onto the ledge above the gate.
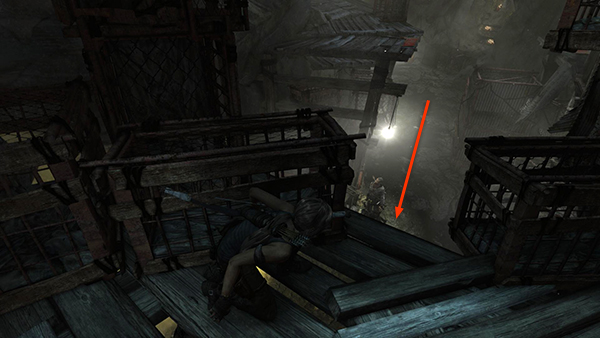
Move quietly along the dark ledge into the next room. There are 3 more enemies below. As they talk, they move toward the gate beneath the ledge where you're crouching.
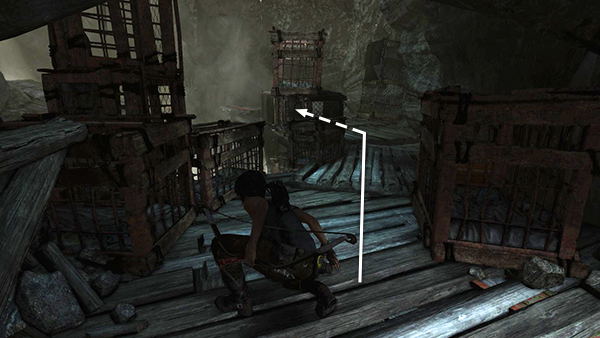
Go forward along the ledge on the right, staying hidden behind the crates.
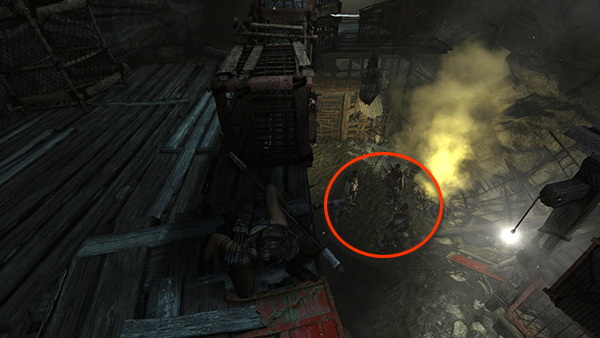
When you reach the last crate peer around it into the area below. If you wait until all 3 men are clustered together near the gas vent below, you can shoot a fire arrow into the gas and kill them all at once.
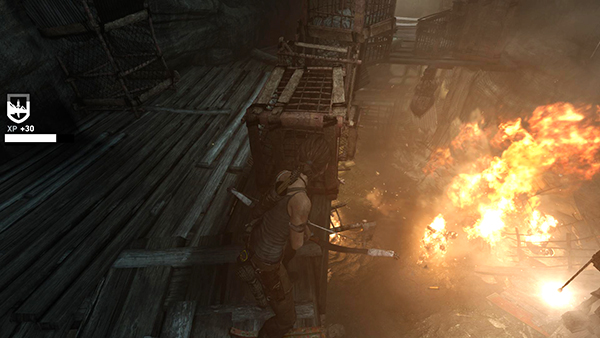
Watch to make sure they all burn (or look for the +30 XP award on screen, one for each man). If you don't succeed, any survivors will call for reinforcements: 2 tough guys with gas masks and rifles. Either reload and try again or tough it out.
[Part 1 | Part 3 | Return to the Geothermal Caverns Walkthrough]
Copyright © 2013- - Stellalune (). All rights reserved. The screenshots and videos included here were made using Fraps. Feel free to copy or print this walkthrough for personal use. By all means, share it with friends, but please include this credit line so people can send me their feedback. No part of this walkthrough may be reproduced on another site without permission. Follow this link for details about this site's advertising and privacy policy.