Cliffside Village - Building with Pilot and Guard with Metal Shield
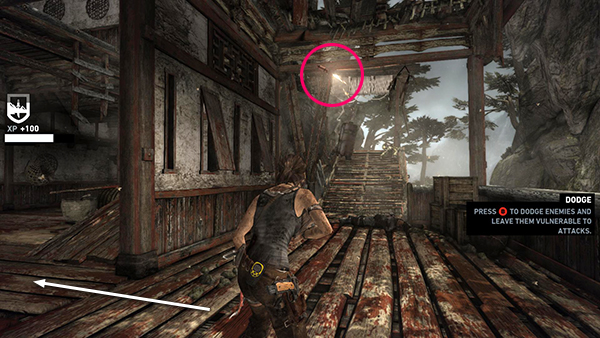
The Solarii with the shield starts by throwing a bundle of what looks like dynamite but behaves more like fireworks. You still need to dodge out of the way to avoid taking damage, but at least it doesn't destroy the whole building.
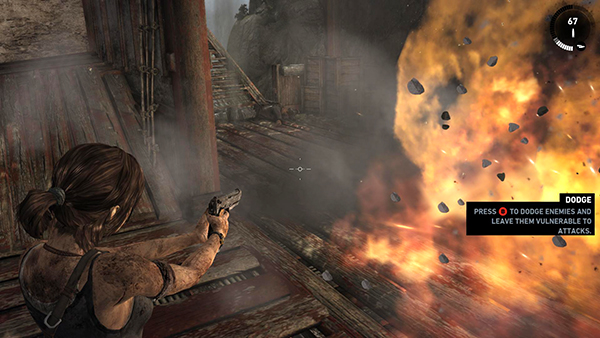
If you try to avoid him, he'll continue to lob explosives at you, so try to finish him off quickly.
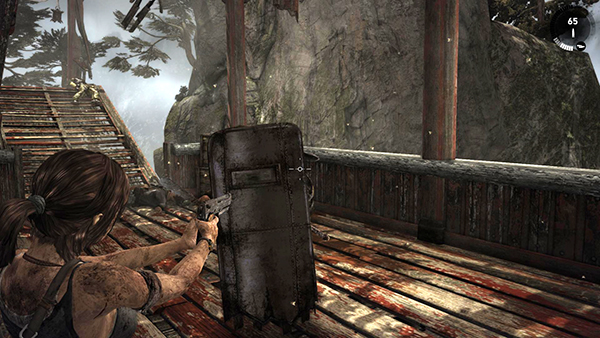
As with the previous shielded guard, you need to select the pistol or SMG, hold Aim and target the big guy. Don't bother shooting yet, since his shield protects his front.
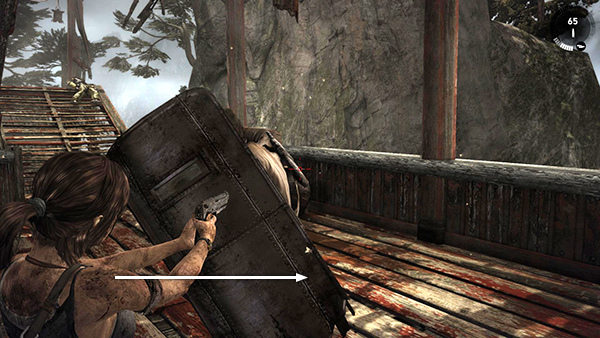
When he gets close, continue to hold Aim and press Dodge/Roll (Shift/Circle/B) as you move to the left, right or back away from him. Here Lara moves to the right.
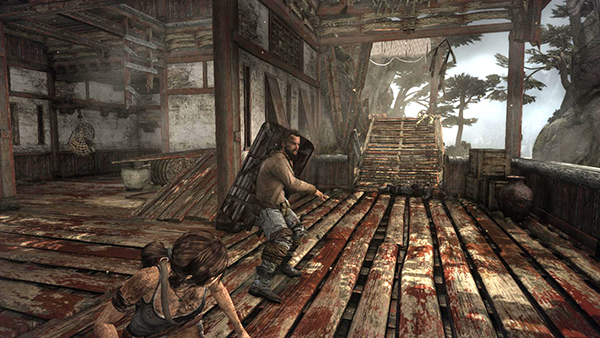
He should then turn aside momentarily, exposing his body so you can shoot him.
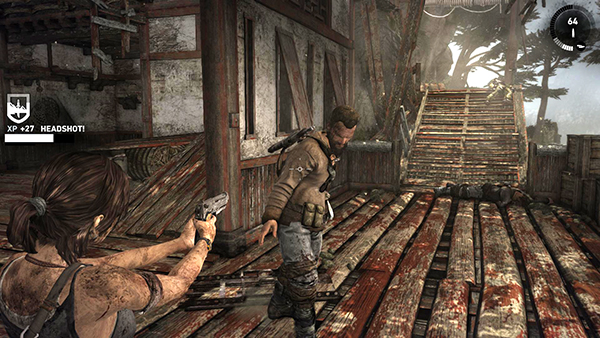
Repeat this a few times to bring him down—or try and land a headshot, as I was lucky enough to do here.

Go into the room on the left, light your torch using your newly acquired fire striker (hold Interact to light; hold Dodge to extinguish) and burn the salvage net to get the crate inside. Take the 2 bundles of arrows if you need them and smash a few urns just for old times' sake. Then climb onto the wooden ledge in the corner and scramble up the wall to grab the wooden board running along at the same level as the ledge on the left.
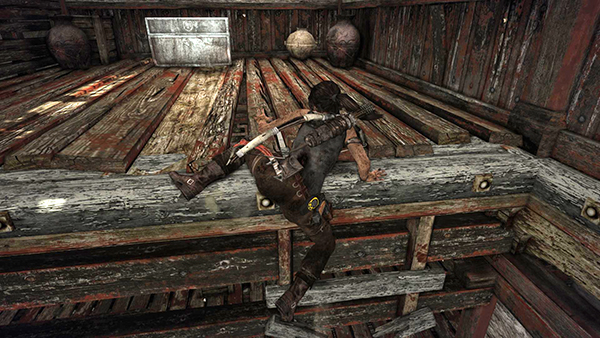
Climb around and jump onto the ledge. There you'll find a salvage trunk. Pry it open to get at whatever junk-drawer treasure might be inside.
[Return to the Cliffside Village Walkthrough]
Copyright © 2013- - Stellalune (). All rights reserved. The screenshots and videos included here were made using Fraps. Feel free to copy or print this walkthrough for personal use. By all means, share it with friends, but please include this credit line so people can send me their feedback. No part of this walkthrough may be reproduced on another site without permission. Follow this link for details about this site's advertising and privacy policy.