Cliffside Bunker - Combat in the Multi-Level Building - Part 4
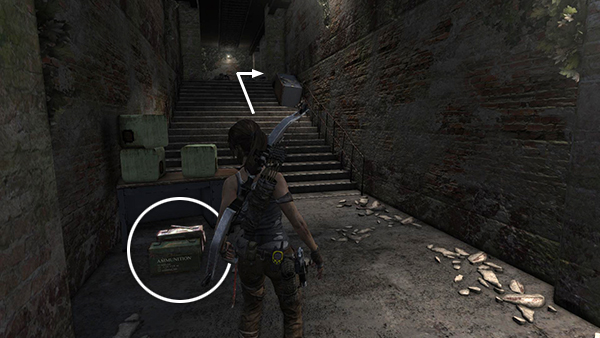
When the coast is clear, top up your ammo. There's more rifle and shotgun ammo behind the desk at the foot of the stairs, as well as all the stuff in the previous room. Then climb the stairs. At the top Lara hears more men yelling instructions to each other. Go into the room on the right to find 2 salvage crates and 2 bundles of arrows.
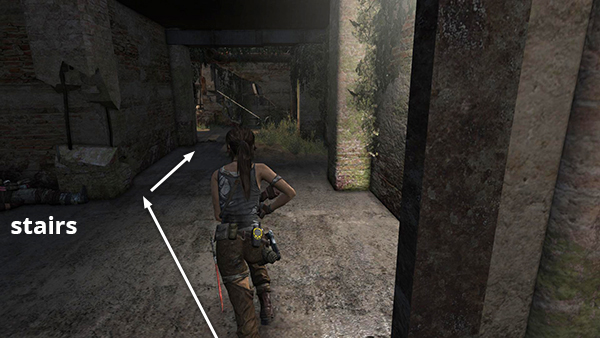
Then exit this room and continue forward toward the end of the hall, staying close to the left wall for now.
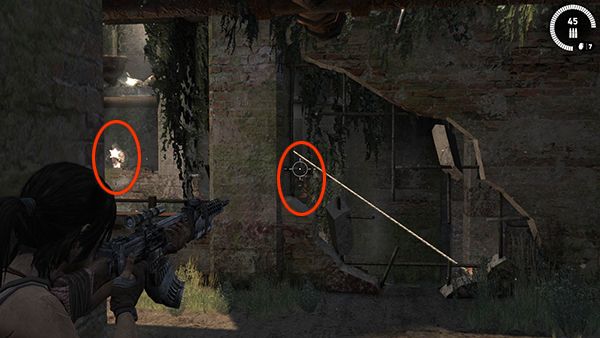
As soon as she's visible to the 4 men on the upper levels on the other side of the room, Lara will start taking fire. Inch out carefully, taking out the 3 guys on the middle level first. They start directly across from your position...
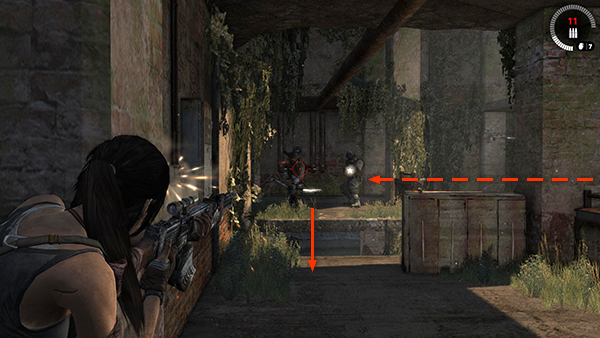
...but one or two will make their way around to the corner on your left and try to jump across the gap toward you.
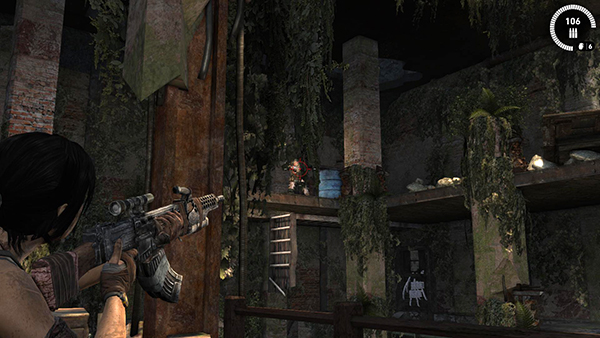
When you've killed them, take out the fourth man on the third floor in the far corner. He tends to lurk behind the blue barrel but has to emerge to shoot.
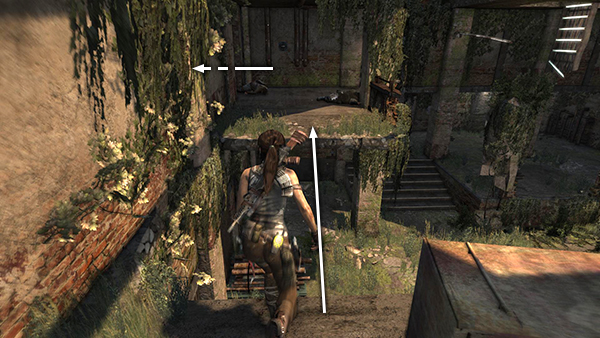
When Lara puts her weapon away, you'll know the area is clear for the moment. Loot the bodies on this side of the room and then move to the end of the walkway and jump across the gap. When you enter the room on the left...
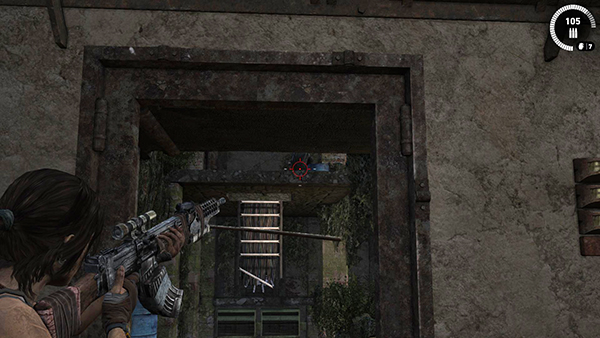
...another bad guy appears behind you on the upper level. Turn around and take him out from the doorway. Then crack open the salvage crate and pick up 2 bundles of arrows, rifle/SMG ammo and shotgun shells.
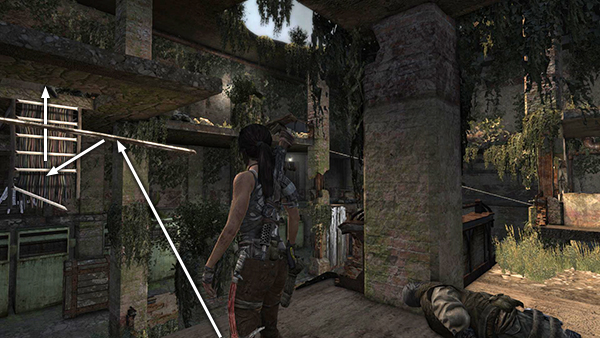
Go back out the door. Jump across the gap, swing on the horizontal pole, and grab the ladder made of dangling wires and metal bars straight ahead. Then climb up through the square hole in the floor to the next level.
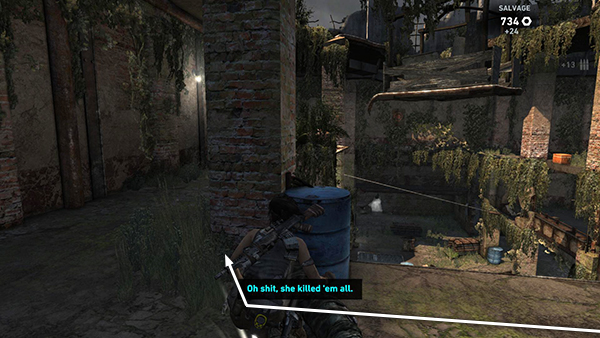
Immediately take cover behind the blue barrel and square, brick column and then take out the 3 enemies on the roof above on the right.
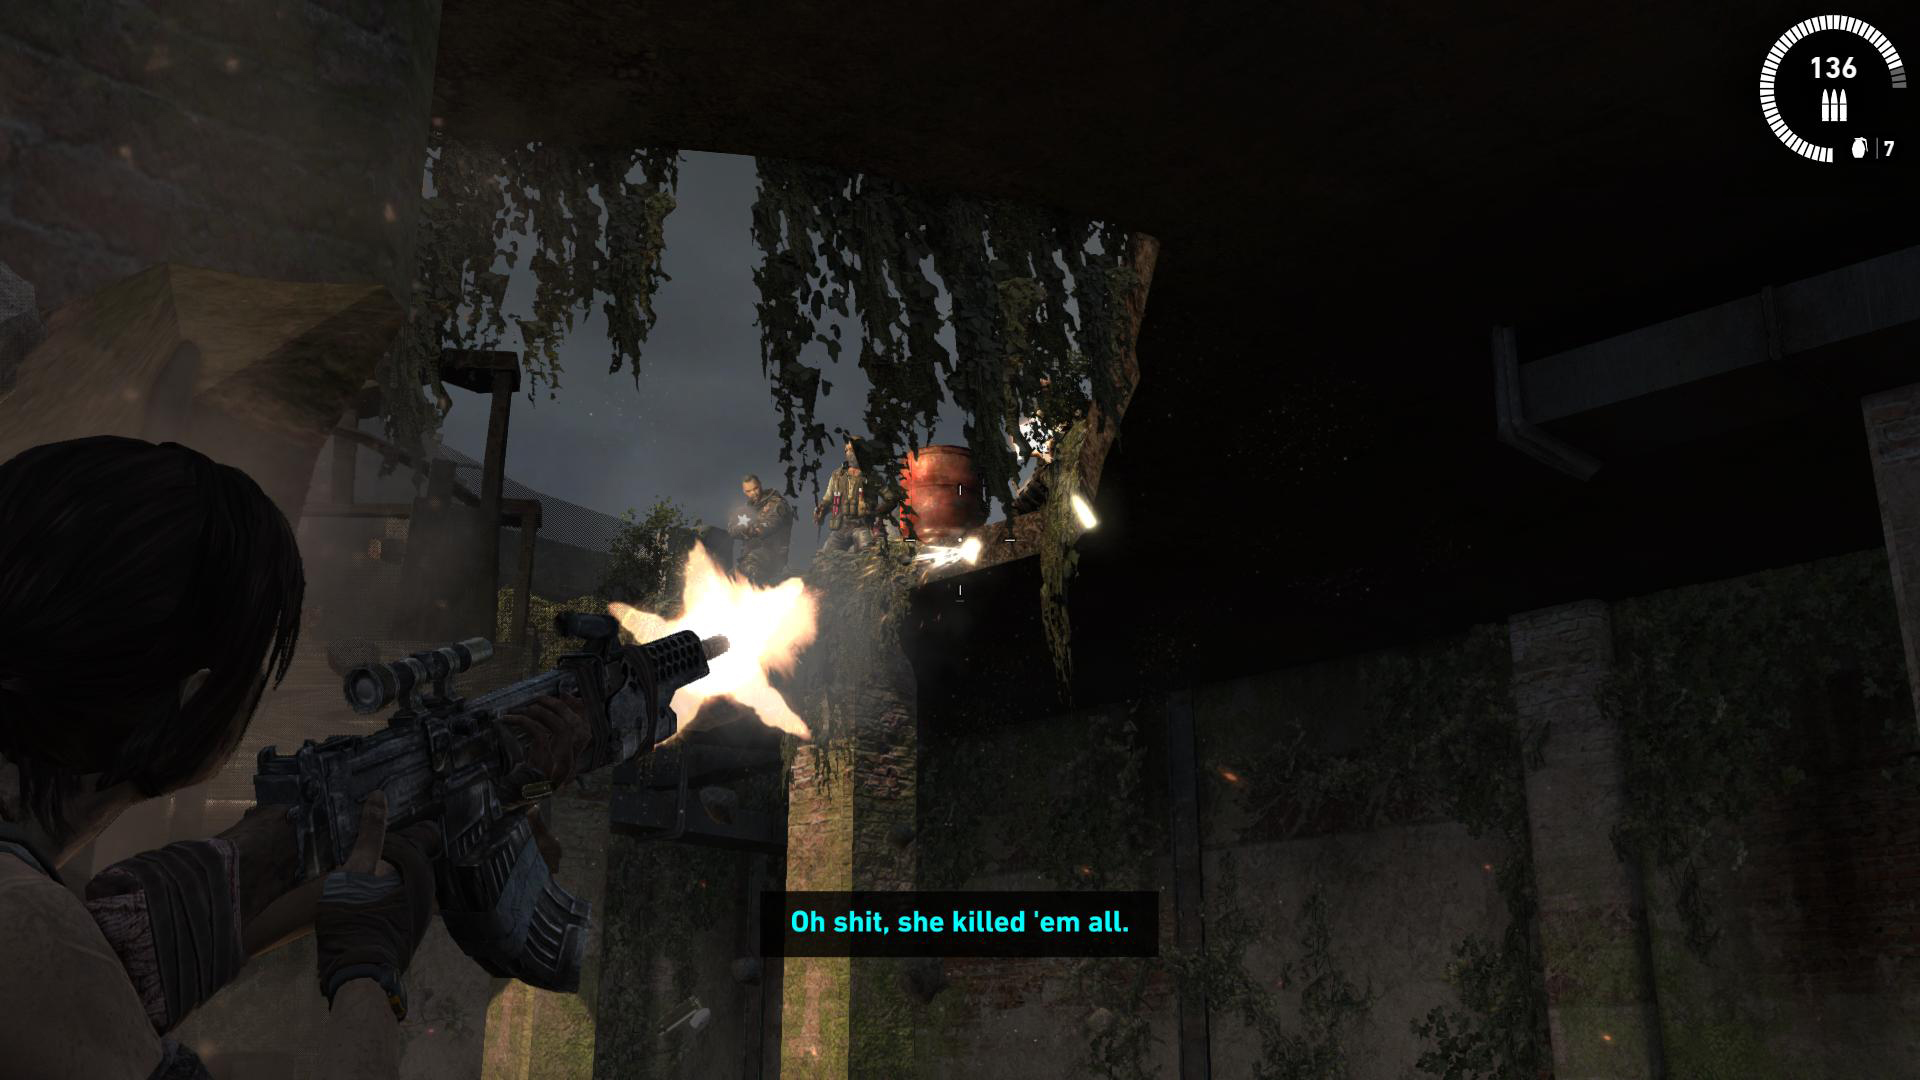
If you target the red fuel barrel near them, you may be able to kill all of them at once. If not, use bow or rifle to finish off any survivors. After this, this area is clear and you can explore at your leisure.
[Part 3 | Return to the Cliffside Bunker Walkthrough]
Copyright © 2013- - Stellalune (). All rights reserved. The screenshots and videos included here were made using Fraps. Feel free to copy or print this walkthrough for personal use. By all means, share it with friends, but please include this credit line so people can send me their feedback. No part of this walkthrough may be reproduced on another site without permission. Follow this link for details about this site's advertising and privacy policy.