Cliffside Bunker Boss - Reaching Alex Using the Movable Hook - Part 1
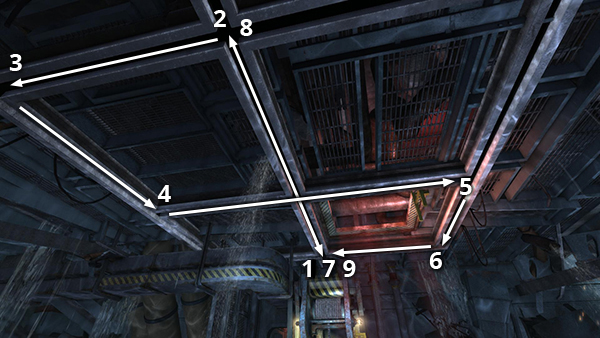
The screenshot above shows the sequence for moving the hook along the tracks. The numbers for each of the steps are repeated in the descriptions below. Starting with the hoook at position 1....
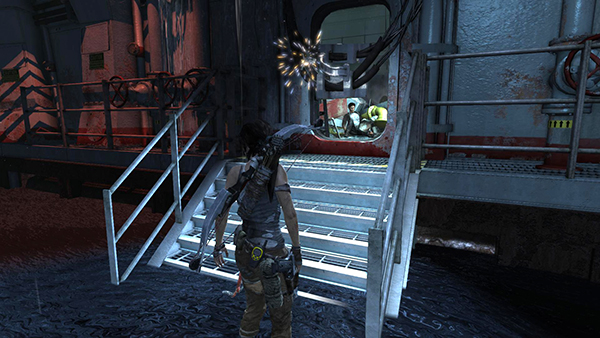
Stand on or just below the stairs leading to the room where Alex is trapped.
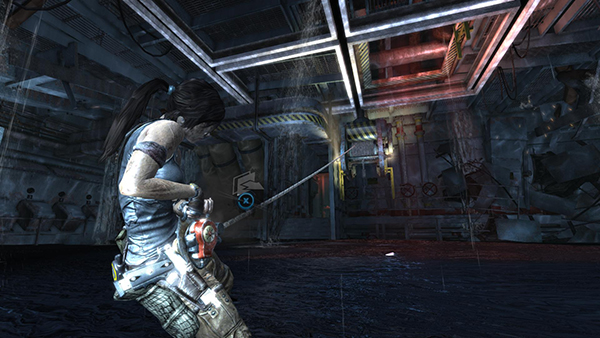
Turn around to face the hook (1). Shoot a rope arrow into it and use the rope ascender to pull it toward you (2).
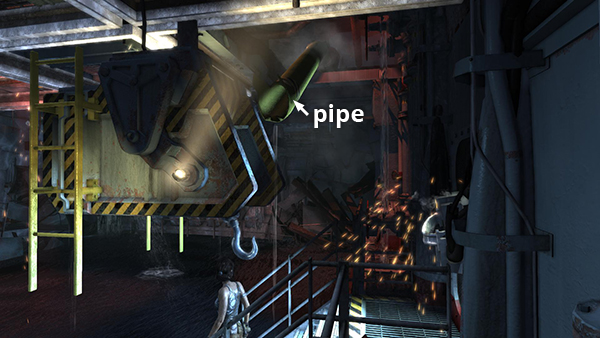
A loose pipe hanging from the ceiling prevents the hook from sliding all the way to the door. You must now figure out how to get that pipe out of the way.
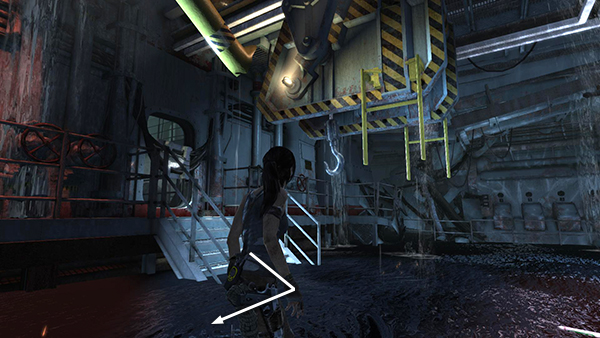
After the brief cut scene showing the hook moving and the pipe blocking it, Lara should still be standing with her back to the room where Alex is trapped. The hook is just above her. Take a few steps to the right and turn around to face the hook (which is still at position 2).
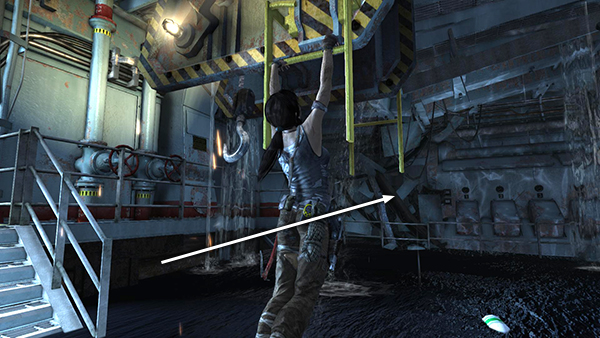
Jump to grab the yellow ladder on the side of it. This causes the hook to slide along the track to the opposite corner of the room (3).
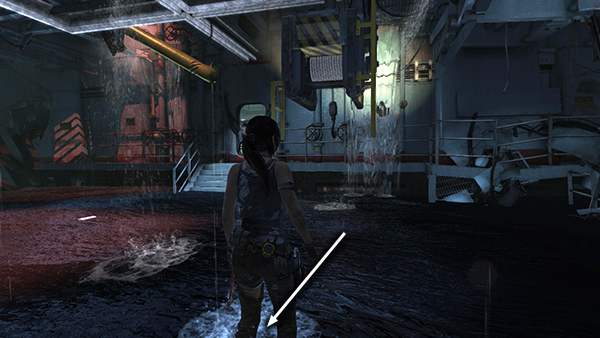
Drop down and move to the right (toward the entrance) and turn around.
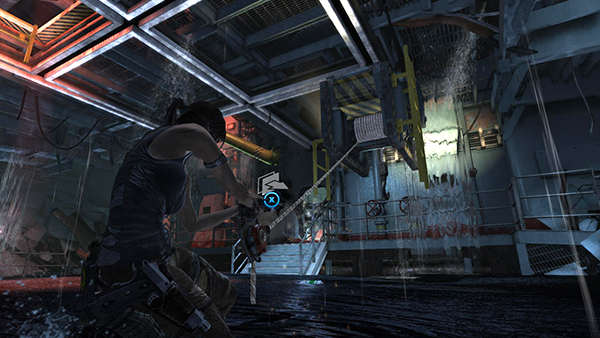
Use the rope ascender again to pull the hook toward you (4).
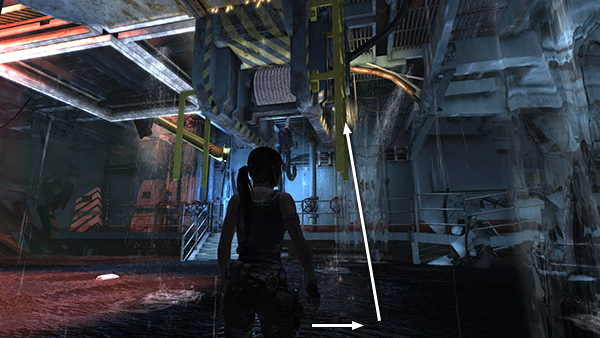
Now go around to the right side of the hook and jump onto the ladder again.
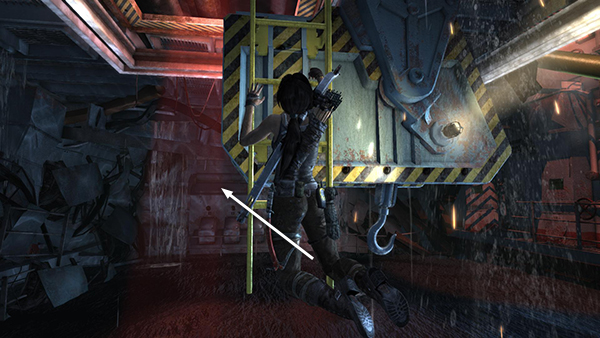
This causes the hook to slide along the track to the next corner (5).
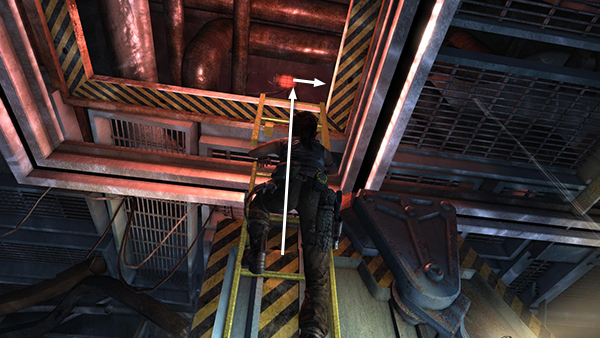
Now the ladder on the hook and the ladder on the track above meet and you can climb up into the rafters.
[Part 2 | Return to the Cliffside Bunker Walkthrough]
Copyright © 2013- - Stellalune (). All rights reserved. The screenshots and videos included here were made using Fraps. Feel free to copy or print this walkthrough for personal use. By all means, share it with friends, but please include this credit line so people can send me their feedback. No part of this walkthrough may be reproduced on another site without permission. Follow this link for details about this site's advertising and privacy policy.