Chasm Ziggurat - Battle atop the Ziggurat - Phase One
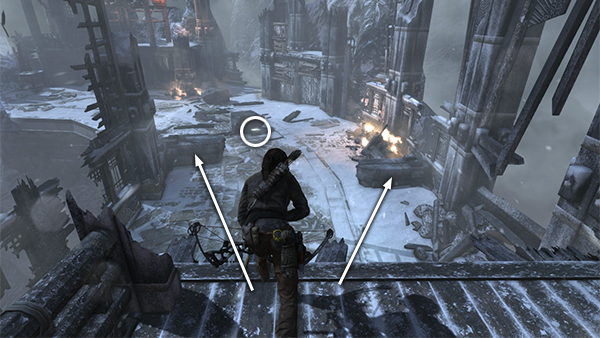
When you regain control, hop down off the ledge and take cover behind one of the stone blocks as several Solarii appear ahead. There's a box of shotgun shells here in case you need to restock during the fight.
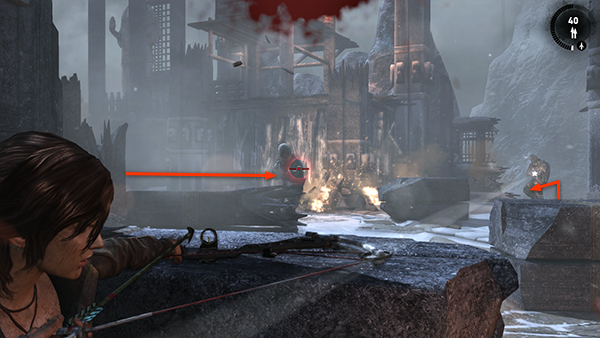
Some of the enemies come in from ahead on the left; a few climb up from the chasm on the right. A guy with a shotgun and 3 with rifles are the first to emerge. Take them out from behind cover with your ranged weapon of choice.
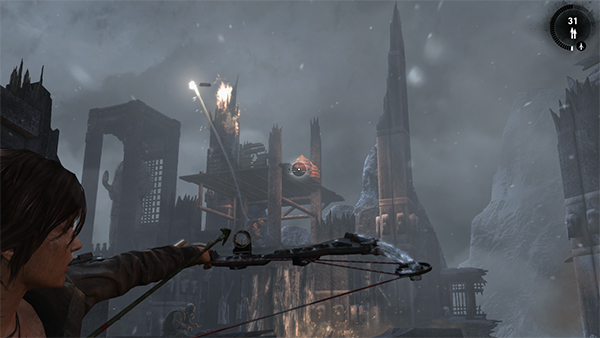
After this, more men appear, including a few on the multi-story wooden structure ahead. Try to shoot the explosive balloons on top of this building...
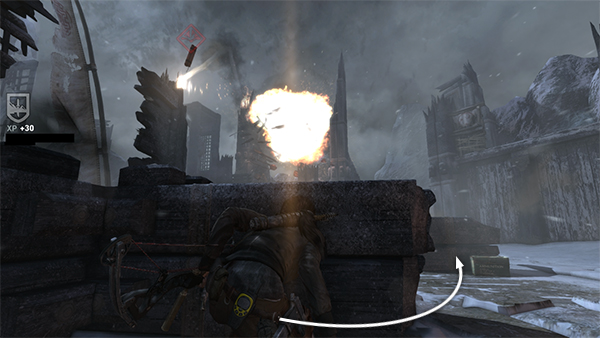
...to take out several enemies at once. Then deal with the survivors. There's a demolitions man and a few others with explosives among this group. Whenever they start throwing dynamite, scramble away and take cover behind a different rock. You can also climb up onto the ledge on the right, but I didn't find it necessary.
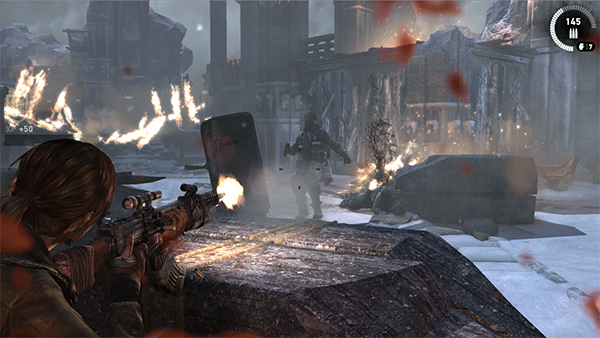
Try to take out as many riflemen and demo men as you can while the slower enemy with the big, metal shield approaches.
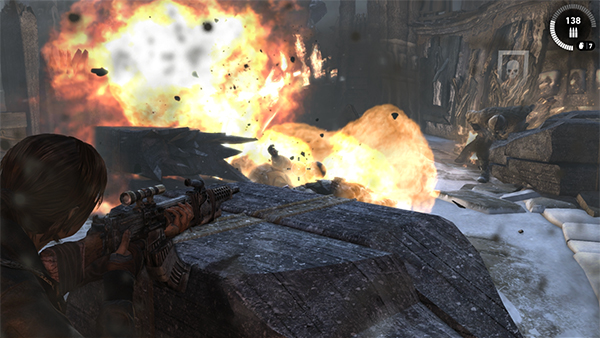
Better yet, lob a grenade into the group when they're all clustered together, or shoot the demo man as he's preparing a charge (as shown above). This way, you may be able to kill several enemies at once—or at least weaken them.
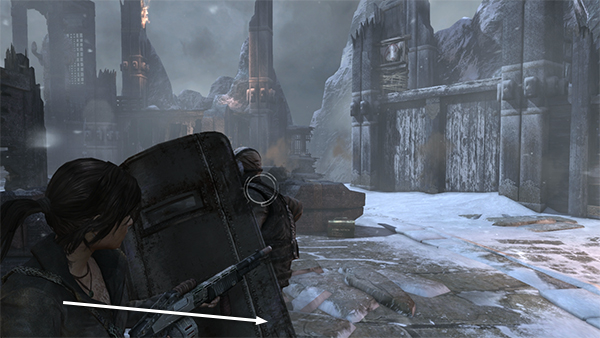
If the man with the shield manages to get close, use the Dodge Counter as you've done in the past: Step out from cover a bit so you have room to maneuver. Hold Aim to keep him targeted with your preferred weapon. Then, when he lunges at Lara, press Dodge/Roll (Shift/Circle/B) while moving to the left or right.
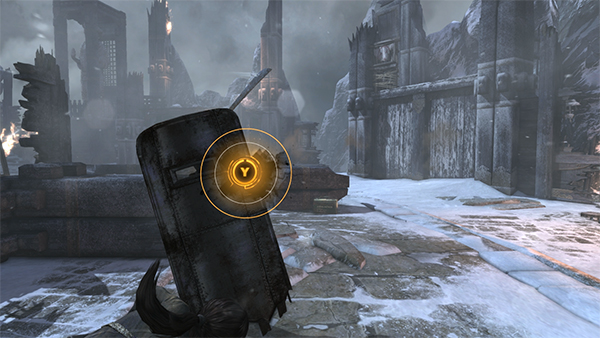
Then press the Melee button in time with the on-screen prompt to trigger the Dodge Counter or Dodge Kill maneuver.
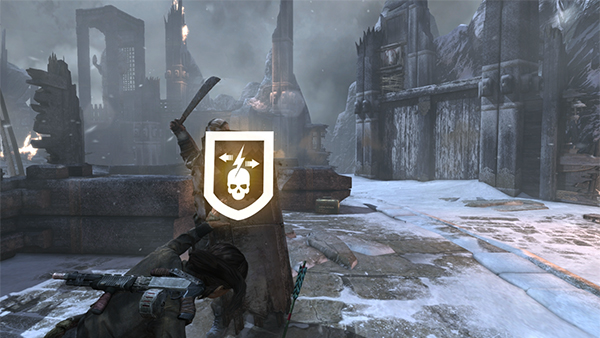
If your timing is good, the Dodge Counter icon flashes on screen.
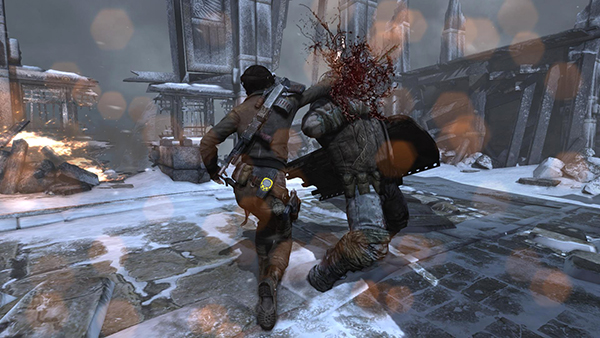
...and Lara takes over, stabing the dude with an arrow. Repeat if necessary to finish him off.
Then, if you didn't take out all of the shield guy's companions before, do that now and loot the bodies.
[Part 2 | Return to the Chasm Ziggurat Walkthrough]
Copyright © 2013- - Stellalune (). All rights reserved. The screenshots and videos included here were made using Fraps. Feel free to copy or print this walkthrough for personal use. By all means, share it with friends, but please include this credit line so people can send me their feedback. No part of this walkthrough may be reproduced on another site without permission. Follow this link for details about this site's advertising and privacy policy.