Chasm Ziggurat - Oni Stalker Boss - Part 3
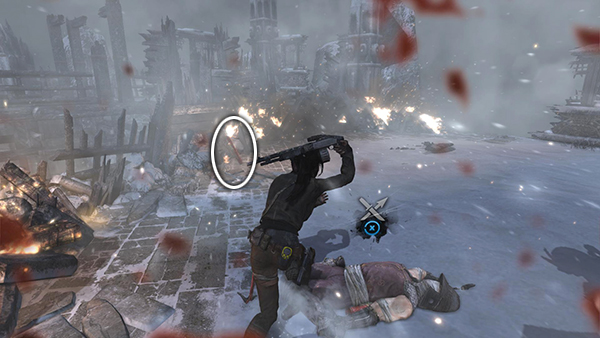
Once you've taken care of the archers, you can run around and try to loot their bodies. This makes you vulnerable, though, so only do it if you're very low on ammo. There's also a bundle of arrows leaning at one edge of the arena, in case you get really desperate.
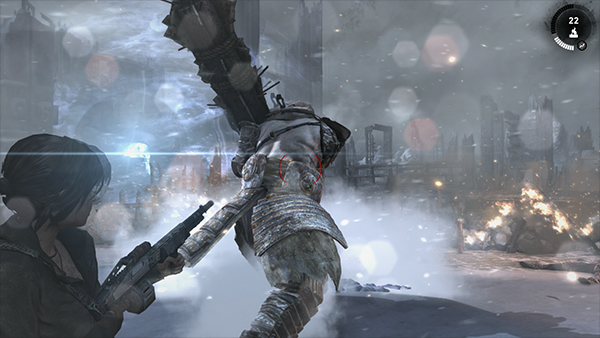
Now concentrate on the big guy again. Use the same basic tactic as before: Try to lure him into swinging at you and then, quickly scramble around to his back or side and fire at his vulnerable, fleshy bits. At this stage, he's a little more careless with his moves. So you may be able to stand in front of him and shoot him in his upper back as he winds up to swing at you. Here, he winds up, then hesitates for a moment before he swings, giving you an opportunity to shoot.
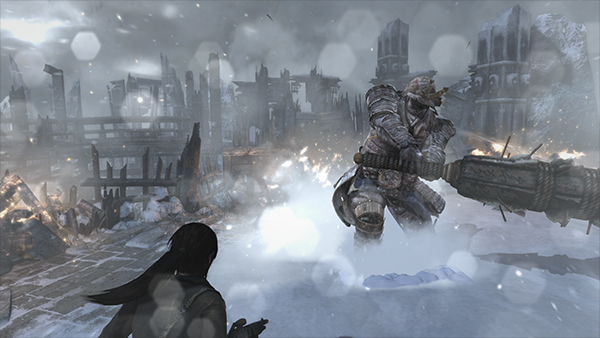
Just be sure you're not standing too close when he does swing.
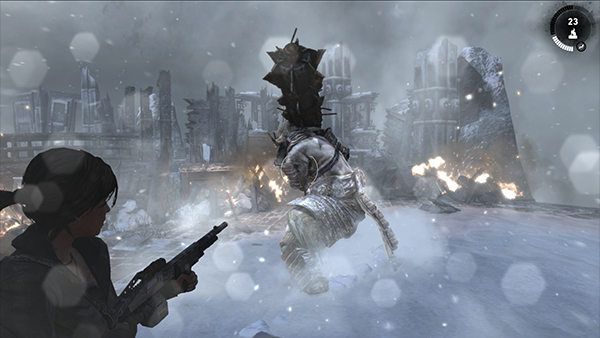
Then, again, when he's taken the swing, his other side is exposed.
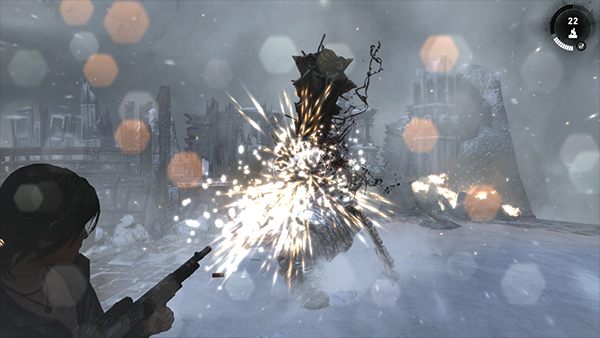
Giving you a moment in which to fire.
Depending on how long it takes you to defeat him, more archers will appear at intervals. Again, kill them as quickly as you can so they don't get in the way of the more important boss fight.
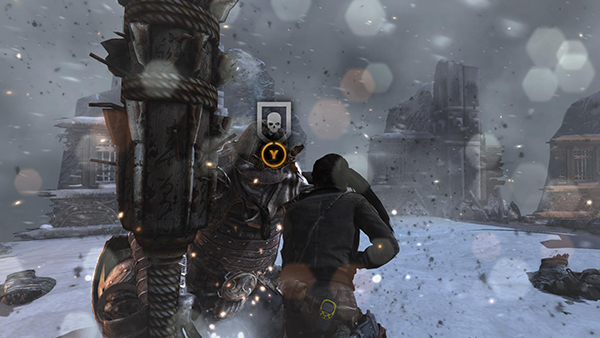
Keep chipping away at the boss by shooting him in his vulnerable back whenever you can. When he's taken a few more hits, he will again sink to one knee, and you'll see the Melee icon above him. Quickly move in close and press Melee.
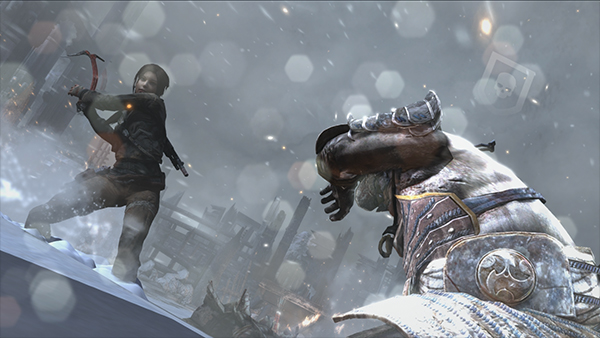
Then, as Lara swings her axe...
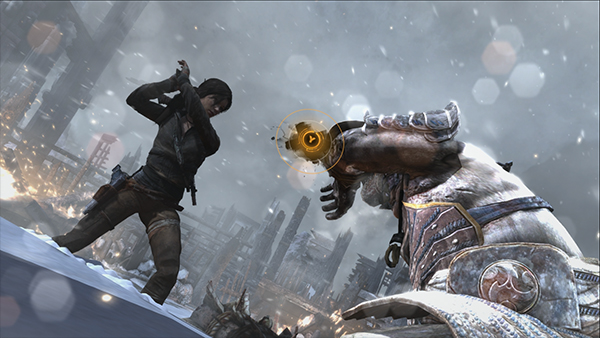
...wait for the on-screen prompt and press the Melee button again.
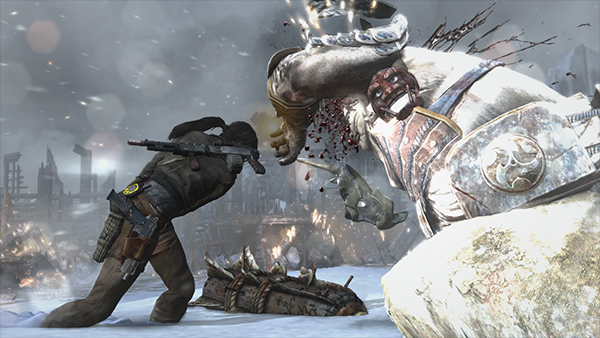
This knocks off the stalker's mask and helmet, making him even more cranky.
[Part 2 | Part 4 | Return to the Chasm Ziggurat Walkthrough]
Copyright © 2013- - Stellalune (). All rights reserved. The screenshots and videos included here were made using Fraps. Feel free to copy or print this walkthrough for personal use. By all means, share it with friends, but please include this credit line so people can send me their feedback. No part of this walkthrough may be reproduced on another site without permission. Follow this link for details about this site's advertising and privacy policy.