Chasm Monastery - Room with Huge, Hanging Bell - Part 1
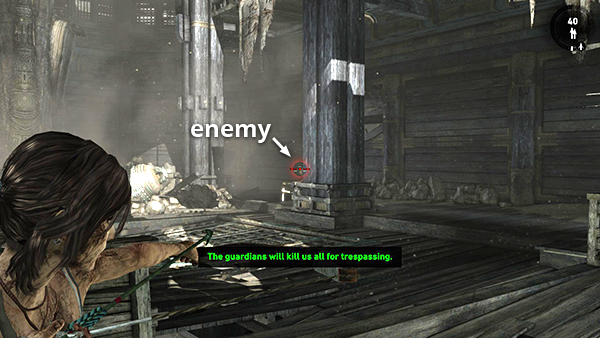
Lara stumbles upon several Solarii trying to find a way out. At first they stay hidden, but you can probably pick off the 2 with axes and machetes crouching behind the tall, square columns on the left and right at the far end of the room.
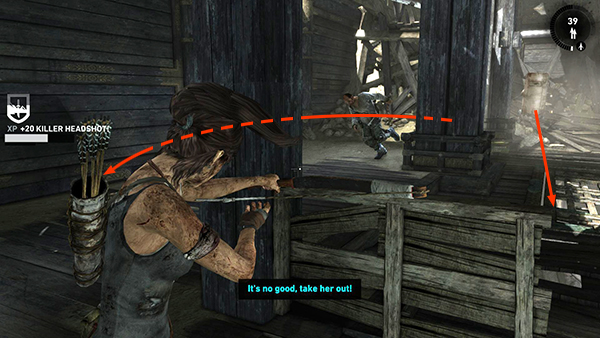
Otherwise, shoot them as they run toward you. Meanwhile, an ugly dude with a shield lumbers straight across the floor toward Lara. Try to take out the first pair of guys before the shield dude reaches you so you don't have to fight them all at once.
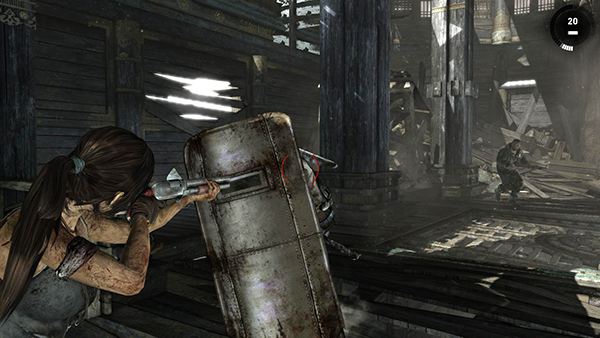
Then switch to the shotgun or pistol. When the shield dude gets close, continue to hold the Aim button (Right Mouse Button, L1 on PS3, L2 on PS4, LT on Xbox).
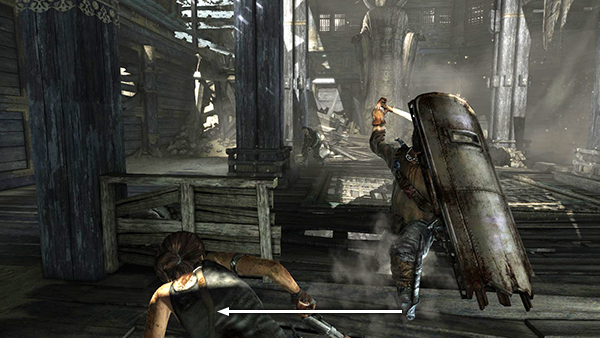
When he starts to swing his machete, press Dodge/Roll (Shift/Circle/B) as you move to the left or right to dodge.
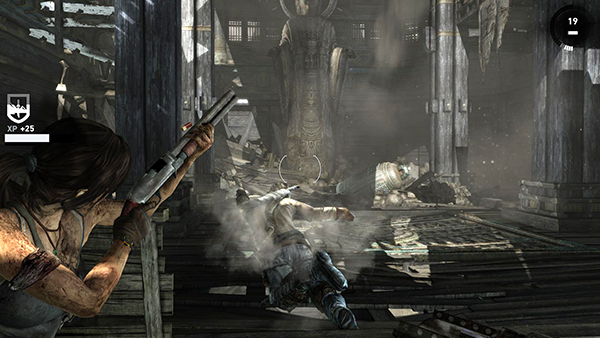
This will make him turn away so you can shoot him in his vulnerable back or side. One good shotgun blast should take him down.
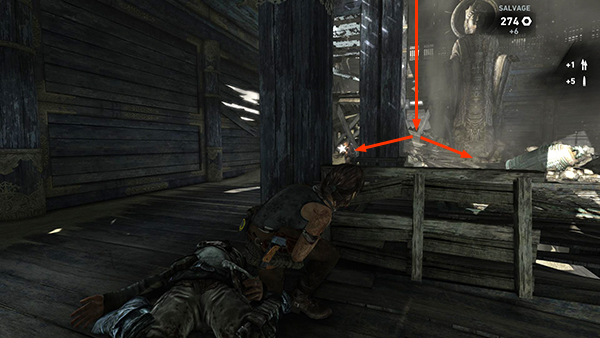
You can then switch weapons again if you like to take out a fourth Solarii with a rifle and Molotov cocktails, who drops down from the ceiling while you're fighting the others. He may move to the left or right once he drops down, but you should be able to use the low plank wall for cover as you fight him, since he tends to keep his distance.
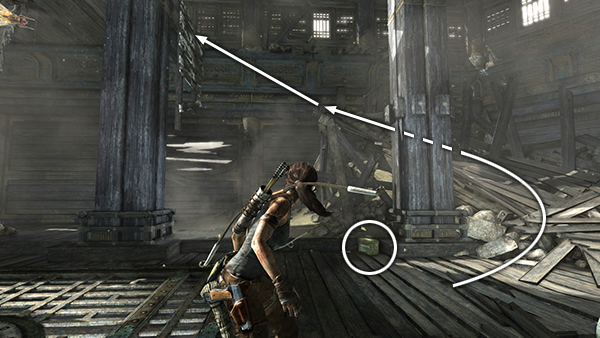
Loot the bodies. Pick up a box of shotgun shells near the column in the far left corner of the room. Then use the ramp there climb to the upper level.
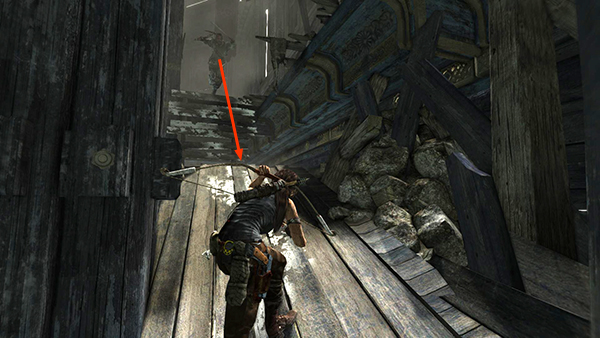
Stay alert though; as you move up the ramp, a sixth enemy jumps down in front of you.
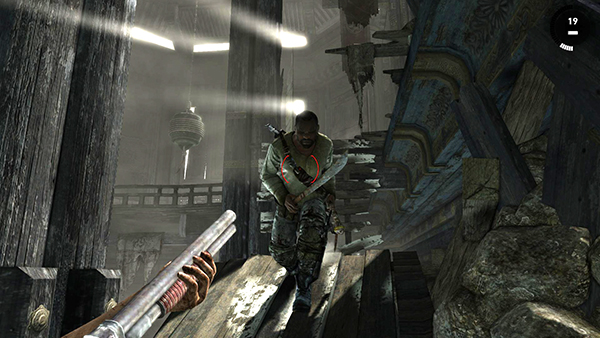
A single shotgun blast at close range should take care of him.
[Part 2 | Return to the Chasm Monastery Walkthrough]
Copyright © 2013- - Stellalune (). All rights reserved. The screenshots and videos included here were made using Fraps. Feel free to copy or print this walkthrough for personal use. By all means, share it with friends, but please include this credit line so people can send me their feedback. No part of this walkthrough may be reproduced on another site without permission. Follow this link for details about this site's advertising and privacy policy.