Base Approach - Ambush in the Starting Area
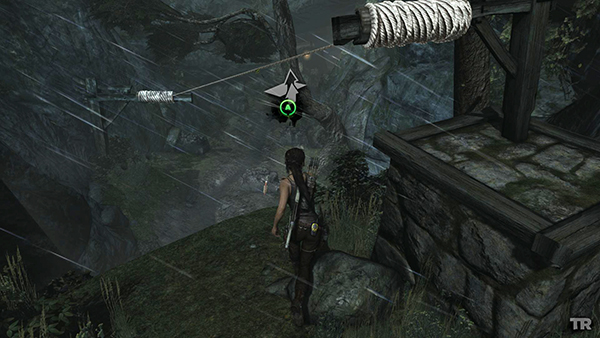
When you slide down the zip line from the area at the top of the waterfall in the Mountain Village, you are immediately ambushed by 3 Solarii soldiers. As far as I can tell, there's no way to fight them stealthily.
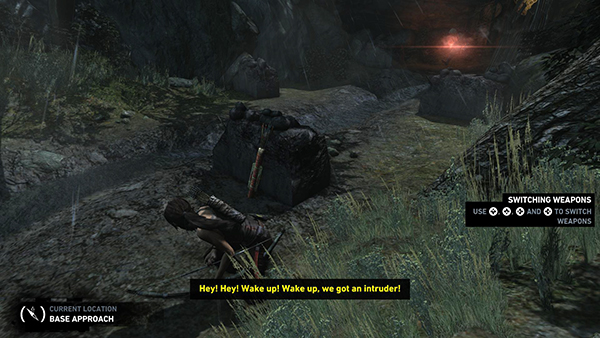
You can use the rock with the arrows leaning against it for cover but only briefly, since the men see Lara coming and immediately start throwing fire and closing in on her position.
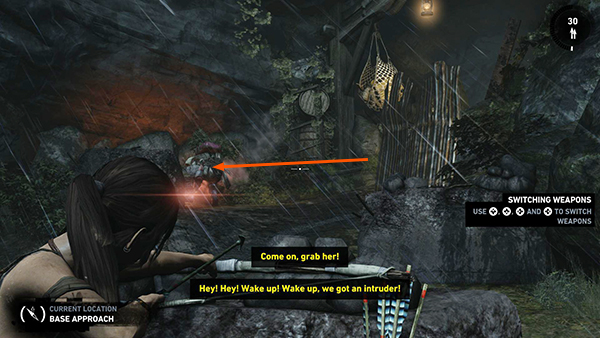
I recommend trying to take out the guy with the gas can first, preferably using a headshot using the bow or pistol. He's the one with the reddish glow who tends to hide behind the low wall on the far left.
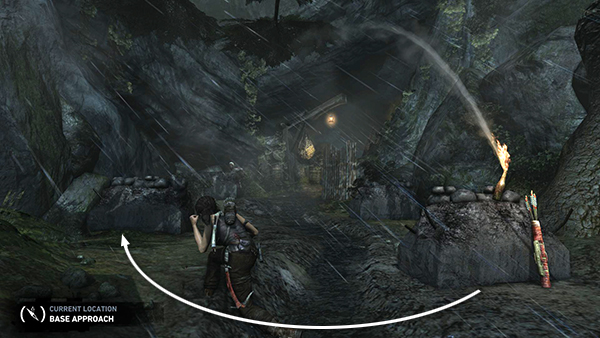
If he does throw a Molotov cocktail at you, dodge out of the way as quickly as possible to avoid being burned. If you can get him out of the fight quickly, it will be easier.
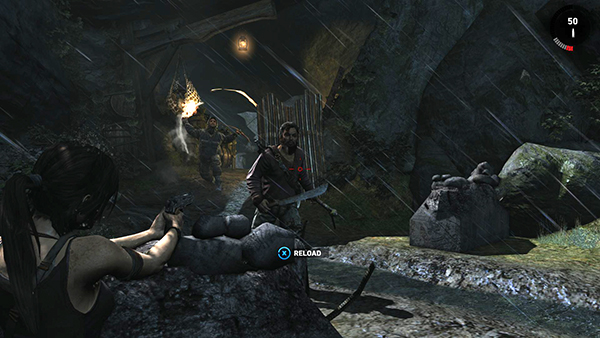
The one with the axe and machete will usually come to you. Switch to the pistol if you haven't already and take care of him.
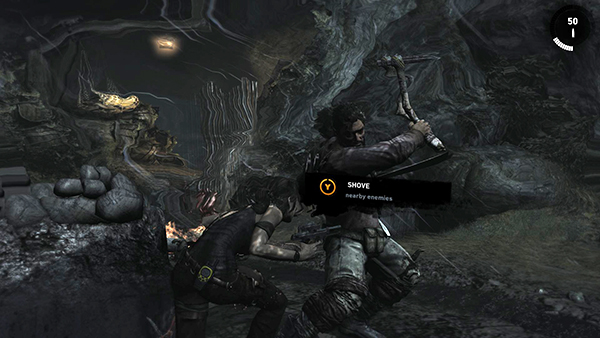
If he gets too close, you'll see a Melee prompt on screen. Press that button to shove him away.
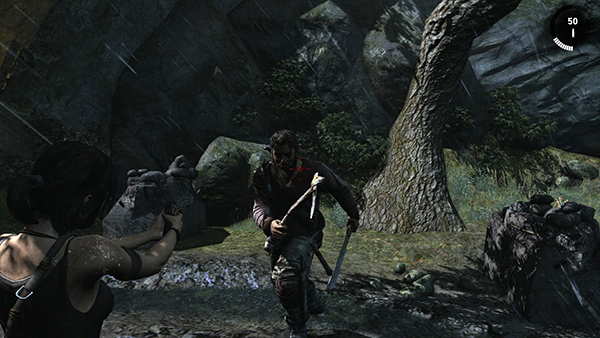
Then shoot him before he can charge you again.
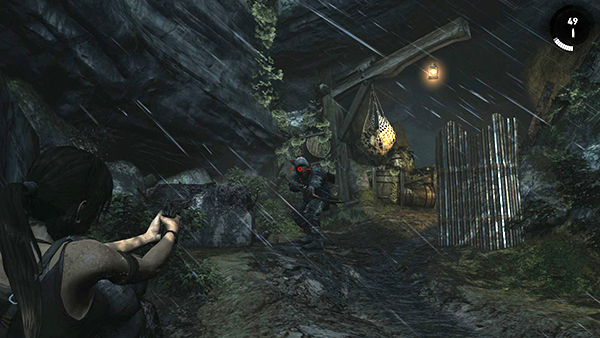
The third guy shoots flaming arrows and tends to hang back. You can take cover behind the wall again and pick him off with either of your weapons.
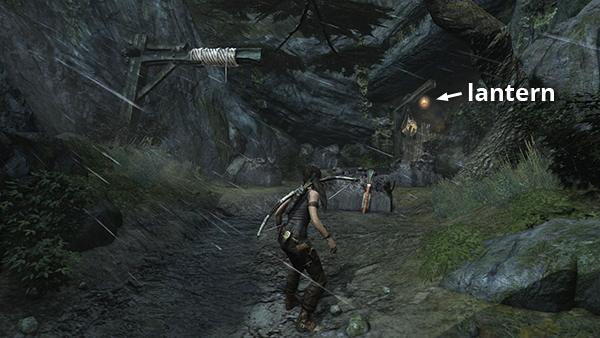
If Lara dies during the fight, she'll respawn a few steps behind the rock with the arrows leaning against it. As long as you don't move forward, the bad guys won't notice her.
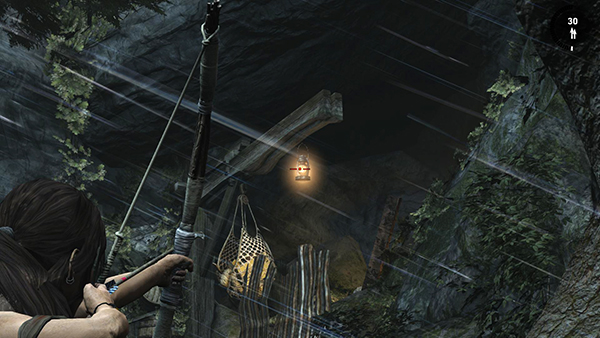
Take a moment to shoot the lantern hanging near the salvage net. This will dump flaming oil on the baddies, most likely killing one of them and possibly injuring the others.
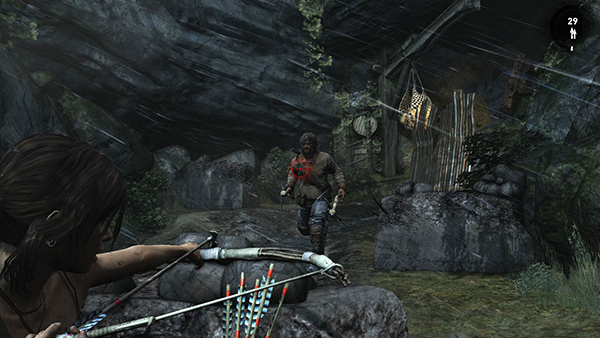
Run up to the rock and pick off the stragglers as they approach.
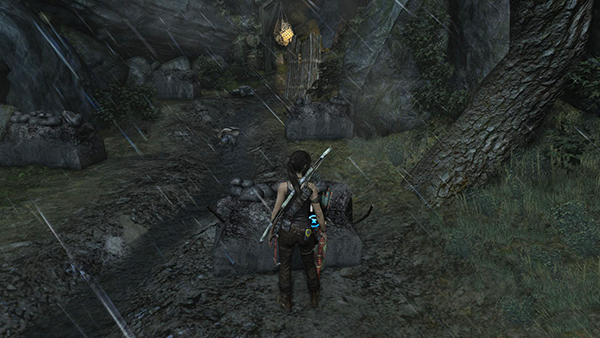
When Lara stands up, you'll know the coast is clear.
Alternatively, if you want to avoid this combat, you can run straight past the 3 guys and squeeze through the crevice in the rock wall beyond the salvage net. The baddies won't follow. Once you hit the checkpoint, you can return through the crevice and they'll be gone, allowing you to get the salvage. Naturally you won't be able to loot their bodies.
[Return to the Base Approach Walkthrough]
Copyright © 2013- - Stellalune (). All rights reserved. The screenshots and videos included here were made using Fraps. Feel free to copy or print this walkthrough for personal use. By all means, share it with friends, but please include this credit line so people can send me their feedback. No part of this walkthrough may be reproduced on another site without permission. Follow this link for details about this site's advertising and privacy policy.