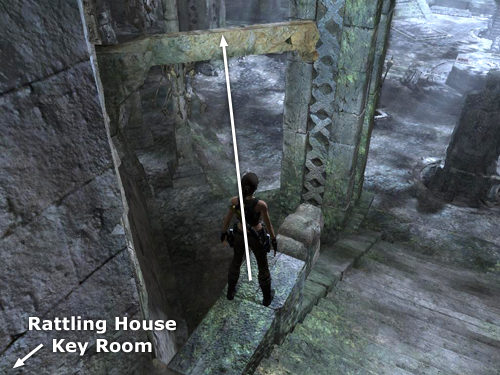
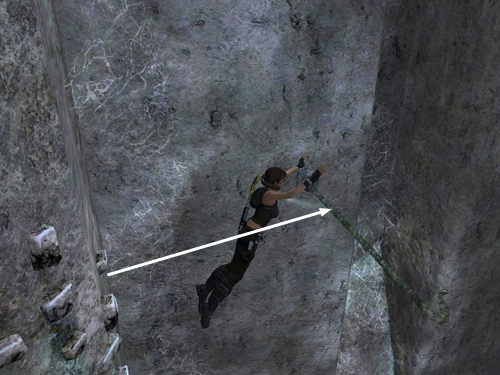
From the top of the long staircase outside the RATTLING HOUSE, facing downstairs, turn left and Step out onto the small ledge with the carved animal head. Jump from there to grab the yellowish metal beam ahead. Pull up.
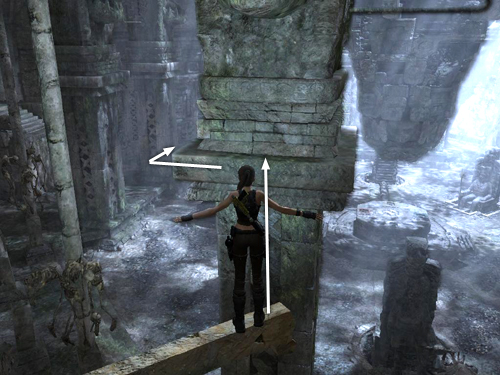
Walk to the end of the beam and jump to grab the narrow ledge on the square pillar ahead. Climb around to the left side and pull up.
Jump to grab the narrow column ahead.
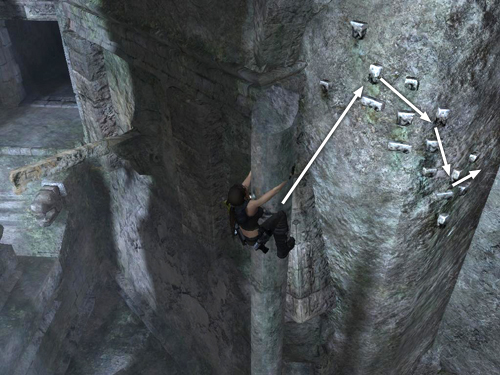
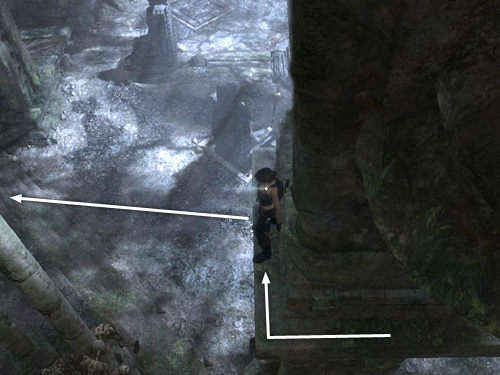
Point the camera toward the rough stone handholds on the nearby wall and jump to grab them. Climb these handholds around the corner and down to the right.
Jump back to grab the nearer of the two horizontal poles
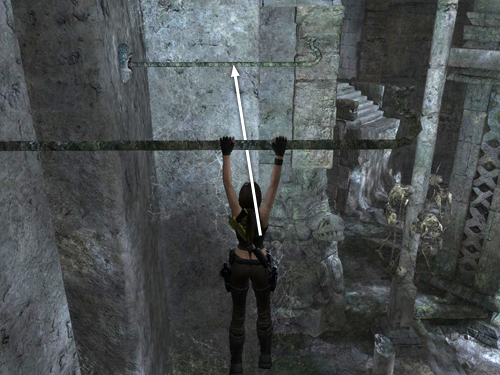
Swing and jump to the second pole.

Climb in toward the wall if necessary and then jump up to squat on top of the pole. Jump forward to grab the narrow corner ledge ahead and climb around to the right.
[Part 2 - Return to the Midgard Serpent Walkthrough]
Copyright © 2008- - Stellalune (). All rights reserved. The screenshots and videos included here were made using Fraps. Feel free to copy or print this walkthrough for personal use. By all means, share it with friends, but please include this credit line so people can send me their feedback. No part of this walkthrough may be reproduced on another site without permission. Follow this link for details about this site's advertising and privacy policy.
|