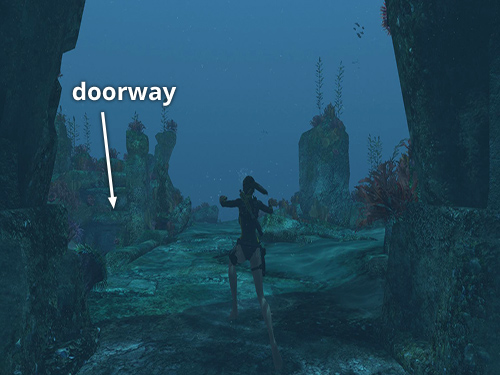
If you're coming from the puzzle room inside the stone tower, the rectangular doorway to the key room is ahead and a bit to the left.
- OR -
If you've just emerged from the vertical tunnel with treasure #1, turn right and look for that same rectangular doorway straight ahead.
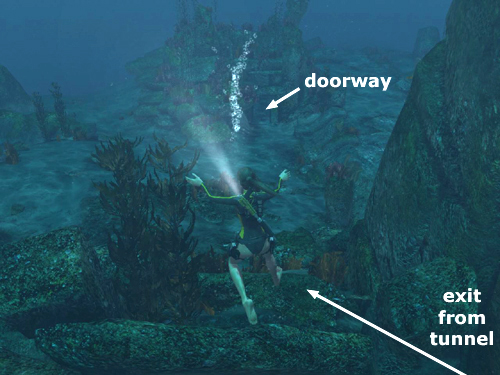
Here's a closer view of the doorway.
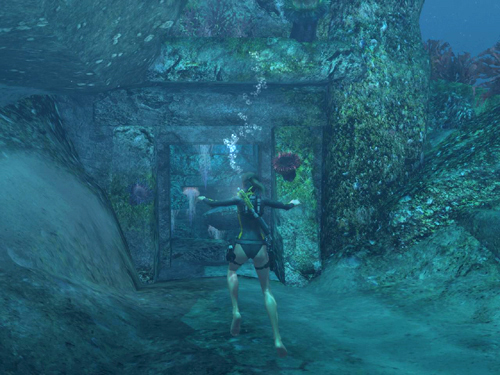
Swim through the doorway into the ruined room below. Watch out for the stinging jellyfish as you swim forward and downward beneath the jutting rock slabs.
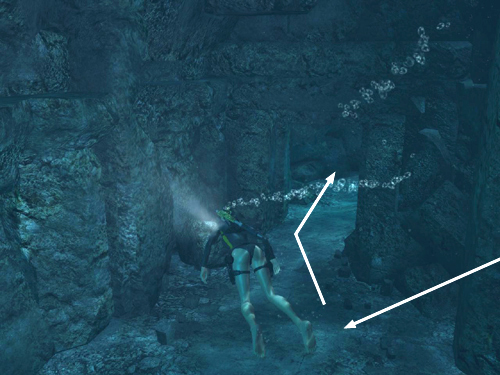
At the bottom of the room, turn right and continue forward.
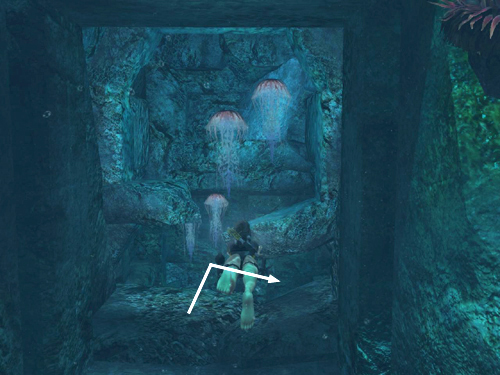
At the next turning you'll see a jumble of boulders on the left with an opening where you can swim through.

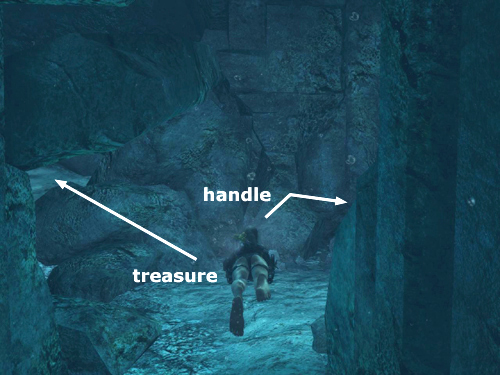
Swim through that opening into the sandy area beyond. Turn right and you'll see the treasure (2/26) lying on the floor near the wall. (It's circled in the screenshot above.) Take it and swim back out under the slab and straight on toward the second handle, which is sitting on another small pedestal.
[Return to the Path to Avalon Walkthrough]
Copyright © 2008- - Stellalune (). All rights reserved. The screenshots and videos included here were made using Fraps. Feel free to copy or print this walkthrough for personal use. By all means, share it with friends, but please include this credit line so people can send me their feedback. No part of this walkthrough may be reproduced on another site without permission. Follow this link for details about this site's advertising and privacy policy.
|