
After retrieving the relic, you'll need to move the walkway once more to align it with the exit door. Return across the walkway and climb down the carved panel to the ledge running around the hub. Turn right and jump the gap in the walkway (as shown in the screenshot above).

Use the metal ring to swing across to the outer ledge. Grab the movable wall and pull it along, rotating the entire structure clockwise.
Pull it only as far as the next vertical support.
Look to the left to make sure there's a little bit of the ledge near the hub showing so Lara will have something to land on when she swings back.

Grapple the ring on the wall and swing across now.
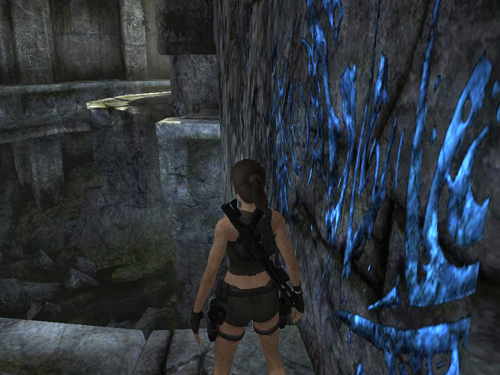
Jump the gap in the ledge and go around to the other side of the hub.
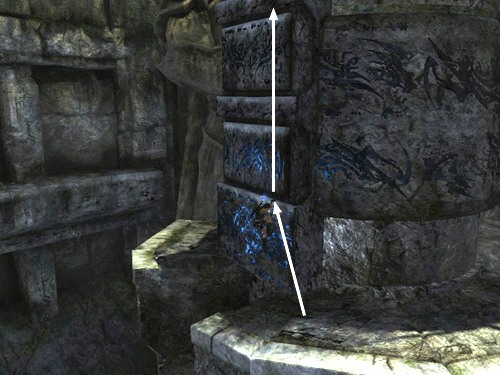
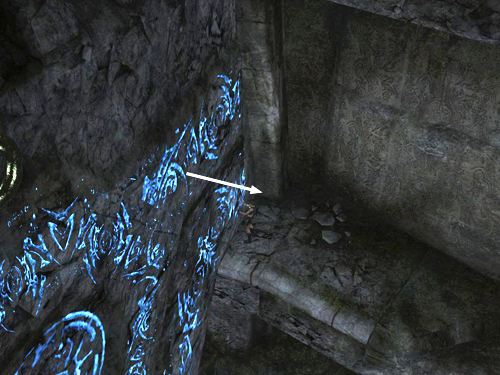
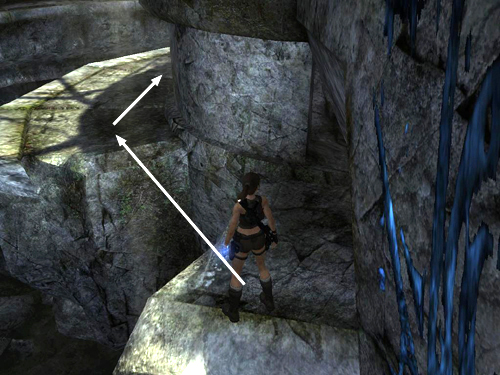
The carved panel should be just ahead, above the second gap in the ledge. Jump to grab it and climb to the circular platform up top.
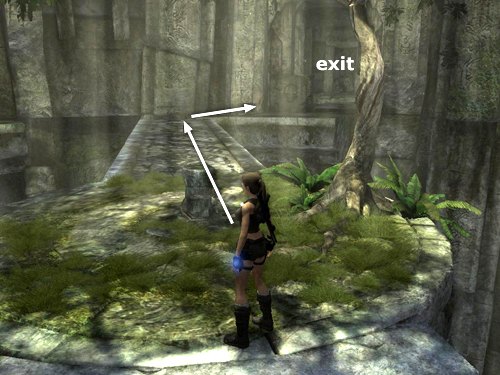
With the walkway aligned in this way, it won't meet the exit doorway exactly; however, the right edge of the walkway should just touch the doorsill, enabling you to cross over and hop to the exit.
[Return to the Ancient World Walkthrough]
Copyright © 2008- - Stellalune (). All rights reserved. The screenshots and videos included here were made using Fraps. Feel free to copy or print this walkthrough for personal use. By all means, share it with friends, but please include this credit line so people can send me their feedback. No part of this walkthrough may be reproduced on another site without permission. Follow this link for details about this site's advertising and privacy policy.
|