This sequence is also shown in a gameplay video.
IMPORTANT: It's a good idea to save manually at the beginning of the level. When you kill the soldiers, some of them drop health packs, which can come in handy when you're fighting the final boss. However, there's a second checkpoint at the beginning of the fight with the creature. So if Lara dies during the final battle, the game reloads from that second checkpoint, and any health packs still on the ground disappear. As long as you've saved at checkpoint 1, you can reload that save and fight the mercenaries again. Then the dropped health packs will again be available during the more difficult fight.

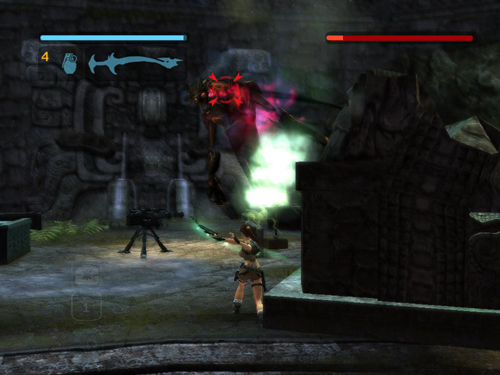
As soon as CHECKPOINT 2 registers, locate the creature and lock onto it, either by holding the Target Lock button or selecting Advanced Toggle combat mode and then pressing Target Lock once to lock on. Begin firing beams with Excalibur whenever you have a clear shot.
Maintaining a target lock also makes Lara more maneuverable, since she can do evasive leaps and rolls only with a weapon drawn.
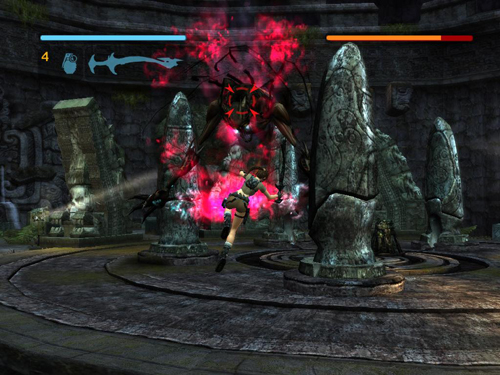
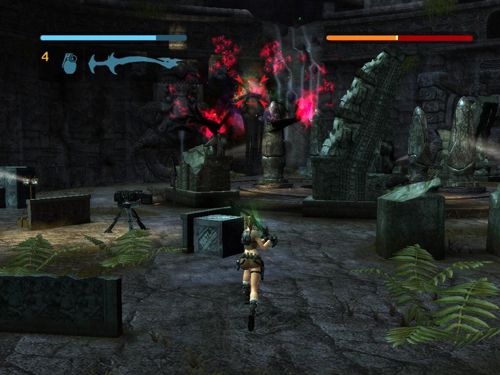
Try to keep moving, both to keep the creature in sight and to avoid its energy blasts. You can usually tell when the creature is about to attack, since it draws back its arms and then physically hurls a ball of energy at Lara (above). When you see it draw back, jump out of the way.
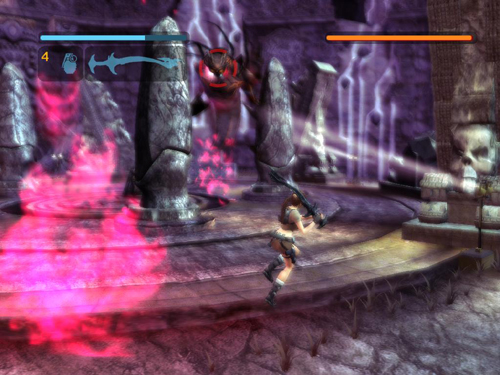
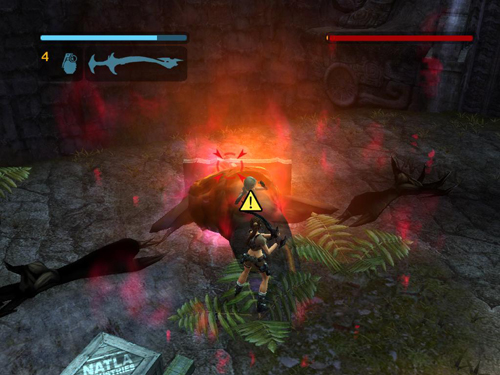
Also note that the monster's blasts can penetrate most of the stone pillars and slabs. Even when you can't see the creature, there will be a telltale red shimmer on the ground (as in the screenshot above) where each blast will hit. When you see the shimmer, quickly jump or roll away from that spot to avoid taking the full blast.
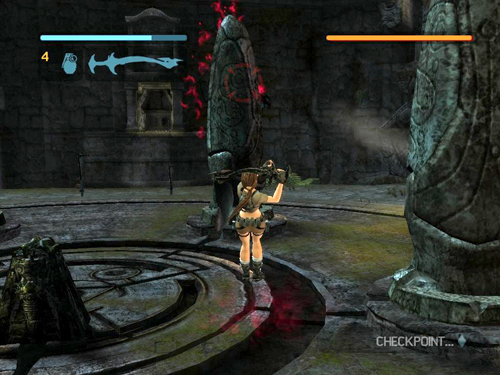
Here Lara has just avoided one of these blasts.
Continue slashing with Excalibur. Get as close as you can while still maintaining enough distance to dodge the creature's attacks. The closer Lara is to the creature, the more damage each of her own blasts will do.
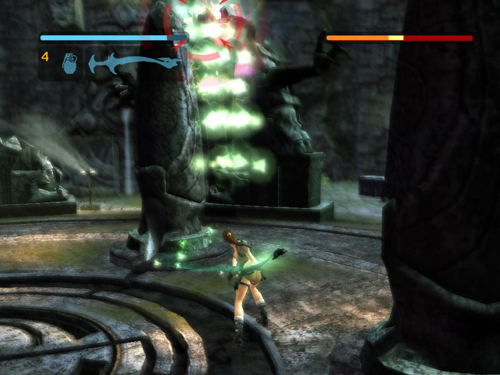
When it has lost about half of its health, the creature will let out a roar and fall down on the ground.
When this happens, you'll see Amanda inside the creature doing a little dance of agony. The Interact icon floating near her shows what you need to do: As quickly as possible, move in close. If you need to cover a lot of ground fast, try forward rolls (Forward + Duck).

Then stab Amanda with Excalibur by pressing Interact.

Whether or not you succeed in stabbing Amanda, the creature will rise up and regenerate some of its health. But each time you're able to hit Amanda, the monster is weakened and regenerates less. (Here, after one successful strike, it only regains about 3/4 of its health.)
Repeat the process several times: Attack it until it lies down. Then, when the Interact icon appears, move in close and press Interact to stab with Excalibur. After three successful strikes, the monster will finally be weak enough to finish off.
Blast it until its health is almost gone.
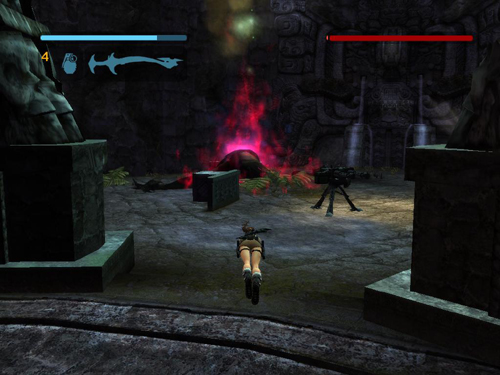
When it falls down, quickly move in close. . .
. . . and deliver the killing blow by pressing Interact one last time. This triggers the final cut scene.
There are a few additional tips in the main walkthrough following the basic strategy.
[Return to the Bolivia Redux Walkthrough]
Copyright © 2006-2009 - Stellalune (). All rights reserved. The screenshots and videos included here were made using Fraps. Feel free to copy or print this walkthrough for personal use. By all means, share it with friends, but please include this credit line so people can send me their feedback. No part of this walkthrough may be reproduced on another site without permission. Follow this link for details about this site's advertising and privacy policy.
|