Obtaining the gold reward is a multi-step process. All of the steps are covered in the main walkthrough and in this gameplay video. The final part of that sequence is detailed below.

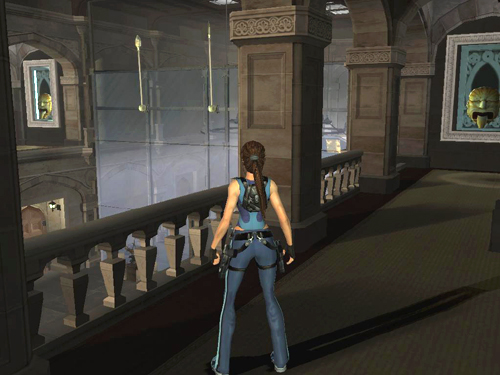
Upon completing the book puzzle in the LIBRARY, the decorative panels at the end of each balcony in the MAIN HALL will have turned to reveal golden switches.

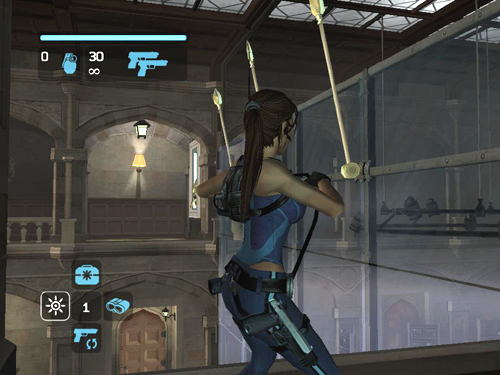
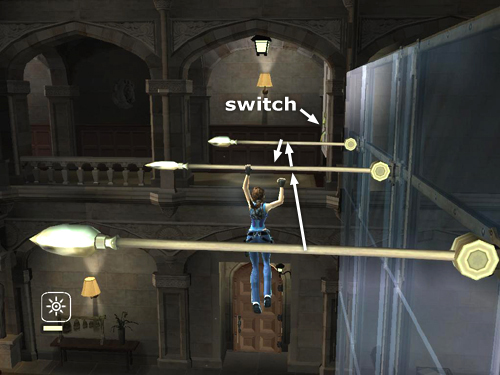
Use the magnetic grapple to pull down the horizontal bars above the glassed-in TECH ROOM so Lara can swing on them.

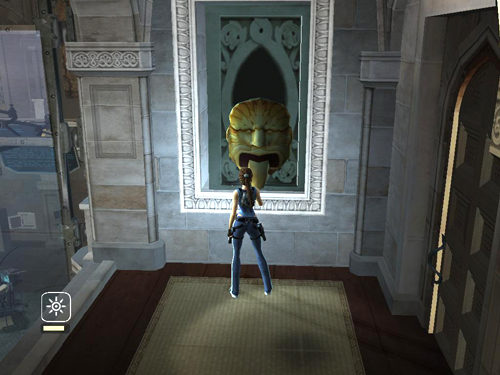
Now press Interact to use either of the golden switches.

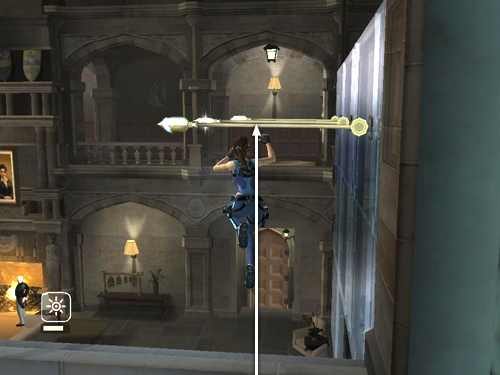
Quickly jump to grab the nearest of the horizontal bars.

Swing around and jump from one bar to the next and finally to the opposite balcony. Quickly touch the second switch, again by pressing Interact.
NOTE: You can cross the bars more quickly by jumping before Lara swings all the way around. This is a little tricky, though. You'll need to press Jump just a fraction of a second after Lara grabs each bar.
If you don't make it from one switch to another in time, the switches reset and you can try again, starting with the nearest one. The order in which you press the switches doesn't matter.

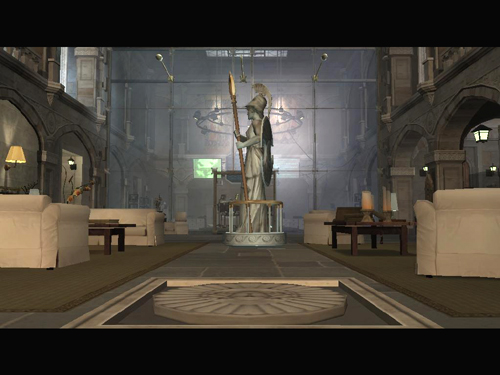
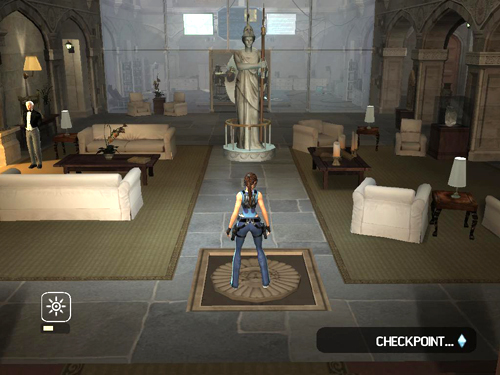
If you manage to press them quickly enough, a statue of Athena rises from the floor below.

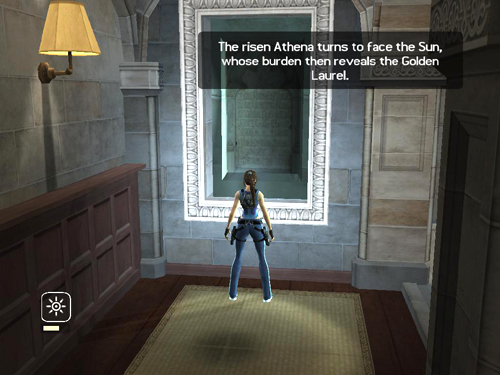
The switch panels also rotate again, revealing a set of carved plaques with another clue. Again, press Interact to make Lara read it aloud: "The risen Athena turns to face the sun, whose burden then reveals the golden laurel."

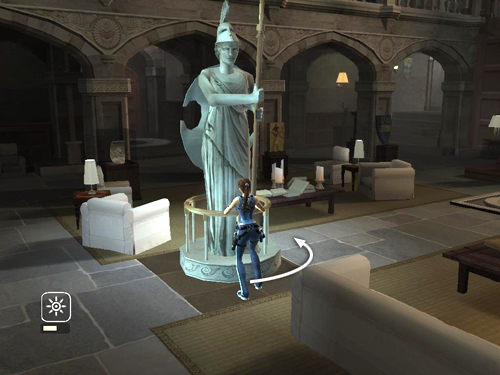
Hop down off the balcony and turn the statue so it faces the stairs.

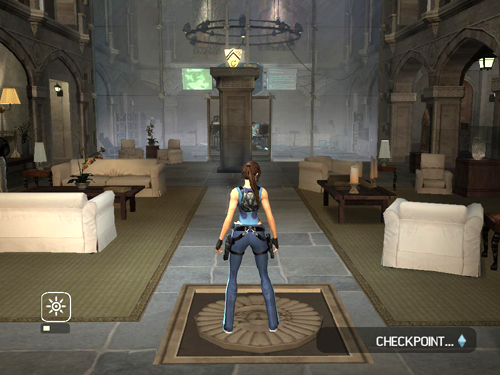
Step on the pressure pad with the carved sun. . .

. . . to raise a pedestal holding the gold reward (1/1). (Meanwhile, Zip just keeps on working, and Winston stands there looking slightly bored. I guess they've seen this sort of thing before.)

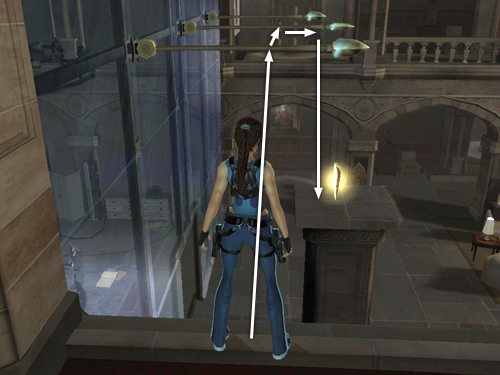
To reach the golden shield, climb the stairs and go to the end of either balcony. Jump to grab the nearest extended bar. Swing and jump to the middle bar. Climb out to the end and drop onto the pedestal with the reward. Congratulations!
[Return to the Croft Manor Walkthrough]
Copyright © 2006- - Stellalune (). All rights reserved. The screenshots and videos included here were made using Fraps. Feel free to copy or print this walkthrough for personal use. By all means, share it with friends, but please include this credit line so people can send me their feedback. No part of this walkthrough may be reproduced on another site without permission. Follow this link for details about this site's advertising and privacy policy.
|
