The Vault of Trophies - Statue Room and "Won't Catch a Breath" Achievement/Trophy
After obtaining the AQUA-LUNG, as shown in the previous section, quick-save here if you like. If you don't care about achievements, find the AQUA-LUNG in your inventory under Items and use it. This will give Lara an extended supply of air, making the next area easier. If you're after the "Won't Catch a Breath" achievement/trophy, do not equip the Aqua-lung. You'll need to complete the next sequence without using it and without losing any health from here to the exit from the statue room.
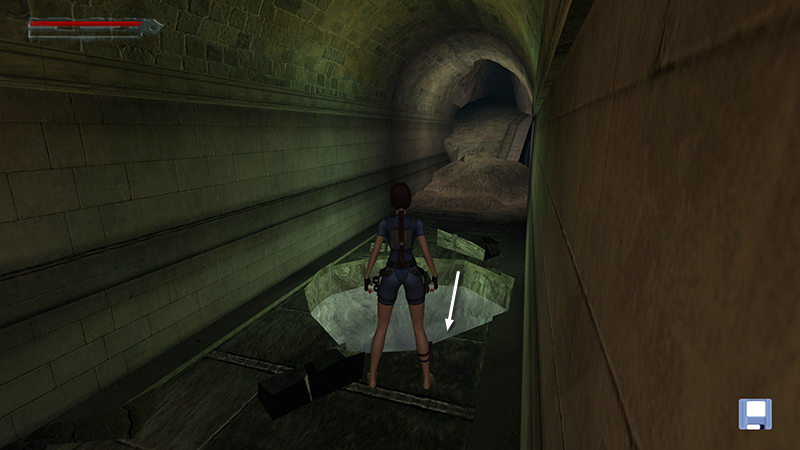
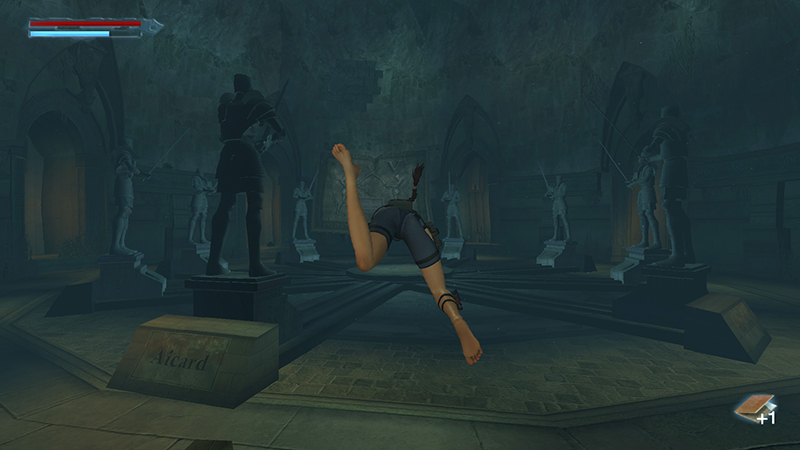
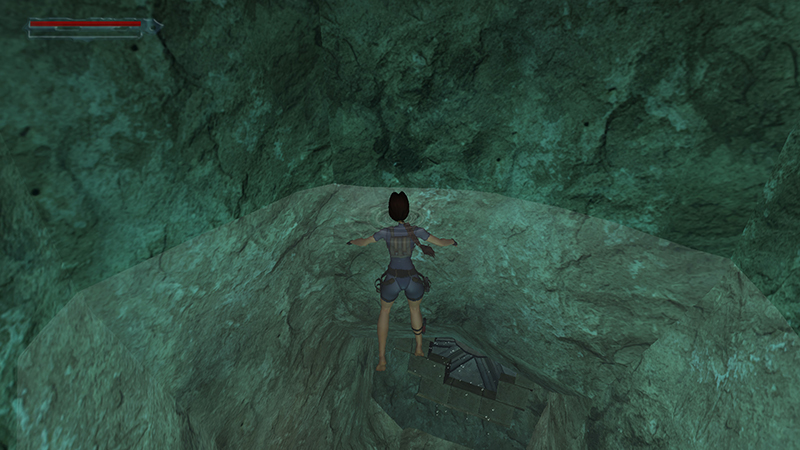
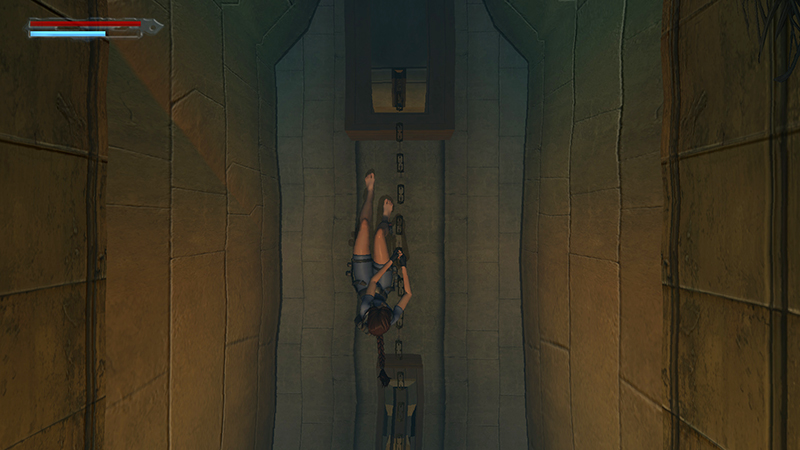
Jump back into the water. Swim down the tunnel, then straight onward, past the next intersection. The tunnel then curves around to the right...
...and dead-ends in a stone wall. Press Action here to break down the wall.
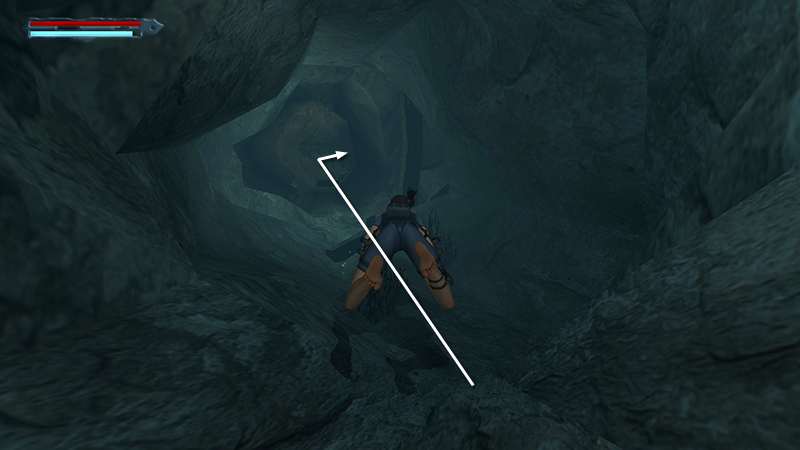
Swim through.
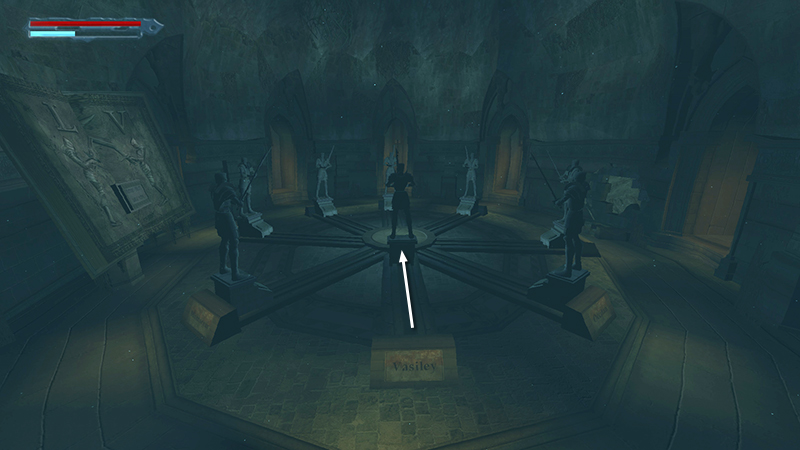
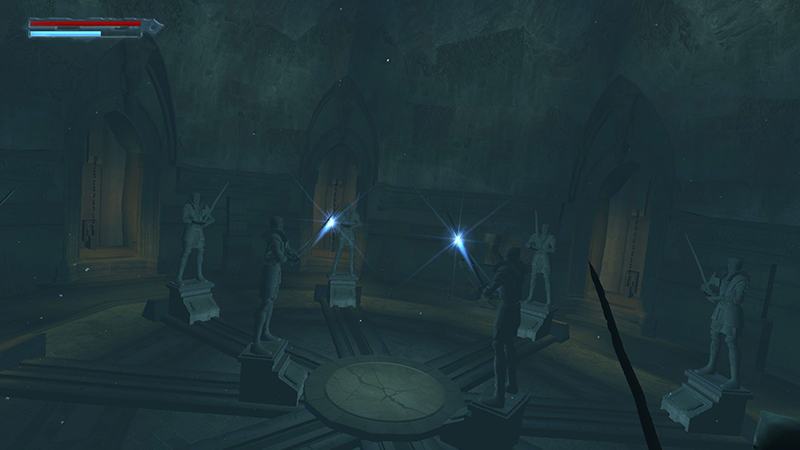
The flooded room beyond contains a ring of statues depicting Lux Veritatis heroes of bygone days. You receive a notebook update (50/62) here: "Rearrange the statues - they are the key." (Again, this page on Von Croy's Notebook attempts to list all entries.)
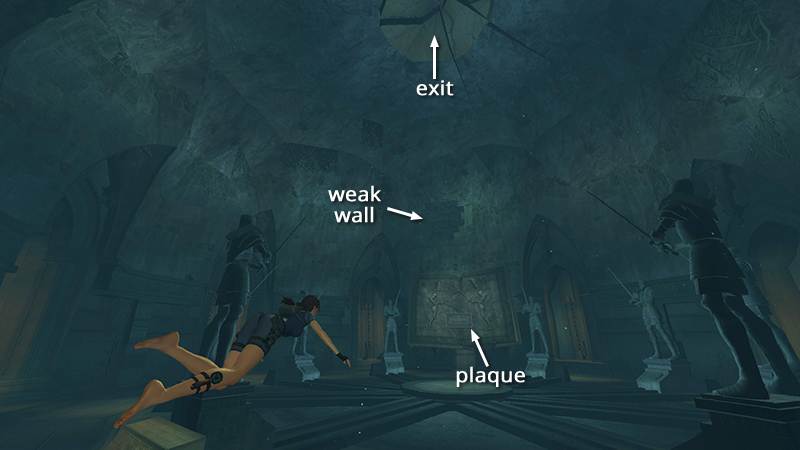
There's also a stone plaque with two knights and an inscription, another bricked-up section of wall above this plaque (and almost directly opposite the wall where you broke in), and a cracked area in the ceiling. This is the exit.
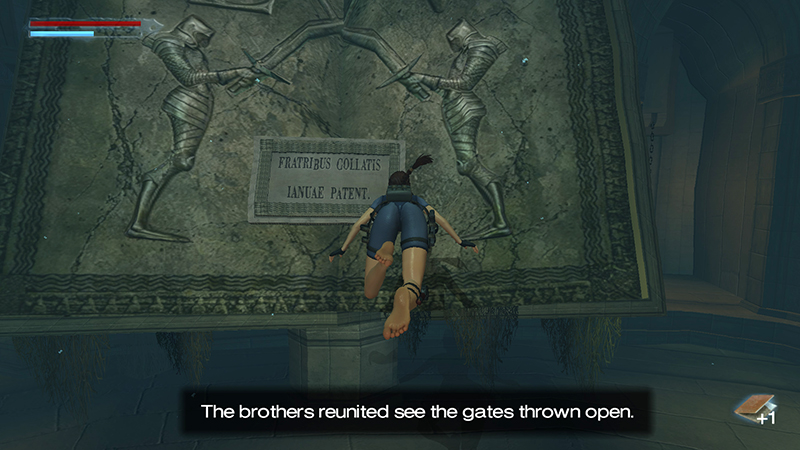
If you still have air to spare, approach the plaque and interact with it for another another notebook update (51/62): "FRATRIBUS COLLATES IANUAE PATENT. The brothers reunited see the gates thrown open."
- OR -

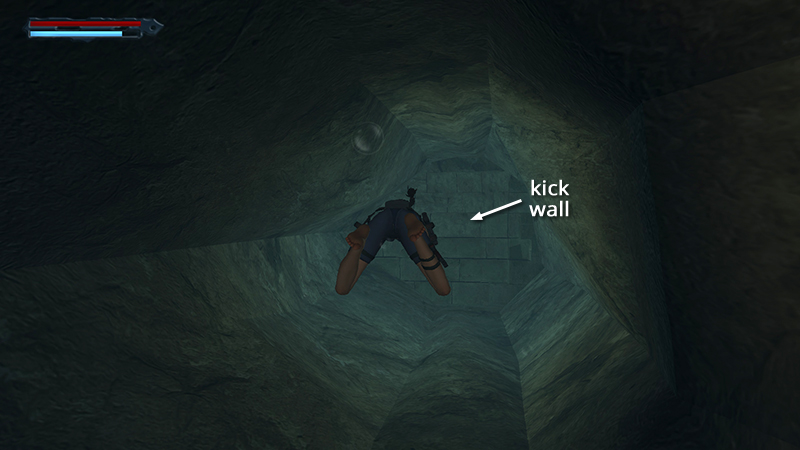
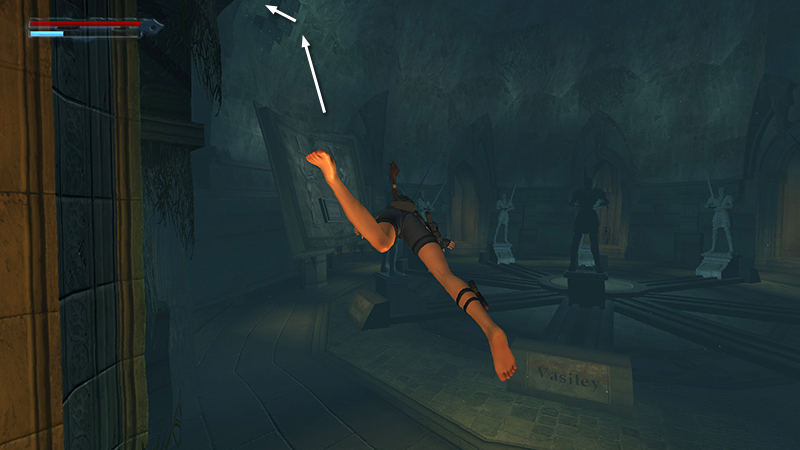
If your air supply is dwindling, skip this for now and head directly for the crumbling wall above and behind the plaque.
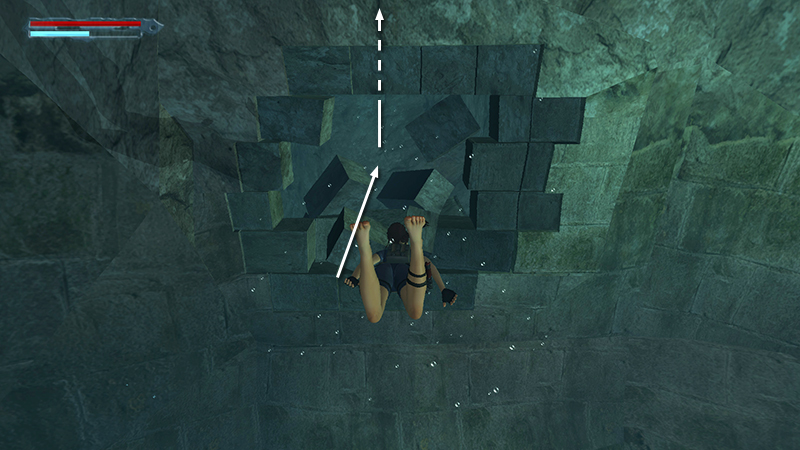
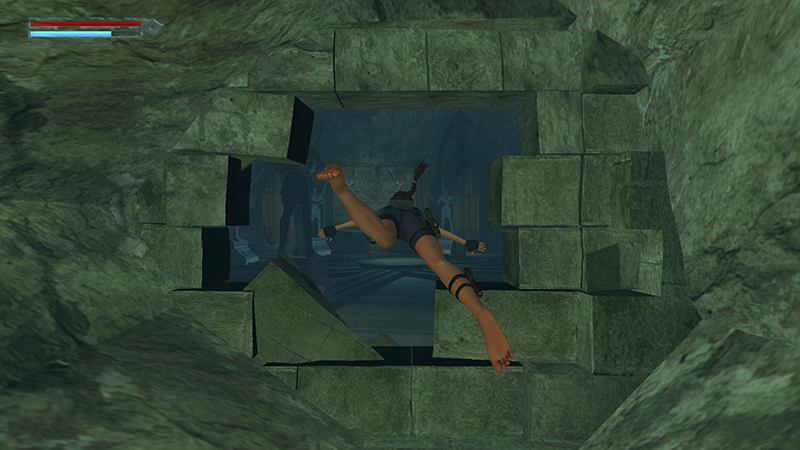
Kick it down and swim through then upward...
...to another air pocket. Then swim back down to examine the plaque. You can return to this air pocket as needed while solving the statue puzzle. You don't need to do it all in one go for the achievement/trophy.
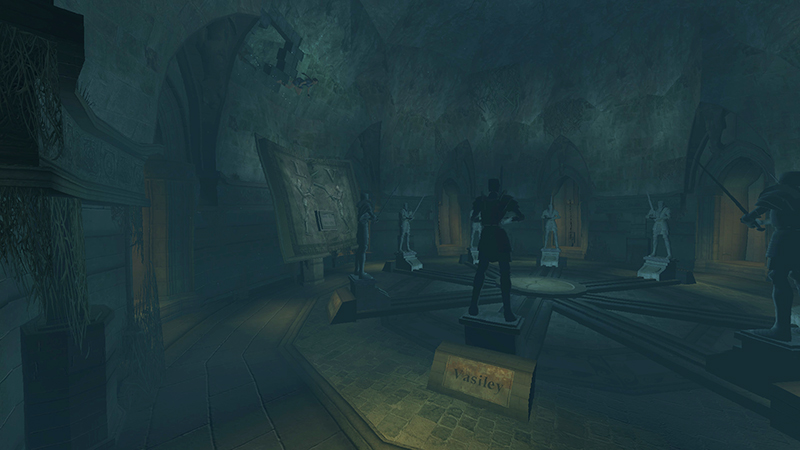
As you'd guess, the plaque is important. The large carved letters, L and V, not only stand for Lux Veritatis; they're also a clue to the puzzle. Swim around the circle behind the statues and you'll see their names carved into their bases. Find the two statues whose names begin with L and V: Limoux and Vasiley.
Vasiley (shown above) is the second statue from the plaque on the right, as you swim down from the air pocket.
Swim into the alcove behind Vasiley's statue.
Pull the chain there...
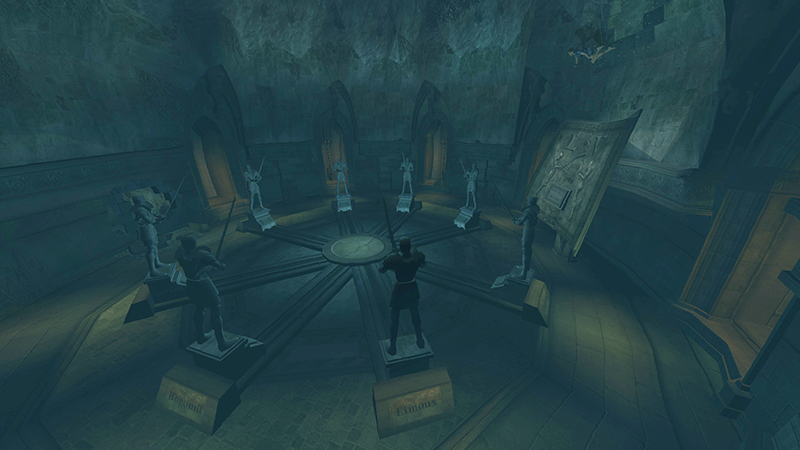
...to move the statue toward the center of the room.
Swim up to the air pocket if necessary.
NOTE: If you pull a wrong chain, just use one of the correct ones (Vasiley or Limoux) and the incorrect statue will slide back into its starting position.
Limoux is the second statue from the plaque on the left, as you swim down from the air pocket.
Swim into the alcove behind his statue...
...and pull the chain to shift his statue toward the center of the circle.
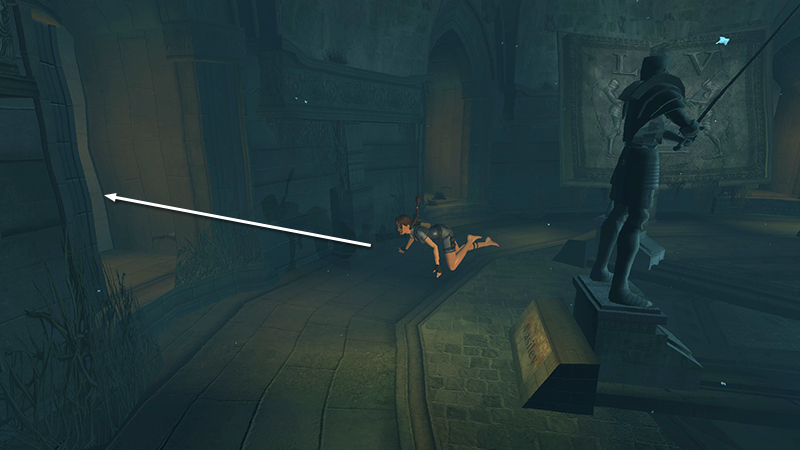
When you've moved both statues, magical light shoots up from their swords, breaking a hole in the ceiling. (Fortunately, Lara's air and health meters are frozen during this sequence, so you need not worry about drowning.)
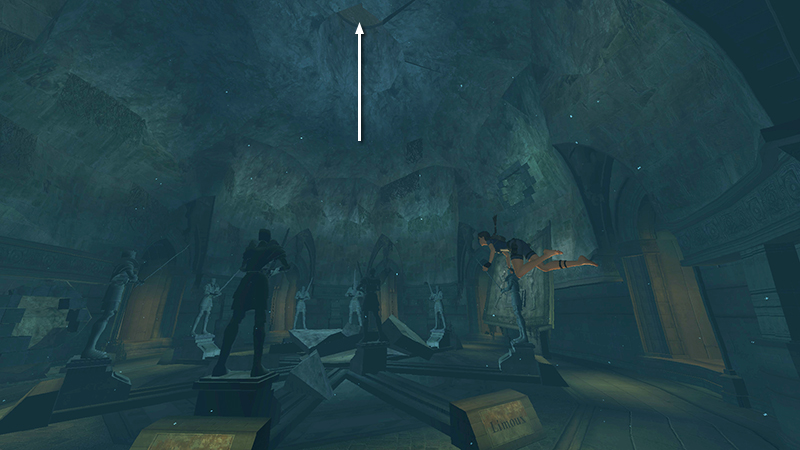
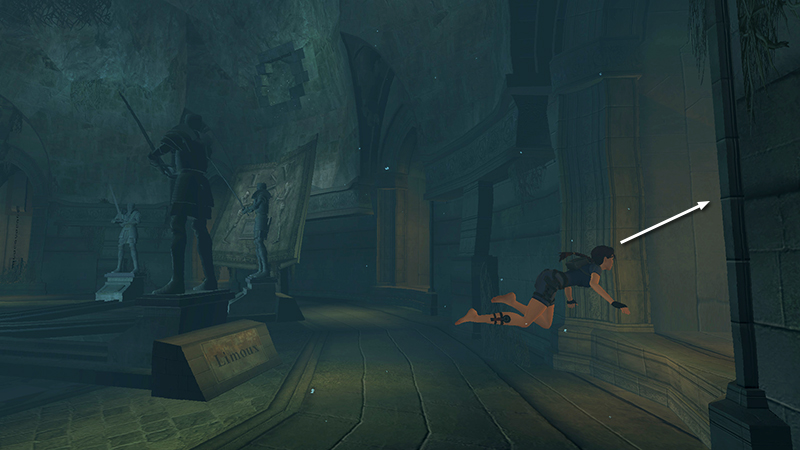
When the cutscene ends, swim up through the hole in the ceiling.
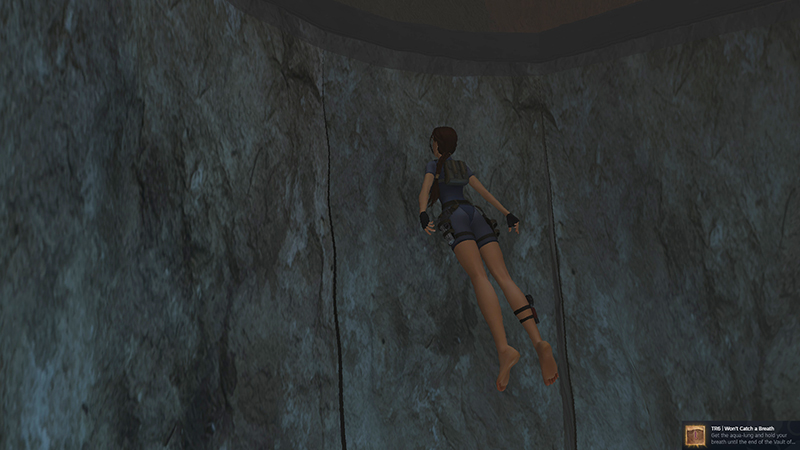
A short cutscene follows: Lara climbs out of the water, ditches the aqua-lung, and changes into dry clothes. If you completed this sequence without using the aqua-lung or losing health, "Won't Catch a Breath" should unlock here.
DARK MODE: I plan to add optional dark mode for these pages, but my current priority is updating the walkthroughs. Meanwhile, may I suggest a reputable dark mode browser extension, such as Dark Reader? (Download only from trusted sites, like darkreader.org or your browser's official add-on/extension site.)
Walkthrough text and diagrams copyright © Stellalune (email ). Feel free to copy or print this walkthrough for personal use. By all means, share it with friends, but please include this credit line so people can send me their feedback. No part of this walkthrough may be reproduced on another site without permission.