Galleries Under Siege - "More Gas, More Mess" Achievement/Trophy
The basic strategy for this achievement/trophy follows the same all-kills route described in the main walkthrough with a few small exceptions, described below. A few general tips for the all-kills, no-meds run are here.
Getting all the screenshots for this challenge took many attempts, so the ammo count and health/air meters are out of sync in places.
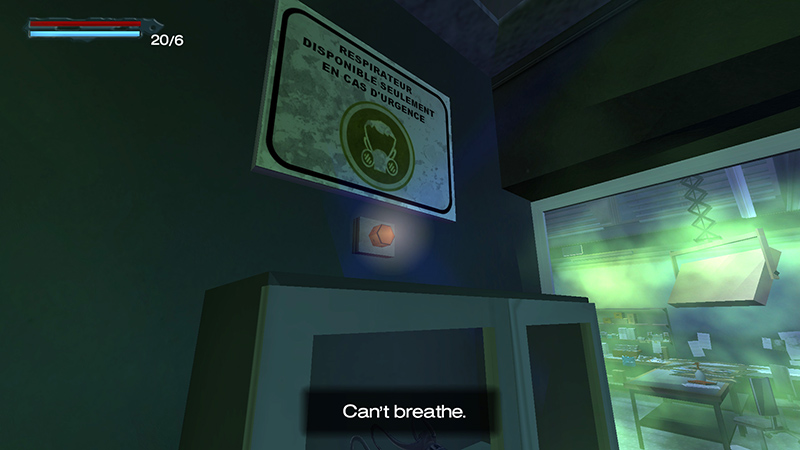
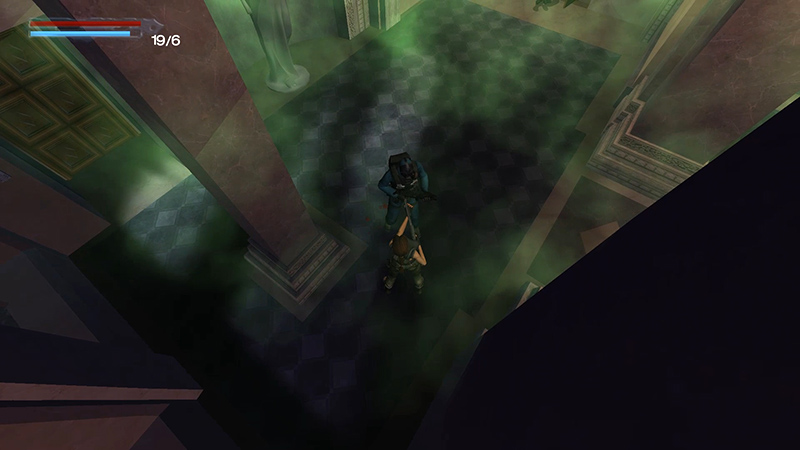
After the cutscene showing Gunderson's arrival, you enter the gas-filled VESTIBULE. There's a brief cutaway showing the respirator cabinet, and Lara says, "Can't breathe."
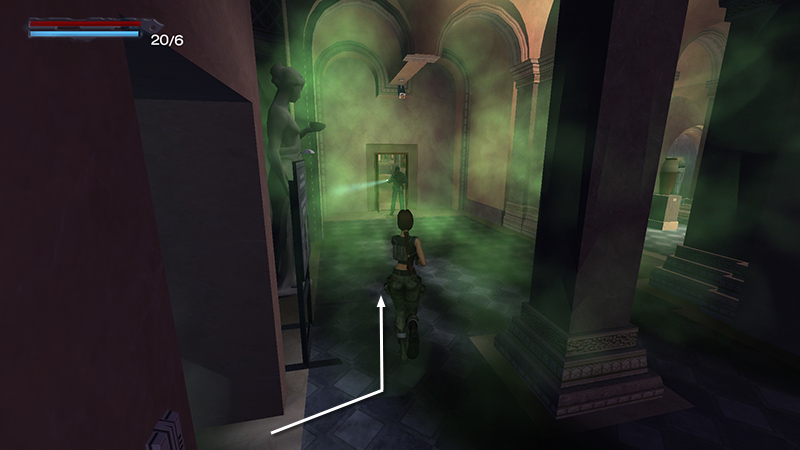
As soon as you regain control, turn left, run forward, and kill the commando (1) in the doorway. (Here I use the shotgun to conserve Desert Ranger ammo, but either is good.)
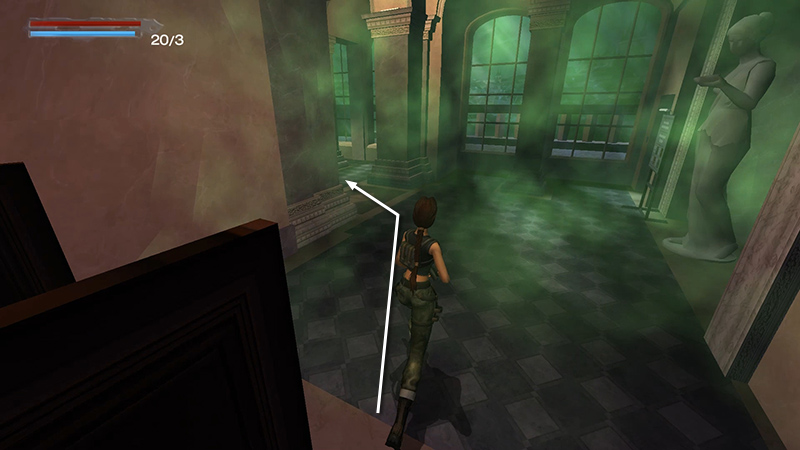
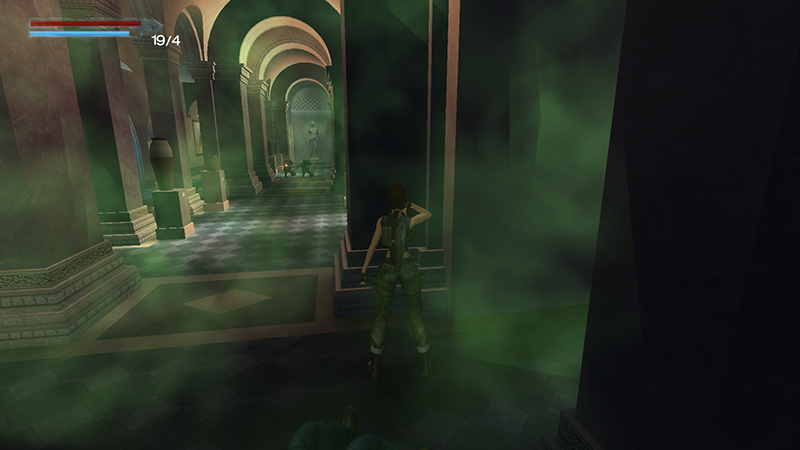
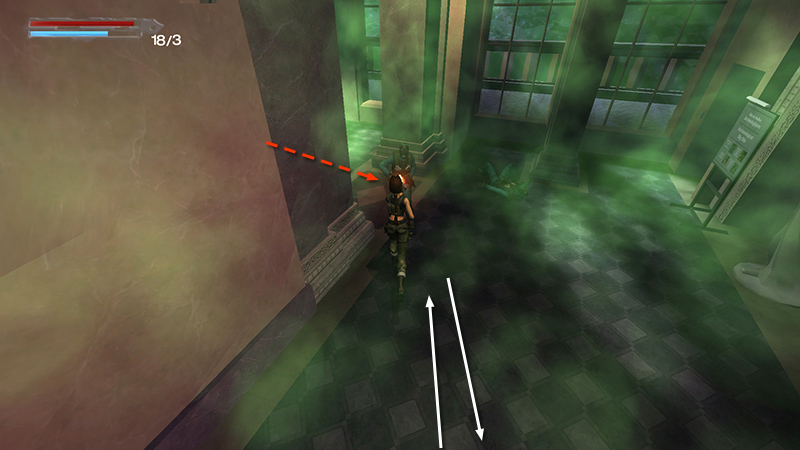
Turn or roll and run just a little way into the gallery opposite the Archaeological Dig sign to spawn the next 3 enemies, two ahead, one behind.
Roll and run back around either side of the doorway...
...as you kill the single soldier (2).
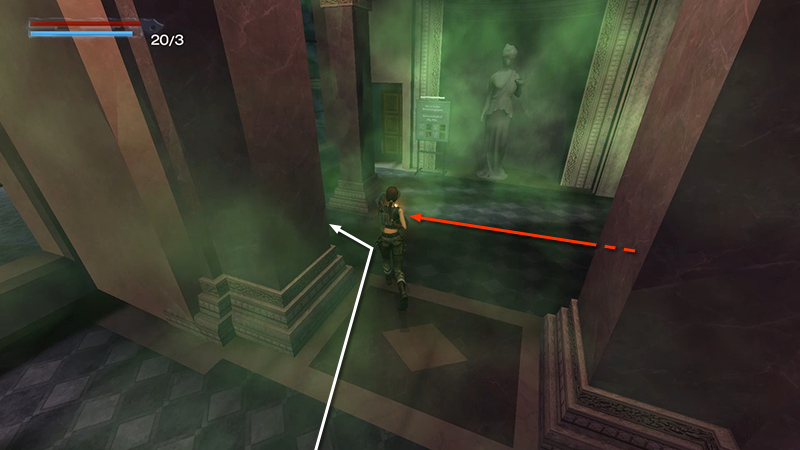
Switch to the Desert Ranger if you have it. (Keyboard hotkey 5.) Check that the 2 mercenaries (3-4) in the next gallery aren't actively shooting at Lara. (They crouch down and fire, then stand up and advance.)
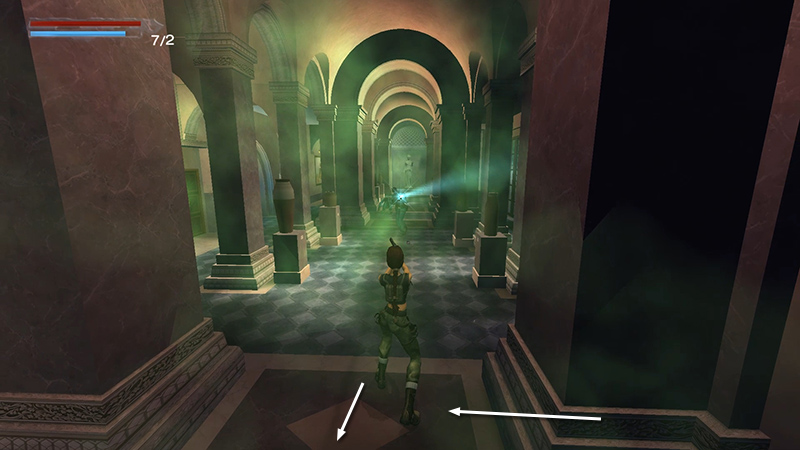
Move out and kill them quickly. If you're using the shotgun, you'll want to run up to them and blast them at close range. If you use the Desert Ranger, you you can land fairly powerful shots from a distance, and back up firing as they advance.
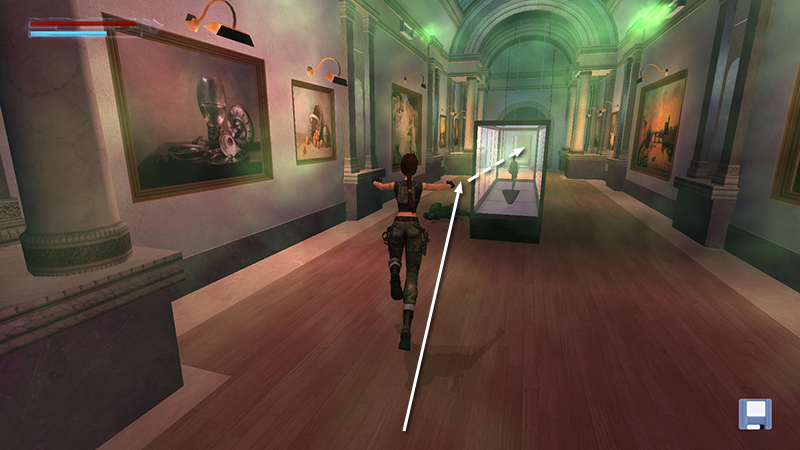
By the time they're both dead, you should be standing in the middle of the VESTIBULE. Turn left and run into the gallery with the glass case.
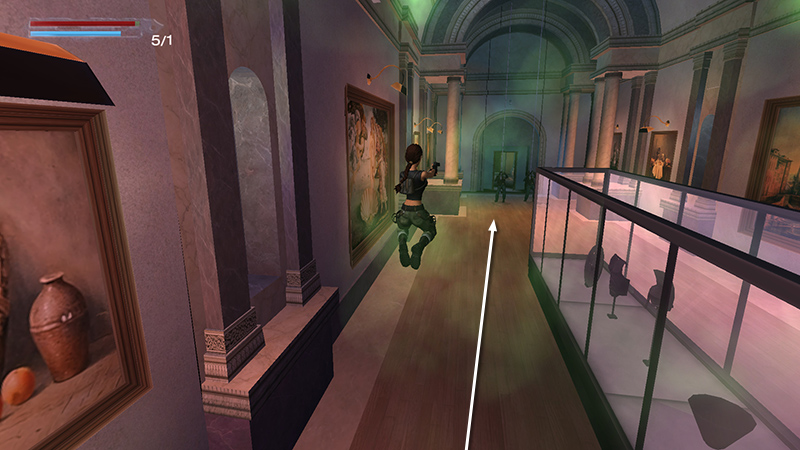
Take running jumps past the glass case. If you're using the shotgun, wait to get close before blasting the 2 commandos that drop in on ropes (5-6). If you're using the Desert Ranger, start firing as soon as Lara targets one of them. By the time you reach them, you should have killed one...
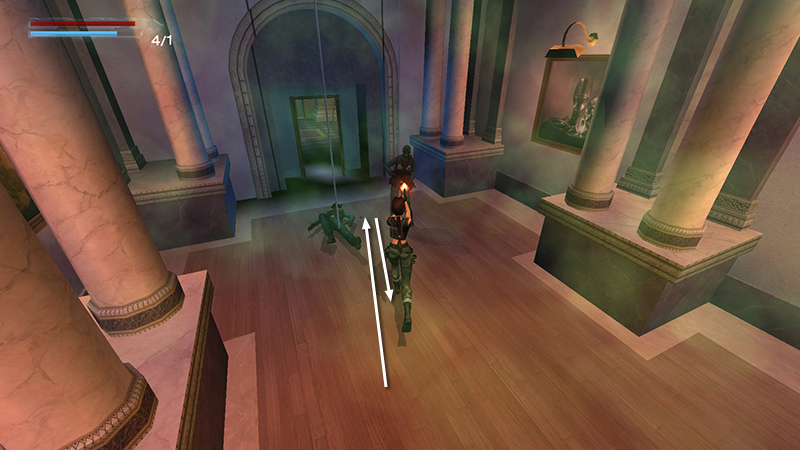
...and another shot or two will finish off the second. If you decide to confront the next two soldiers, as described below, immediately roll and head back the way you came. Otherwise, keep going through the doorway beyond the ropes.
NOTE: You have a choice whether to kill or avoid the next 2 enemies, who spawn behind you. If you wait to confront them after you unlock the sprint ability, things will go faster. However, there are advantages to dealing with them first: If things go well, and your breath meter is still more than half full when you defeat them, you can save in a new slot and avoid having to replay the first half of the run. It also prevents a potential bug, in which Lara tries to aim at one of them through the wall later on. My preference is to kill them first, but do what works for you.
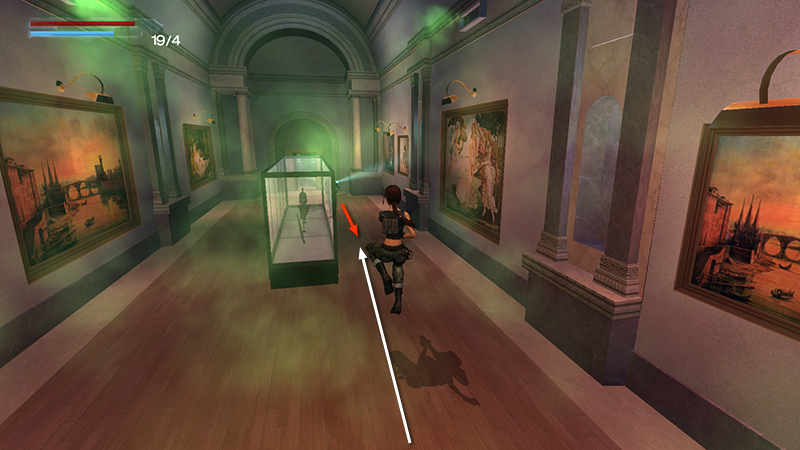
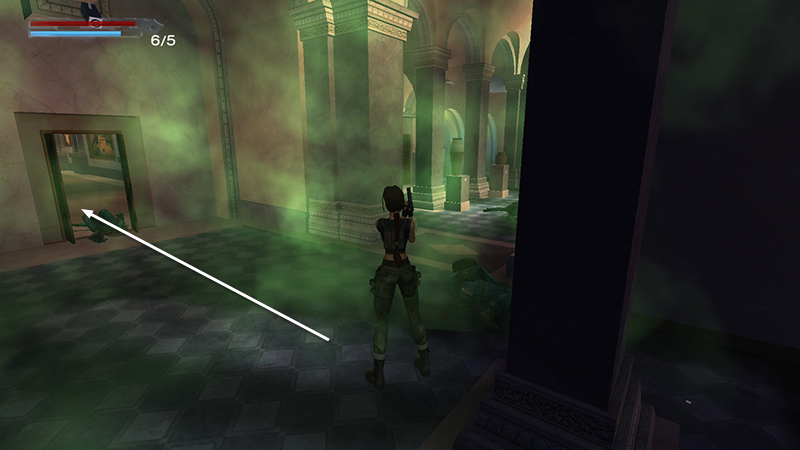
If you decide to try my way, take running jumps back toward the glass case, switch to the shotgun if you like, and shoot the next mercenary (7). (He may approach along either side of the glass case, but his flashlight should help you spot him.)
Continue through the doorway ahead...
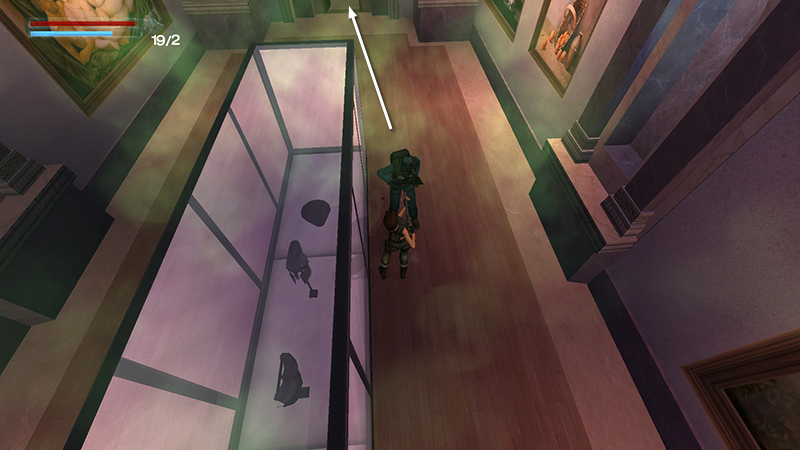
...to confront another solider (8) in the VESTIBULE. If he hasn't already come out to meet you, switch to the Desert Ranger, run into the gallery on the left (opposite the Archaeological Dig sign), and pop him from a distance. Then you don't waste too much time running back and forth. As soon as he falls, roll, stow your gun, and run back into the gallery with the glass case.
Take running jumps across the room and through the door beyond the dangling ropes. If things are going well, and you have full or nearly full health and more than half breath, save the game.
DARK MODE: I plan to add optional dark mode for these pages, but my current priority is updating the walkthroughs. Meanwhile, may I suggest a reputable dark mode browser extension, such as Dark Reader? (Download only from trusted sites, like darkreader.org or your browser's official add-on/extension site.)
Walkthrough text and diagrams copyright © Stellalune (email ). Feel free to copy or print this walkthrough for personal use. By all means, share it with friends, but please include this credit line so people can send me their feedback. No part of this walkthrough may be reproduced on another site without permission.