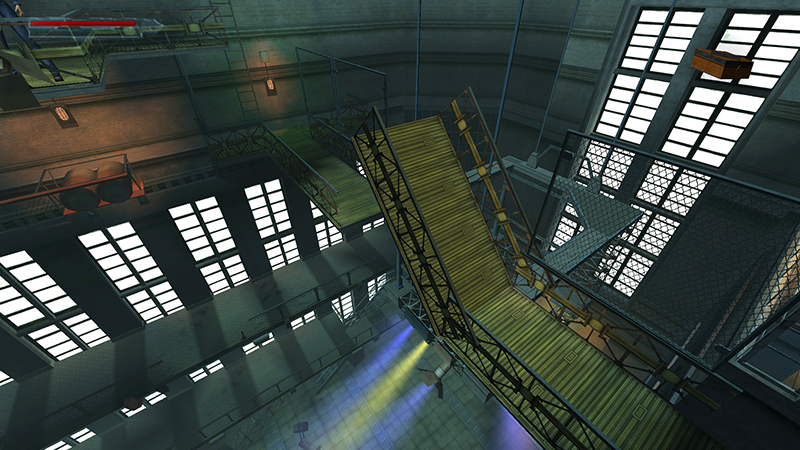
Serpent Rouge - Trinket Box and Level Exit (Bernard)
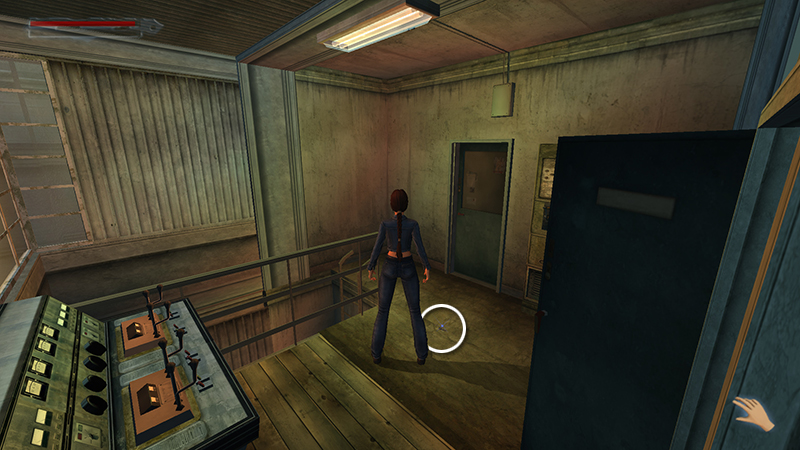
After kicking down the drawbridge for the strength upgrade and barging into the LIGHTING BOOTH, as shown in the previous section, pick up the TICKET OFFICE KEY (31) from the floor of the booth.
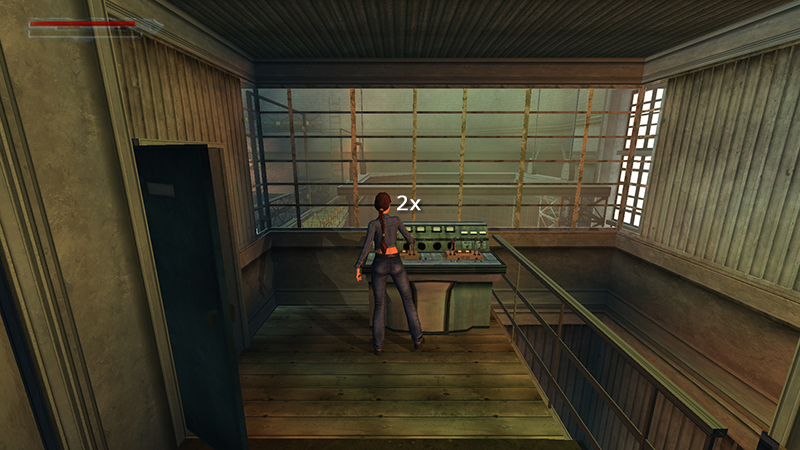
The TRINKET BOX Lara needs is inside the one broken light (i.e., the light-colored one that's sparking intermittently). In order to get it, you must use the levers on the control board to manipulate the lights. The left lever rotates the array of lights. Each time you use it, you'll see a brief cutscene showing what happens. Use the left lever twice...
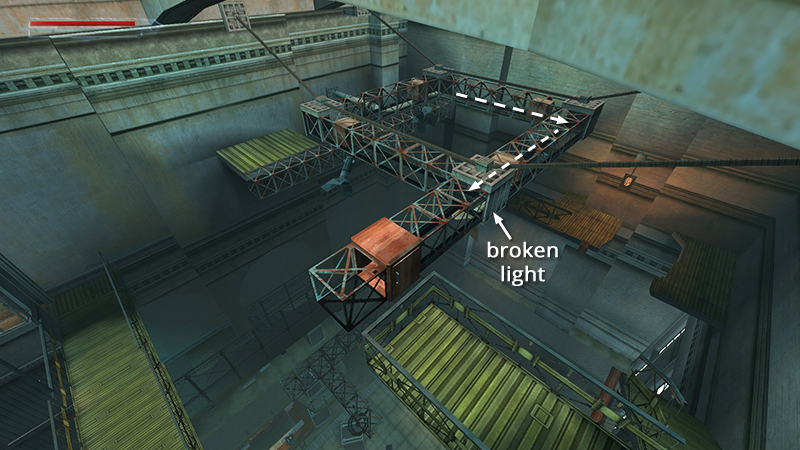
...to move the broken light to the bottom-center.
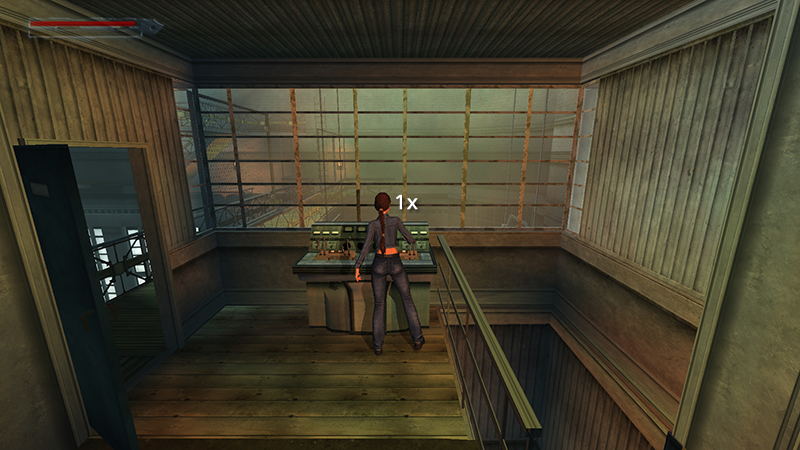
Then use the right lever once...
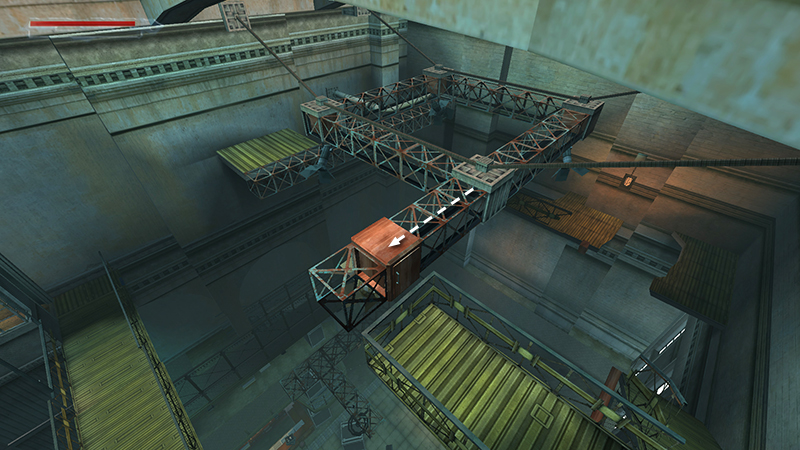
...to slide the broken light into the wooden cabinet.
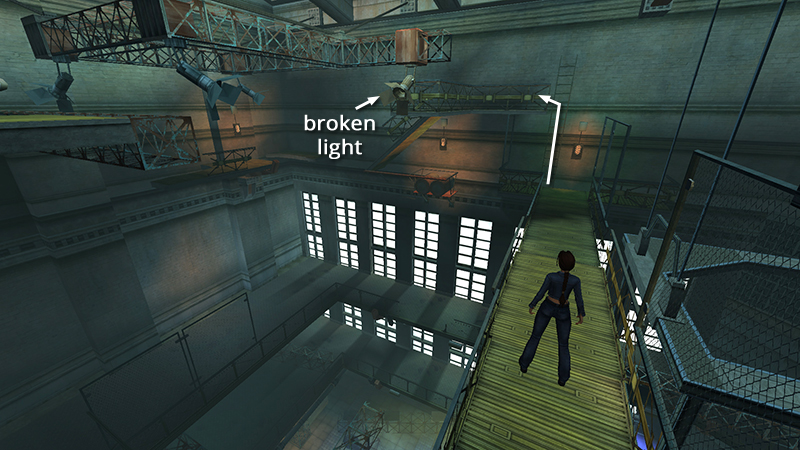
NOTE: Lara can't use the switch on the lighting booth wall, only the levers on the control board. If you accidentally position the lights incorrectly, it's fixable. Once you've used the right lever to move one of the lights into the wooden cabinet, the left lever is temporarily disabled. To rotate the lights again, you must first use the right lever so there is no light in the wooden cabinet. Then use the left lever again to rotate the lights until the tan one with the sparks is closest to the cabinet. Use the right lever once more to move the broken light into the cabinet. If the cutscenes aren't helping, you can go out onto the walkway for a better look, or use Photo Mode (F3 on keyboard, Left + Right stick buttons simultaneously on controller) to examine the lights.
Exit the booth and go across the drawbridge. Climb the ladder or just pull up onto the ledge above.
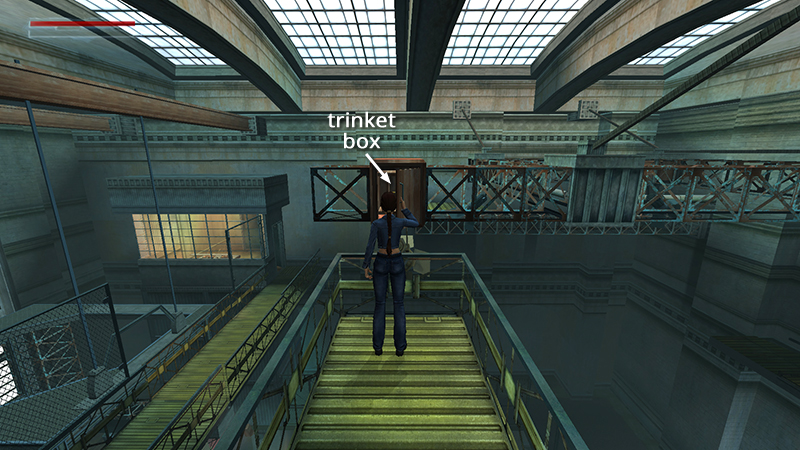
Reach into the wooden cabinet (Action) to get the TRINKET BOX (32).
In the remaster, unlike the original game, when Lara takes the box, a guard (8) enters the lighting booth...
...and raises the drawbridge.
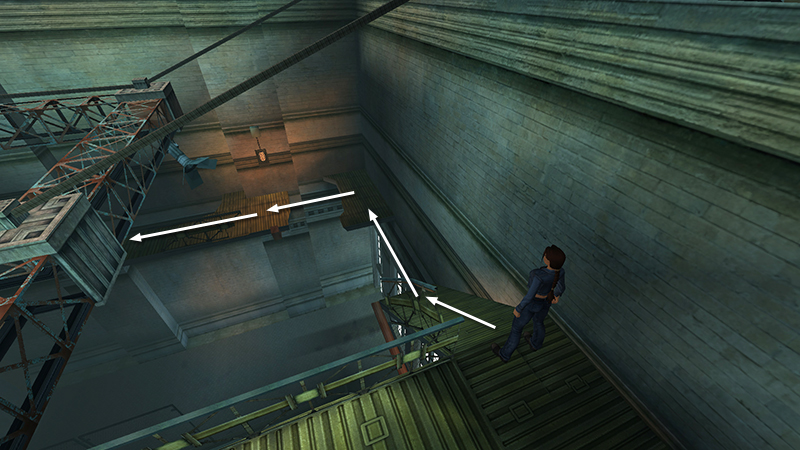
To get to him, retrace the route you took earlier: Slide down the ramp and jump onto the corner ledge. Turn left, jump across the gap, and walk to the end of the broken ledge.
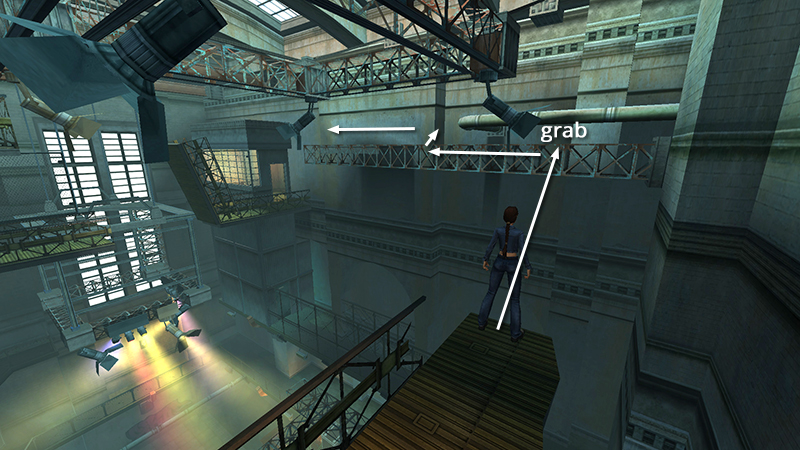
Jump and grab the horizontal strut, traverse left until you can pull up. Turn left, walk forward to the edge.
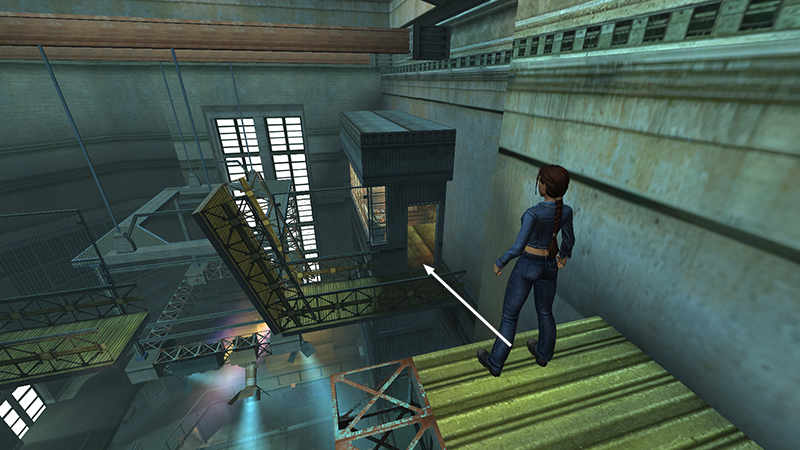
Then jump down next to the LIGHTING BOOTH door.
Go in, shoot or pummel the guard, and take the M-V9 clip (33) he drops. If you lose a little health in this encounter, don't bother healing, since Lara's health will be restored when you change levels.
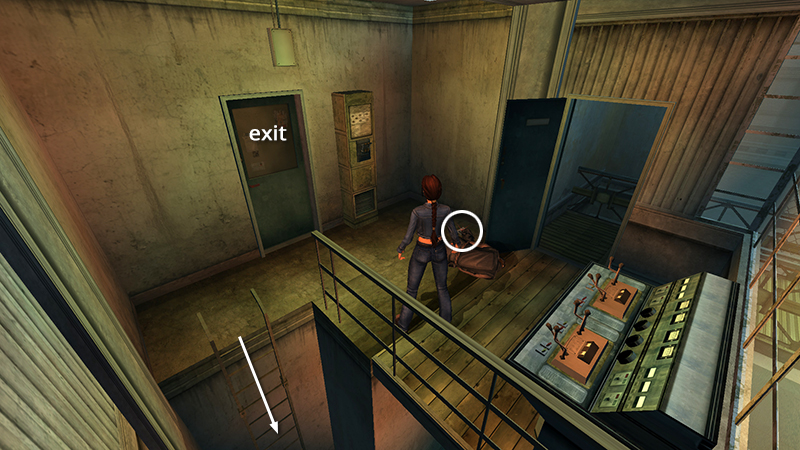
Once you have the trinket box, you can FINISH THE LEVEL by exiting through the other door in the lighting booth. Or, if you want all pickups, climb down the ladder...
...to find a chocolate bar (34) in the room below. (Mmmm...floor candy.)
IMPORTANT: When you leave the night club, you cannot return. So make sure you have everything. As of this writing, I have only been able to get 34/35 listed pickups for this level. I'm not sure if I'm missing something or if it's a bug. I apologize and hope to have a strategy for 100% soon.
If you missed any pickups, including the items in the TICKET OFFICE on the ground floor, you can backtrack now. Exit through the door near where you picked up the last chocolate bar. (This door closes and locks behind you.) Pick up the main walkthrough at the final section.
- OR -
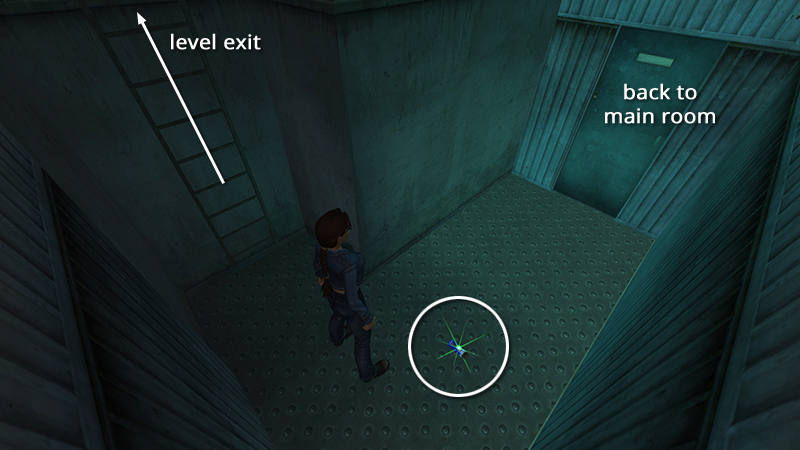
If you're done here, climb back up the ladder into the LIGHTING BOOTH and exit through the door opposite the control panel. Lara emerges outdoors, on a fire escape above the Cours de la Seine. Pick up the walkthrough near the end of the PARISIAN GHETTO, with the section "ONCE YOU HAVE THE TRINKET BOX."
DARK MODE: I plan to add optional dark mode for these pages, but my current priority is updating the walkthroughs. Meanwhile, may I suggest a reputable dark mode browser extension, such as Dark Reader? (Download only from trusted sites, like darkreader.org or your browser's official add-on/extension site.)
Walkthrough text and diagrams copyright © Stellalune (email ). Feel free to copy or print this walkthrough for personal use. By all means, share it with friends, but please include this credit line so people can send me their feedback. No part of this walkthrough may be reproduced on another site without permission.