Neptune's Hall - Tunnel with Retracting Spikes
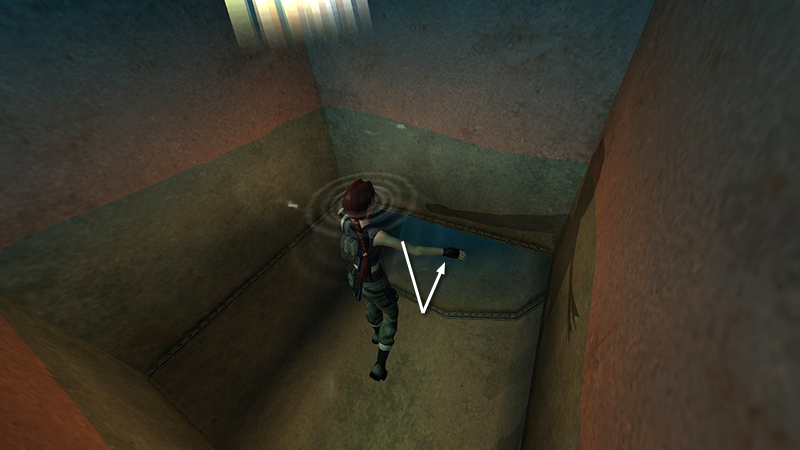
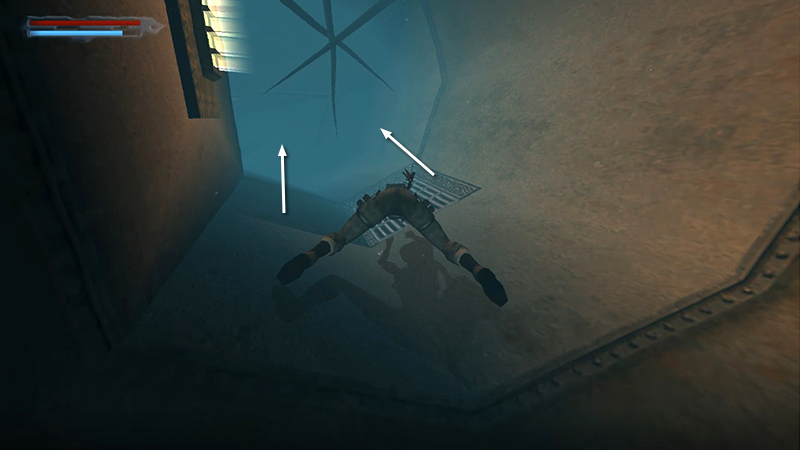
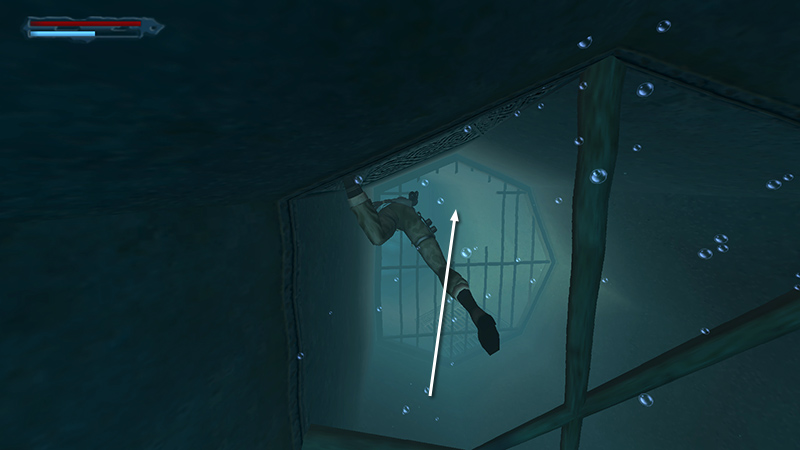
After swimming through the first stretch of the flooded passageway and retrieving 2 large health packs, as shown in the previous section, Lara is in this safe air pocket. Save the game here. The next stretch of tunnel is lined with retracting spikes, and it may take a few tries to get past them—more than a few if you're trying not to take damage. Swim down, then forward...
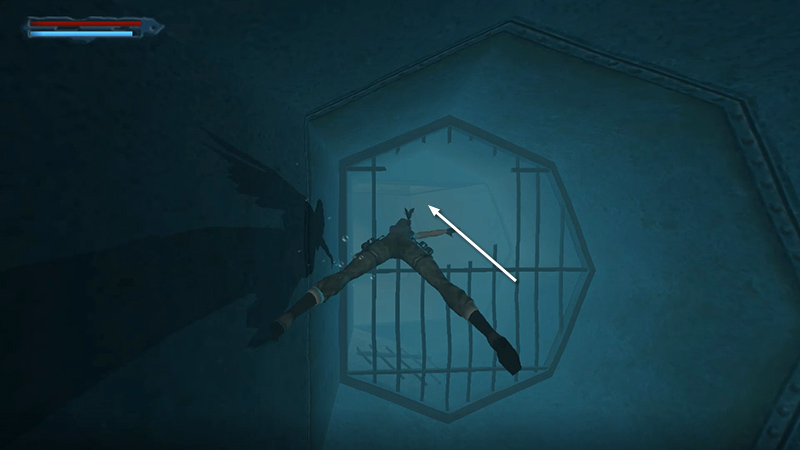
...through the opening in the bars. Then advance cautiously.
The first set of spikes springs out of the walls just beyond the area with the dark-colored ceiling. Aim for the top right and try to swim through as the spikes are retracting.
- OR -
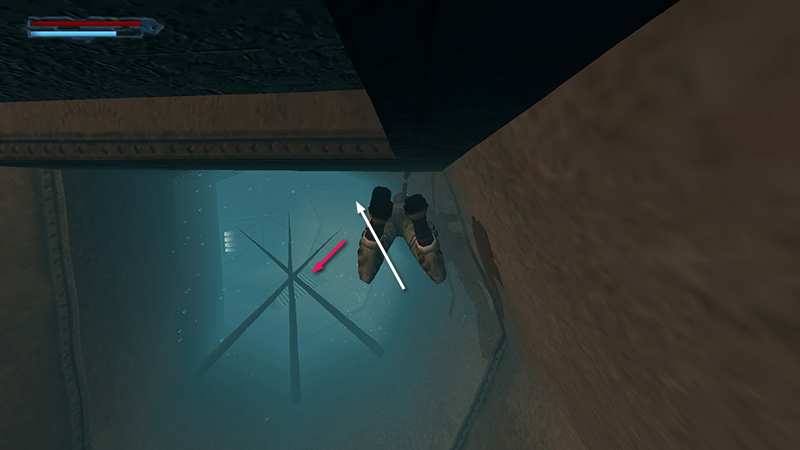
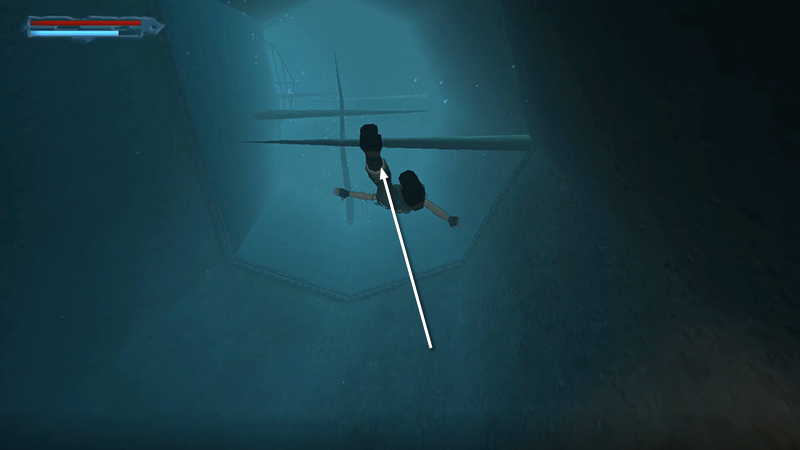
Instead aim for the bottom right and swim between the spikes when they're fully extended.
For the second set, swim through along the bottom (on either side) as the spikes retract.
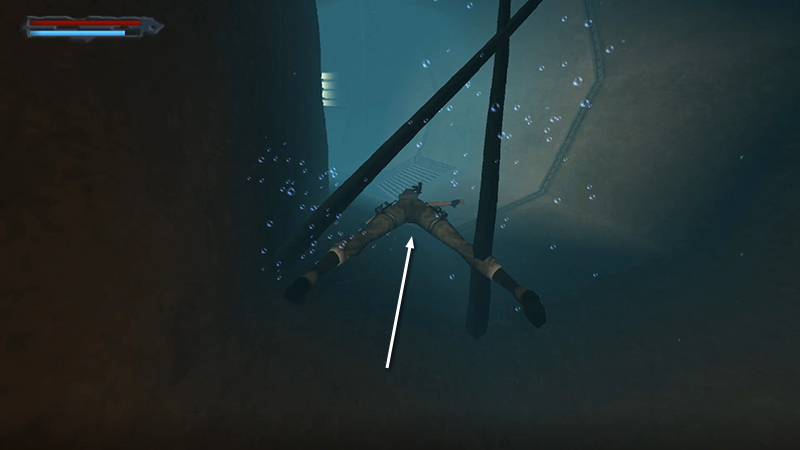
For the next few sets, which pop out from the sides, top, and bottom, rather than in a star shape, aim for the bottom right, swim close to the tunnel wall/floor, and hope for the best.
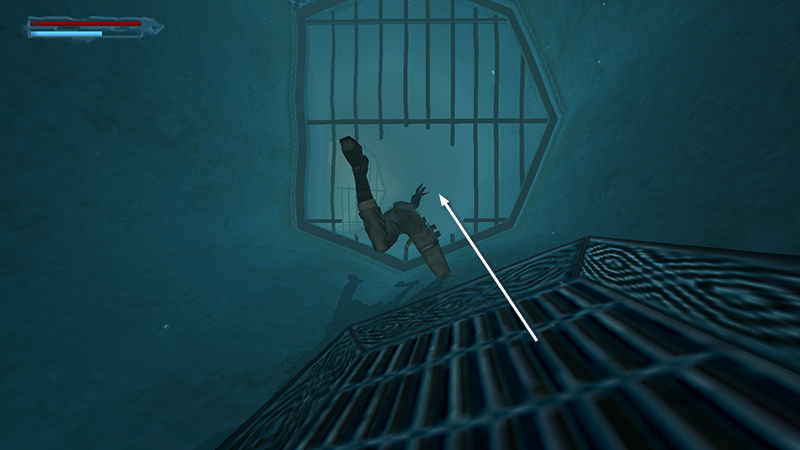
Swim through the hole at the bottom of the next set of bars. If you made it this far without damage, and you still have some air left, quick-save again.
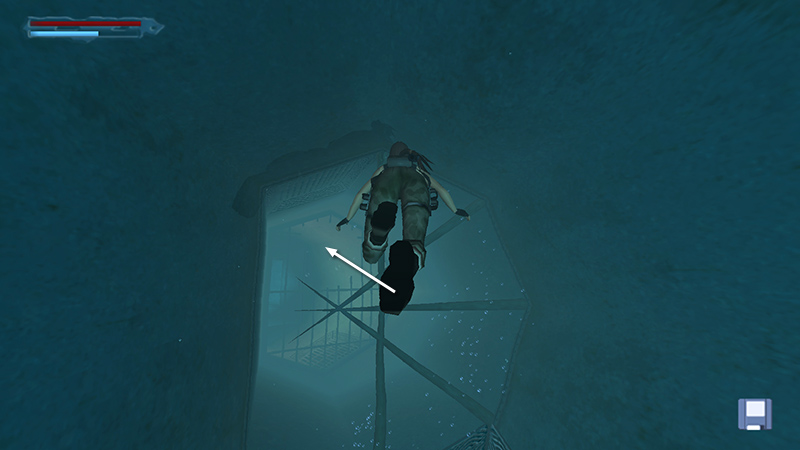
For the final set of spikes, aim for the top left.
Continue through the hole in the next set of bars...
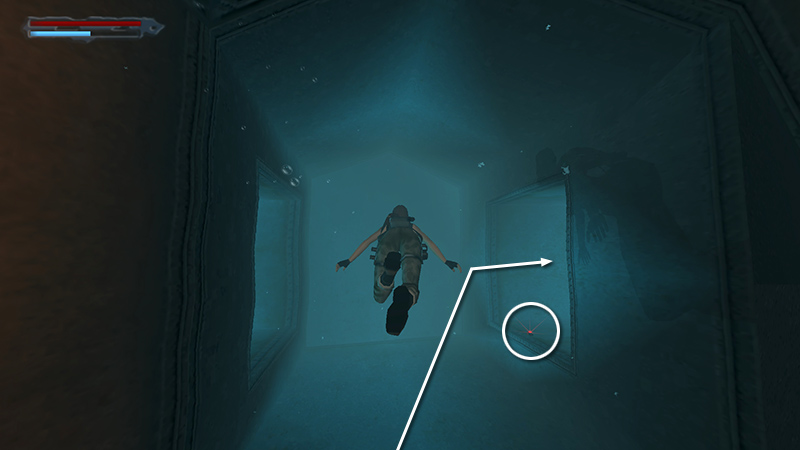
...and on to a T-intersection. Turn right here. If your air is running low, ignore the Vector clip (7) on the bottom and just follow the passageway forward...
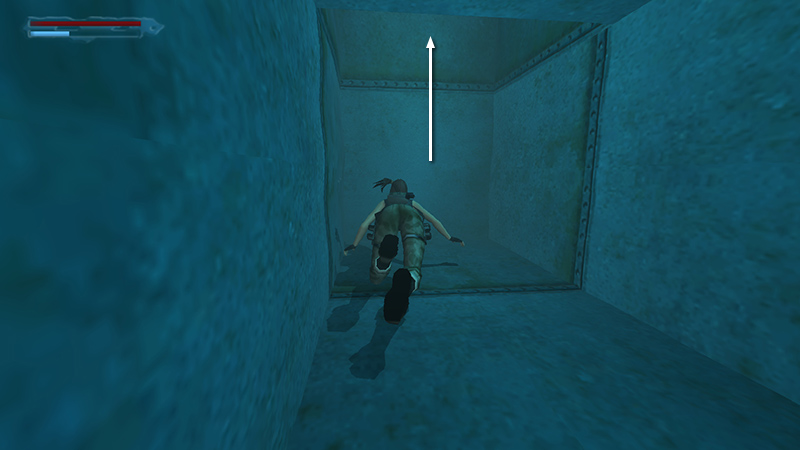
...then upward to another air pocket. Whew! You did it!
NOTE: If my strats aren't working for you, there are several alternatives on YouTube.
[Previous | Next | Neptune's Hall]
DARK MODE: I plan to add optional dark mode for these pages, but my current priority is updating the walkthroughs. Meanwhile, may I suggest a reputable dark mode browser extension, such as Dark Reader? (Download only from trusted sites, like darkreader.org or your browser's official add-on/extension site.)
Walkthrough text and diagrams copyright © Stellalune (email ). Feel free to copy or print this walkthrough for personal use. By all means, share it with friends, but please include this credit line so people can send me their feedback. No part of this walkthrough may be reproduced on another site without permission.