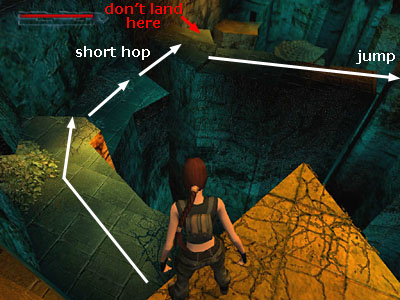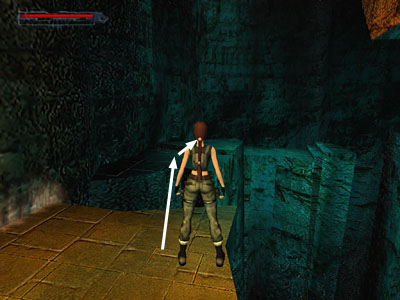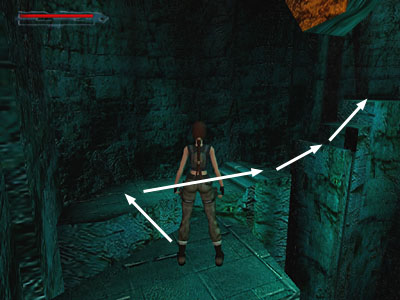
Follow the ledges around to the left wall. At the first gap, walk to the edge and take a short hop to the next block. (Short hop = Walk + Jump. A longer jump can land you on the orange block beyond, which sinks into the abyss.)

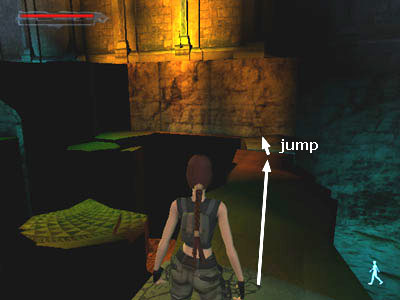
Turn right. Run across the uneven bridge of orange rocks. It crumbles away beneath you, so jump at the end to land on the solid block near the wall.

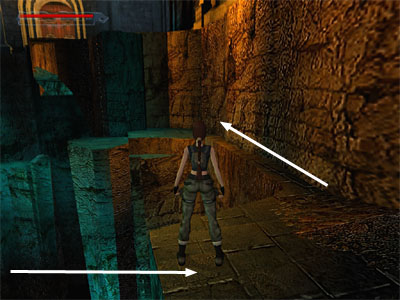
Walk along the narrow ledge near the wall. (If you approach it at a walk, Lara will automatically turn her back toward the wall. Then just press left/right to maneuver.)

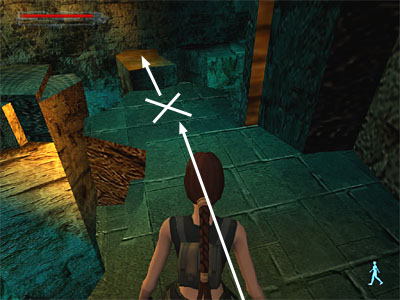
Walk out onto the slightly lower green block. When Lara steps on the far side (marked X), it starts to slide across the gap. Jump onto the orange block ahead when you get close enough. This block starts to fall, so immediately turn to the right. . .

. . . and jump to the next block, then the next, which is located in the corner at the base of the green blocks arranged like stairs.

Run up the collapsing stairs, jumping to land on (or grab) each of the higher blocks. This sequence is quite tricky because the blocks fall away as you stand on them, so the right jump to use depends on how far the block has sunk. The last block, near the wall, is solid.

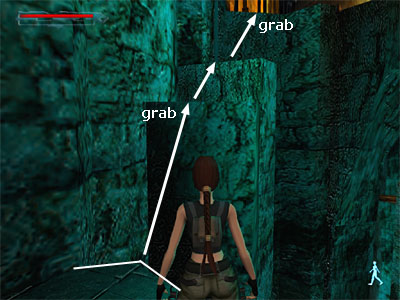
Turn right and walk to the pointed edge of the block. It can be difficult to see in the darkness (this screenshot has been brightened), but ahead is a higher block. Jump forward to grab the edge above. Pull up. Immediately jump to the next higher ledge as the lower one collapses. Walk forward and jump to grab the edge of the walkway above. Pull up.

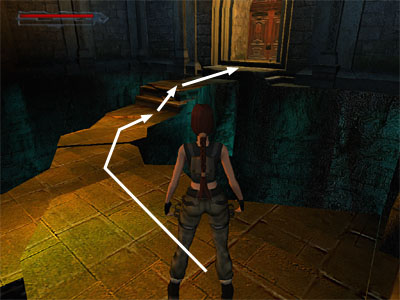
Turn right. You can now see the final approach to the alcove with the EARTH CRYSTAL. Position Lara near the wall before starting to run so she can build up some speed. Run along the right side of the walkway. (The left side collapses more quickly.) Jump near the end to land on the steps.
[Return to the Wrath of the Beast walkthrough]
Copyright © 2003- - Stellalune (email ). All rights reserved. Feel free to copy or print this walkthrough for personal use. By all means, share it with friends, but please include this credit line so people can send me their feedback. No part of this walkthrough may be reproduced on another site without permission. Follow this link for details about this site's advertising and privacy policy.
|
