Tomb of Ancients - Broken Bridge to First Lever
As you approach the end of the bridge, you should be able to target another bat (2) clinging to the underside of the bridge ahead.
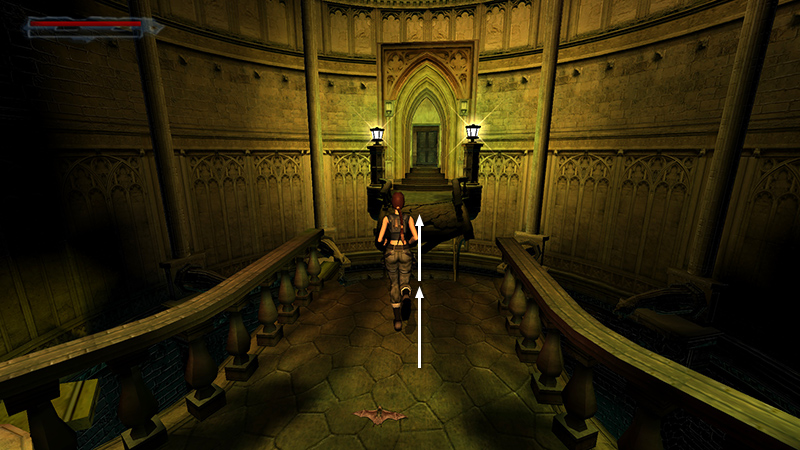
Take a running jump across the wide gap to the other side of the bridge.
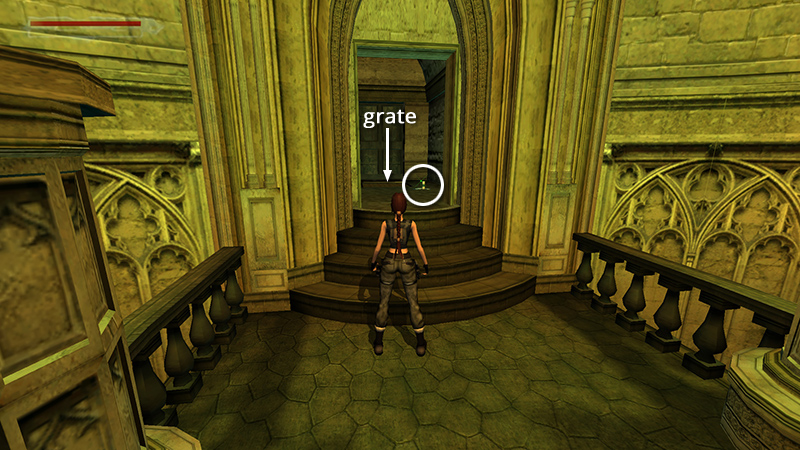
Pick up the bandages (1) in the little room at the top of the steps. (Here you can glimpse the room below the floor grate, but the grate doesn't open.)

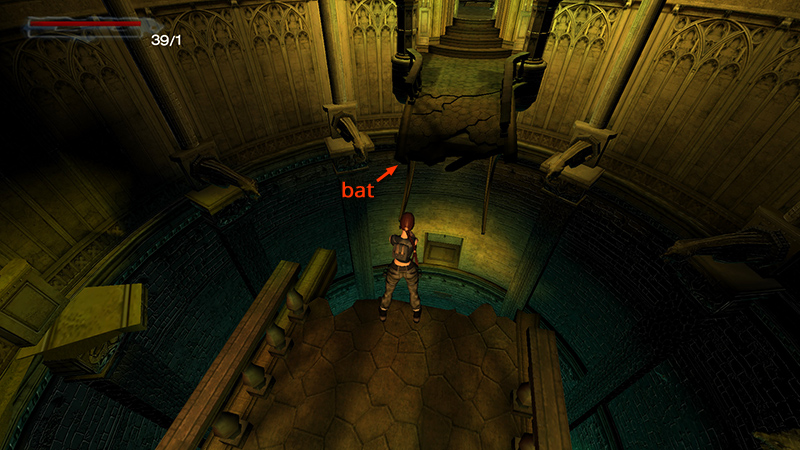
Return to the end of the bridge. If you draw and look up, Lara should target another bat (3) high above. It probably won't mess with Lara, but if you want all kills, shoot it down.
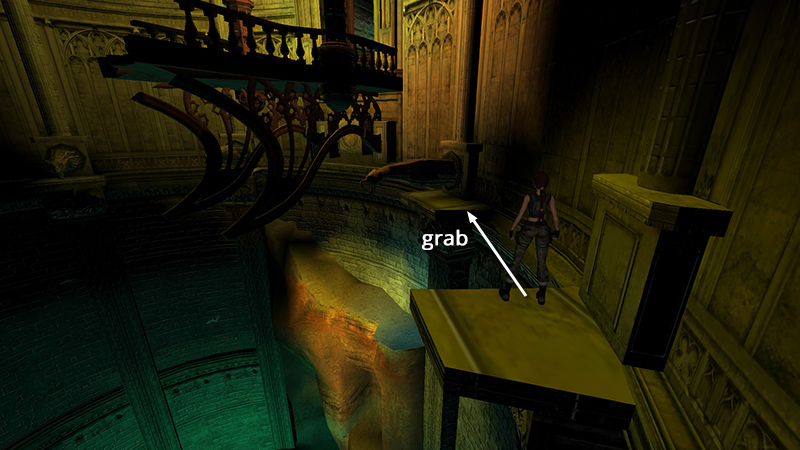
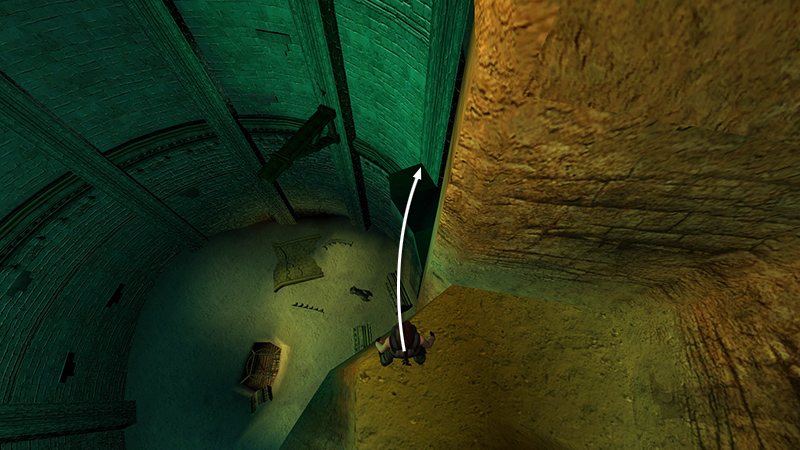
Then stand at the end of the broken bridge and look out to the right. Notice the three ledges, two with gargoyles, one without. Take a carefully angled running jump to grab the small ledge with no gargoyle. Pull up.
NOTE: If you're having trouble with this jump, try the alternate route, below.
On the small ledge between the two gargoyle ledges, turn left, walk to the edge, and take a standing jump to grab the next ledge with the gargoyle.
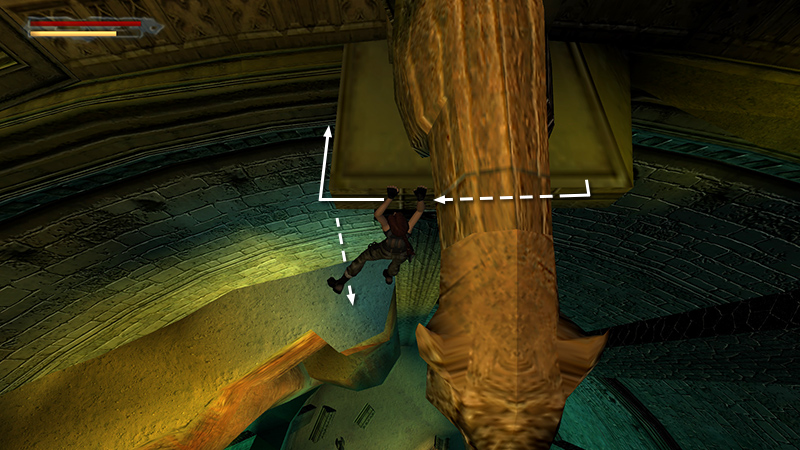
Lara won't shimmy all the way around, so pull up, drop and hang off the front of the ledge, and shimmy around to the far side. Drop to the sandy ledge below. (Continue into the tunnel, below.)
- OR -
If you're having trouble making the jump from the end of the bridge to the ledge between the two gargoyles, instead take a running jump back across the gap to grab the other side of the bridge, where you started.

Pull up and move to the right railing near the doorway.
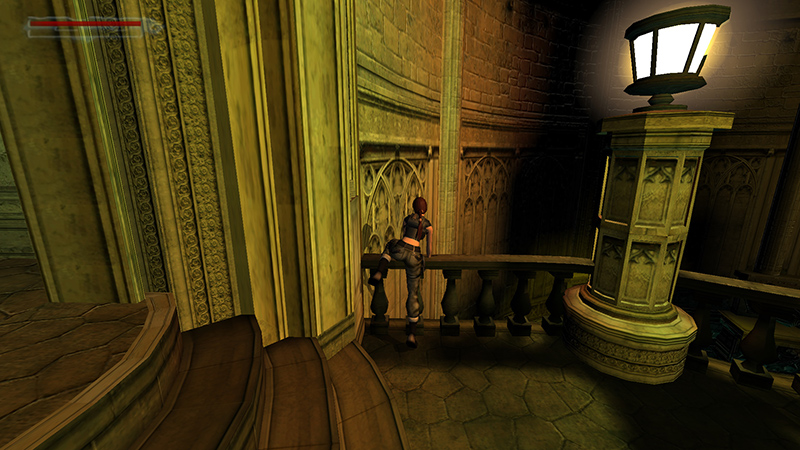
Stand facing the railing, as close to the doorway as possible. Then vault over the railing...
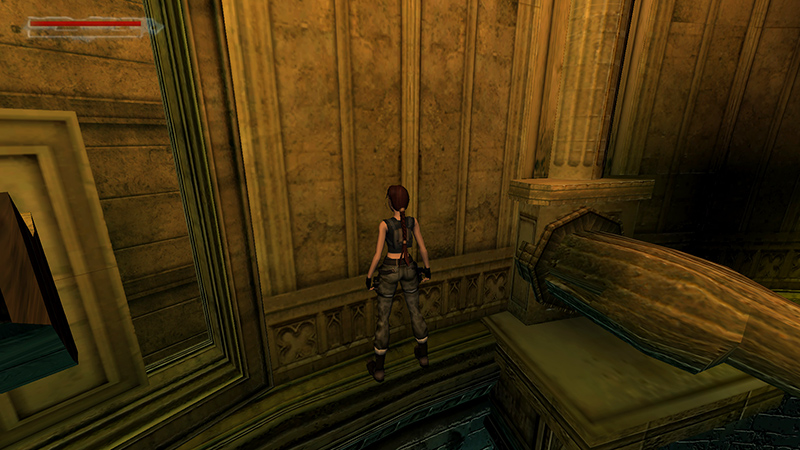
...to land on the narrow ledge that runs along the wall.
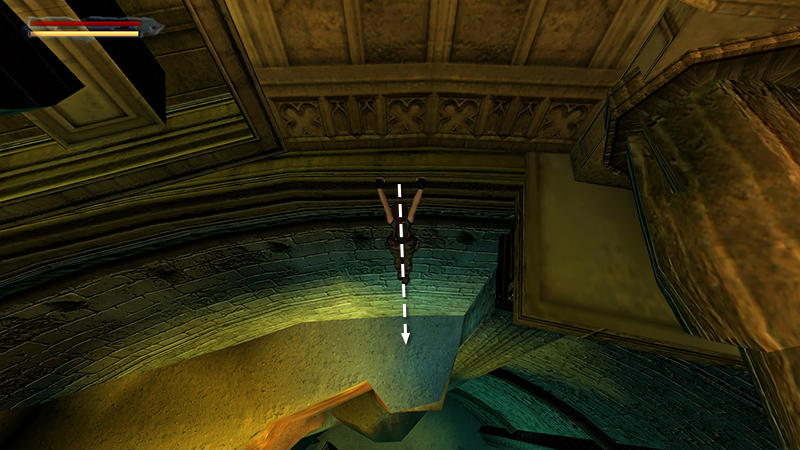
Hang from this ledge and drop to the sandy ledge below.

Walk to the middle of the sandy ledge, hang from the edge, and climb down the rock face to the ledge below.
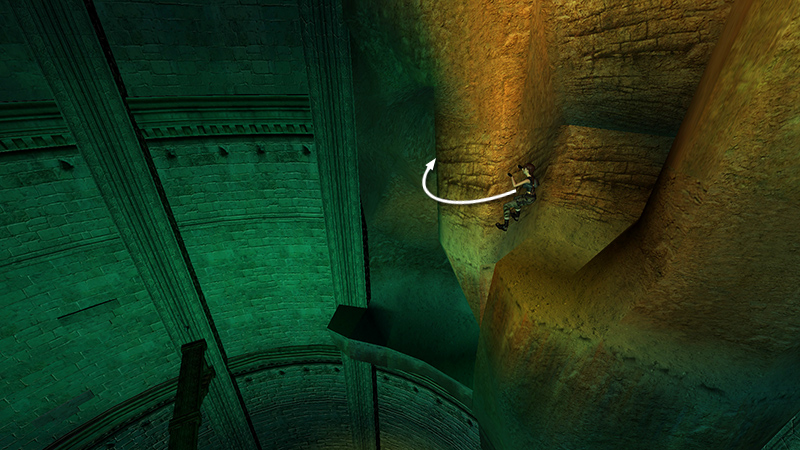
Turn left, grab the climbable wall, and climb to the left, all the way around to the other side.
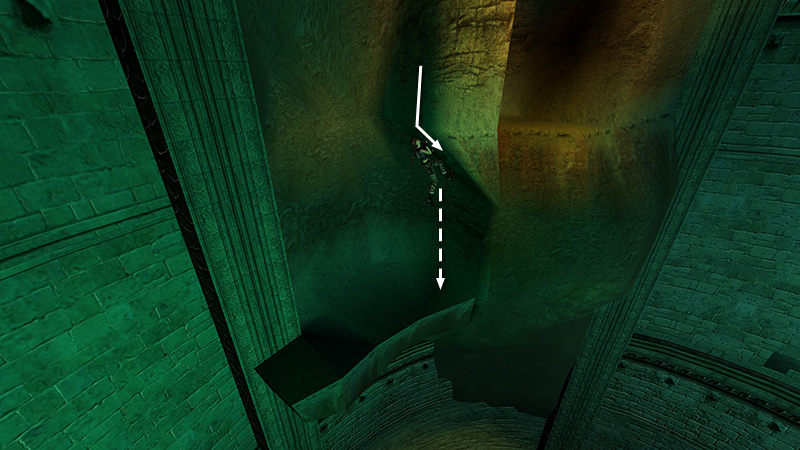
Continue climbing downward until you can drop safely onto the ledge protruding from the wall.
- OR -
If you're in a hurry, instead of climbing around and down, position Lara about here, and take a standing jump down to the ledge below, steering to the right while Lara is in the air to curve the jump a little. Take care not to run on off the edge when you land.

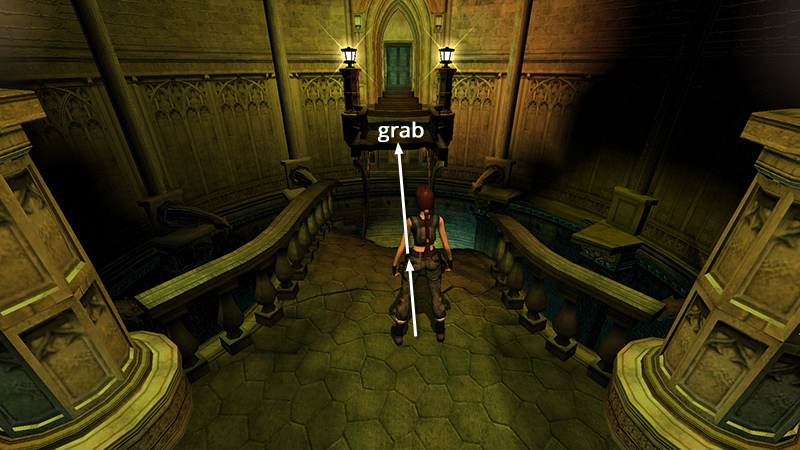
Walk to the end of the lower ledge and take a standing jump onto the jutting wooden beam.
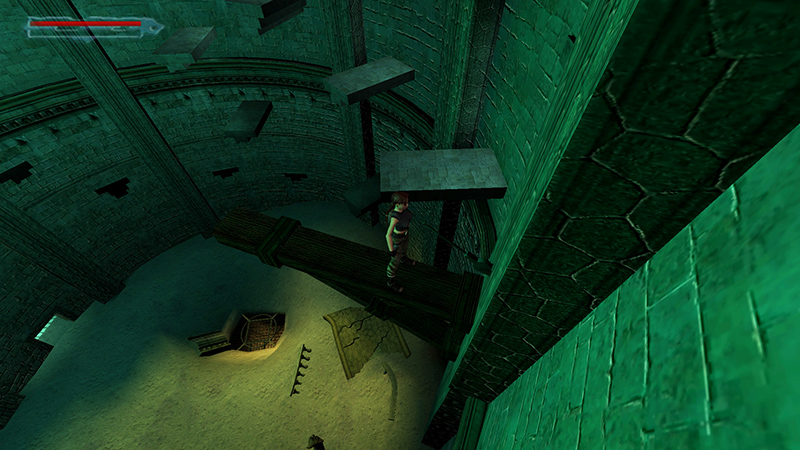
Pull the lever to extend a series of manmade ledges.
[Previous | Next | Tomb of Ancients]
DARK MODE: I plan to add optional dark mode for these pages, but my current priority is updating the walkthroughs. Meanwhile, may I suggest a reputable dark mode browser extension, such as Dark Reader? (Download only from trusted sites, like darkreader.org or your browser's official add-on/extension site.)
Walkthrough text and diagrams copyright © Stellalune (email ). Feel free to copy or print this walkthrough for personal use. By all means, share it with friends, but please include this credit line so people can send me their feedback. No part of this walkthrough may be reproduced on another site without permission.