Streets of Rome - Backstage Training Area
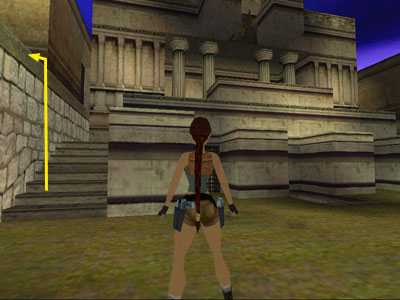
Go through the doorway marked "Opera Backstage," just ahead on the left. Inside is a training area of sorts. Here Lara explains some of her basic moves as you go.
Follow Lara's instructions and vault onto the wooden crate (Forward + Action) just inside on the left.
From there, climb to the concrete ledge above on the left. Move onto the metal grating at the other end of the ledge.
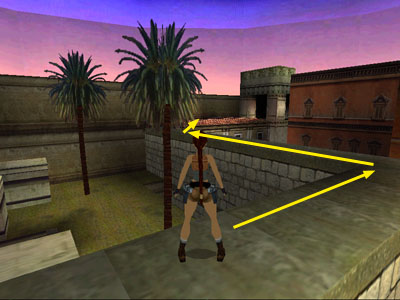
Here Lara explains how to do a standing jump onto the metal tile on the next ledge: Hold Walk and move to the edge. (While holding Walk, Lara will not fall off the edge.) Then press Forward + Action together. Continue through the doorway ahead to a room with a wooden floor.
Follow Lara's directions to take a running jump across the gap: Walk forward to the edge of the wood floor. Release Walk and tap Back once to take a short hop backwards.
Then press and hold Forward, and almost immediately, press Jump. Lara will run forward, take off at the edge, and land on the far side of the gap.
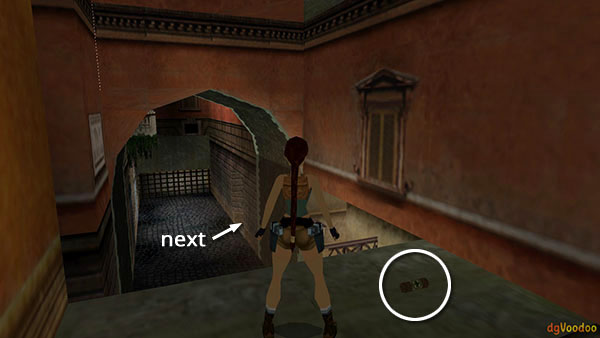
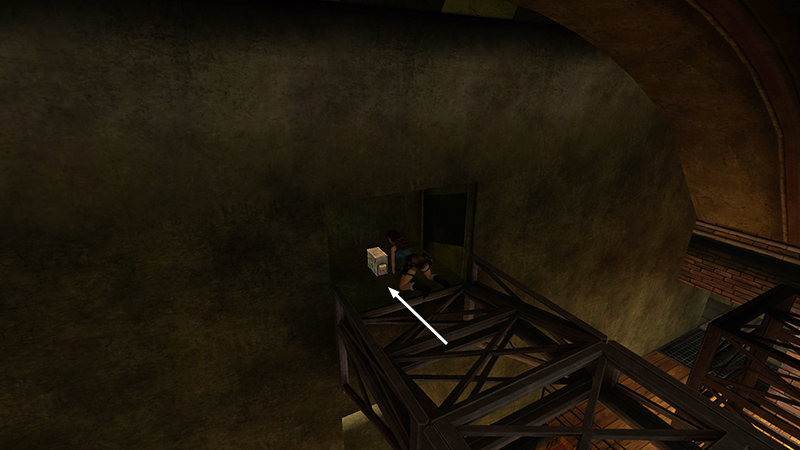
IMPORTANT: Setting up jumps this way is crucial if you're new to the classic Tomb Raider games. With practice, you won't need to do it every time, but it's very useful early on. If you miss this particular jump, move out into the room, stand facing the dangling crate, then follow the passageway in the far left corner (screenshot) to get back to the first room with the forklift. Climb back up and try again.
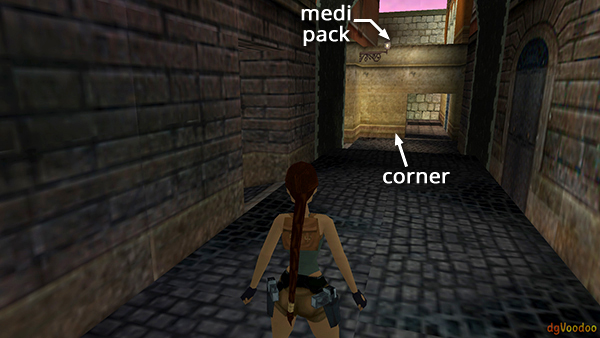
After the scripted running jump, Lara won't tell you what to do, but before going on, stand close to the metal support strut on the left. Jump straight up and hold Action grab the edge. Press Forward to pull up.

Stand over the small medipack (1) (1/239) and press Action to pick it up. Take a standing jump over to the metal scaffolding, and pick up some flares (2) (2/239).
Then hold Duck and crawl into the low alcove to get a large medipack (3) (3/239). Crawl back out.

Jump back to the strut where you found the small medipack. Then either step off the left edge...

...or safety drop: Turn around so Lara's back is to the edge, hold Action, press Back to drop and hang, then release Action to let go and drop to the floor. (You don't really need it here, but in the future, this maneuver will help minimize fall damage when Lara needs to drop from a height.) Continue through the doorway to the next area.
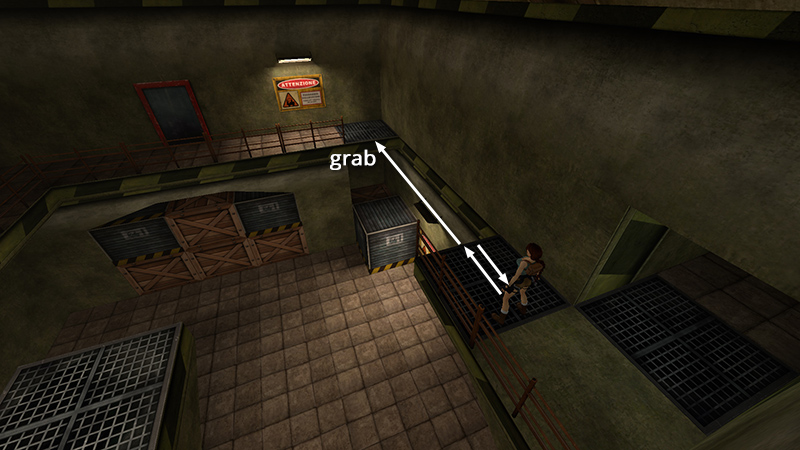
Here Lara says, "Now for the big jump," then explains how to do a running jump and grab: Walk to the edge, facing out across the wide gap. Hop back once. Then press Forward and almost immediately press Jump. While Lara is in the air, press and hold Action to grab the opposite ledge. Then press Forward to pull up.

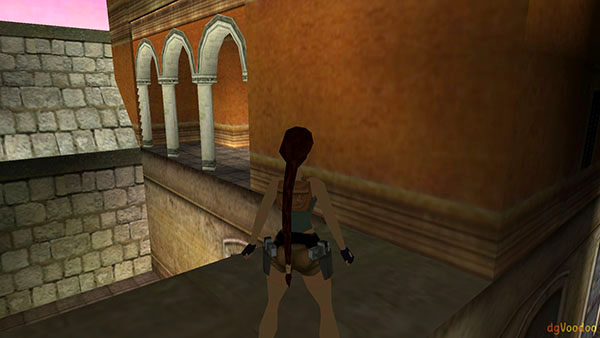
Follow the elevated walkway around to the end.
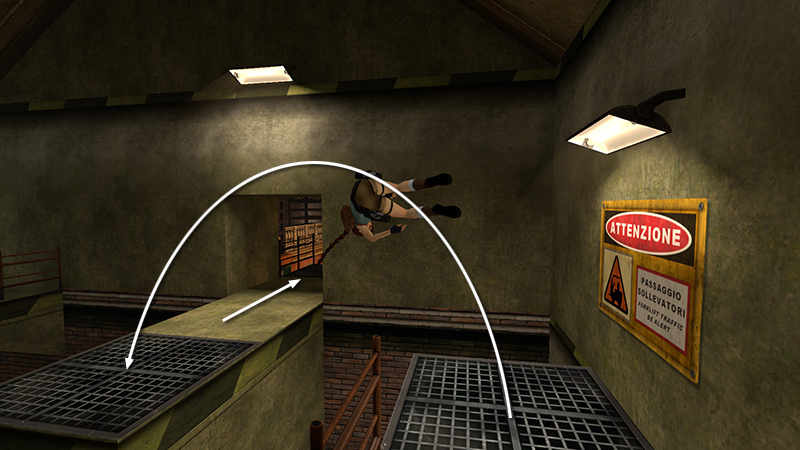
Do as Lara says and side flip (Jump + Left) onto the next ledge. Continue forward through the doorway to emerge higher up in the room with the dangling crate.

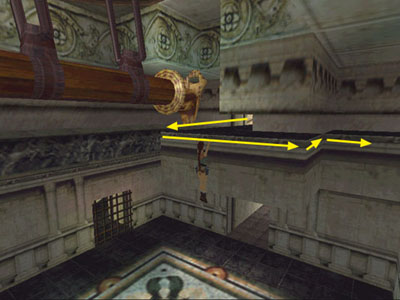
Jump straight up and hold Action to grab the overhead bars.
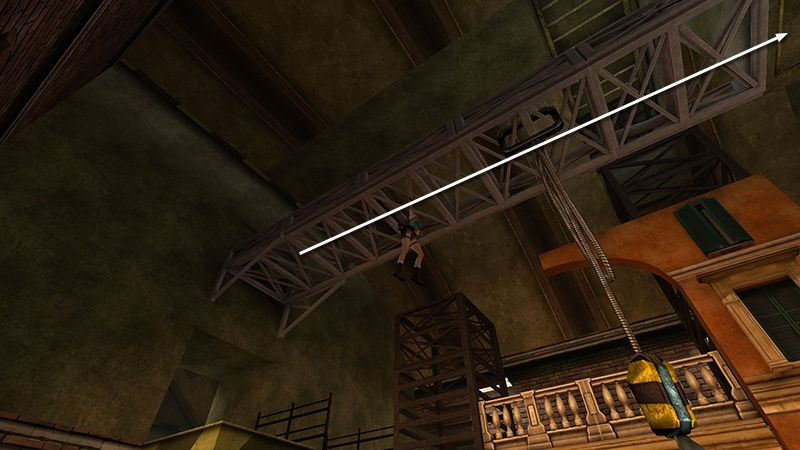
Continue holding Action and press Forward to monkey swing across the room.
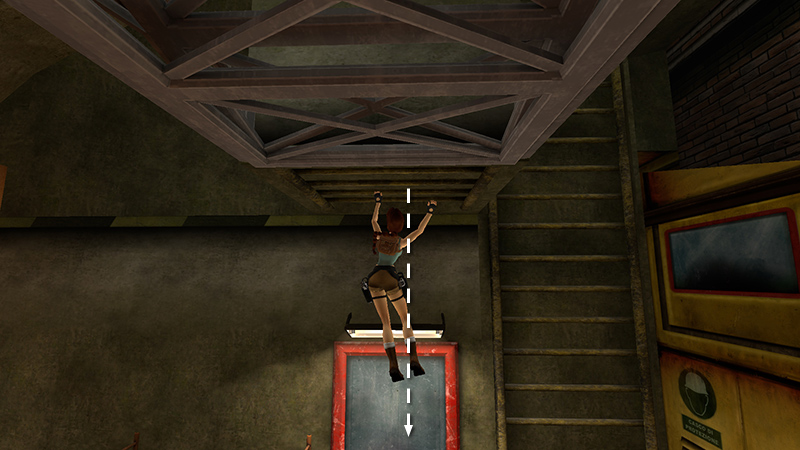
Once Lara is hanging from the darker section of ceiling beyond the bars, release Action to drop onto the ledge.
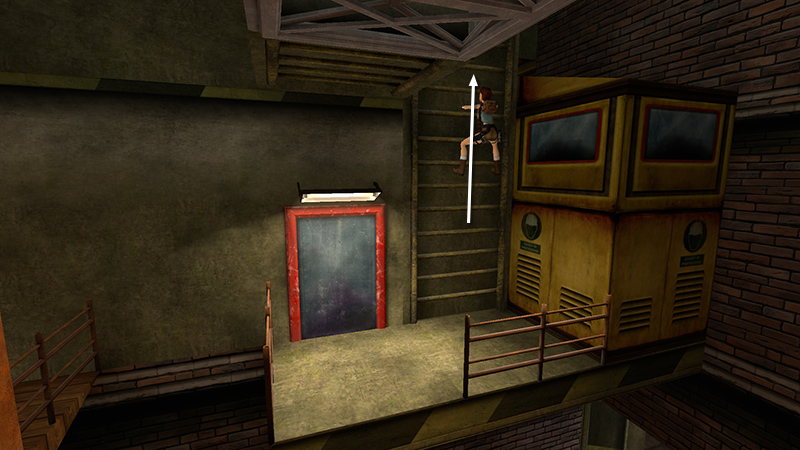
Climb the ladder (Action + directions) almost to the top.

Then climb around the corner to the right and let go.
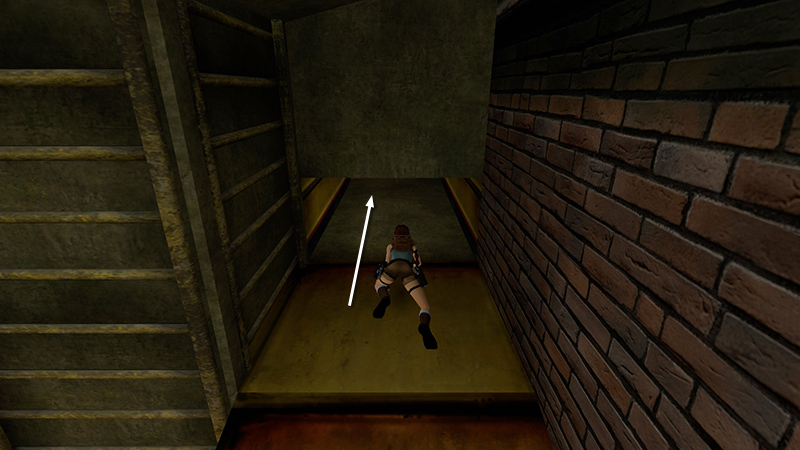
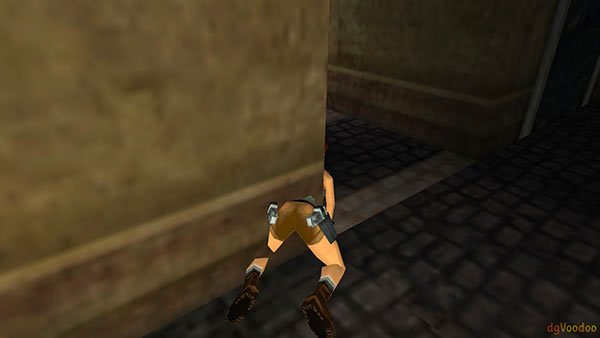
Duck and crawl into the low opening.
NOTE: In the remaster, you can set the Duck control to hold or toggle (under Options > Control > Duck Mode).
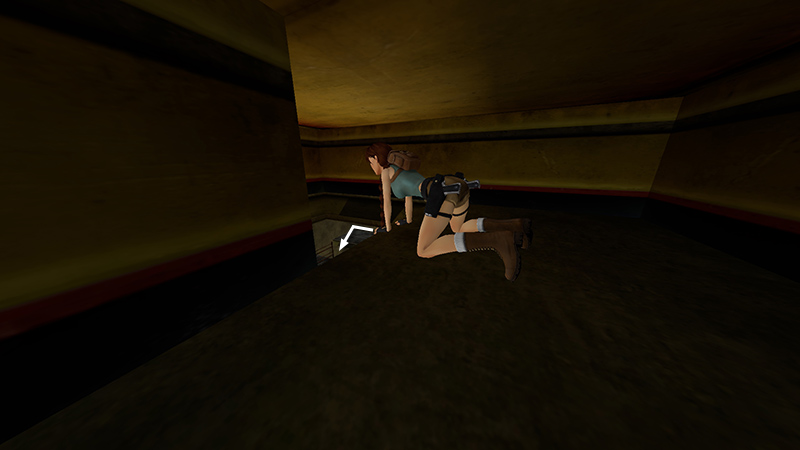
At the end of the tunnel, turn left, crawl to the edge, then press Jump to somersault out of the opening.
DARK MODE: I plan to add optional dark mode for these pages, but my current priority is updating the walkthroughs. Meanwhile, may I suggest a reputable dark mode browser extension, such as Dark Reader? (Download only from trusted sites, like darkreader.org or your browser's official add-on/extension site.)
Walkthrough text and diagrams copyright © Stellalune (email ). Feel free to copy or print this walkthrough for personal use. By all means, share it with friends, but please include this credit line so people can send me their feedback. No part of this walkthrough may be reproduced on another site without permission.