Old Mill - Secret #2 After Stopping the Windmill
This page assumes you did not already retrieve the secret in the flame trap area, and that you did use the the switch inside the WINDMILL to shut it down. Stopping the mill also deactivates the flame traps.
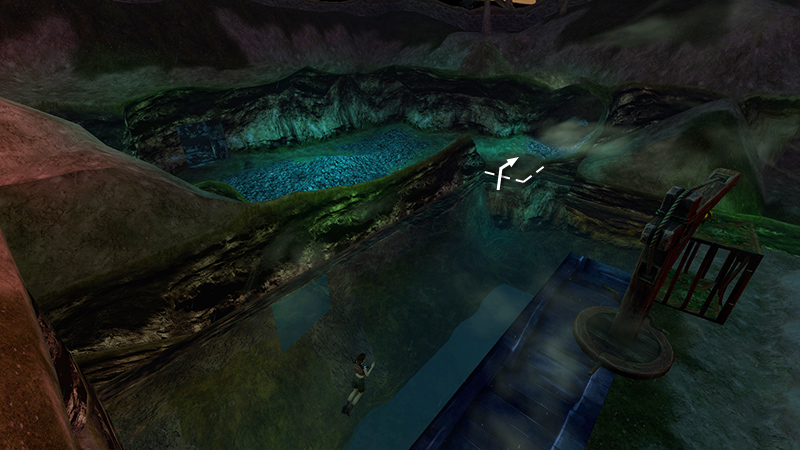
After exiting the MILL, swim to the front right corner of the pond (when Lara's back is toward the mill) and climb out on the square ledge.
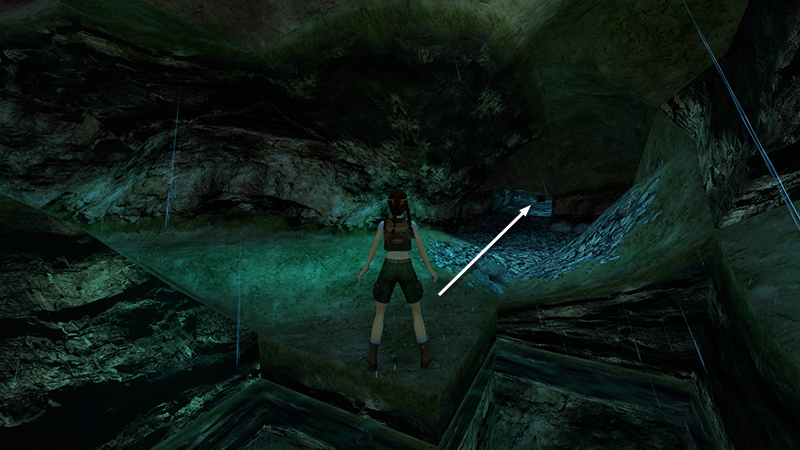
Ahead is an opening in the hillside that narrows to a crawlspace. Crawl in...
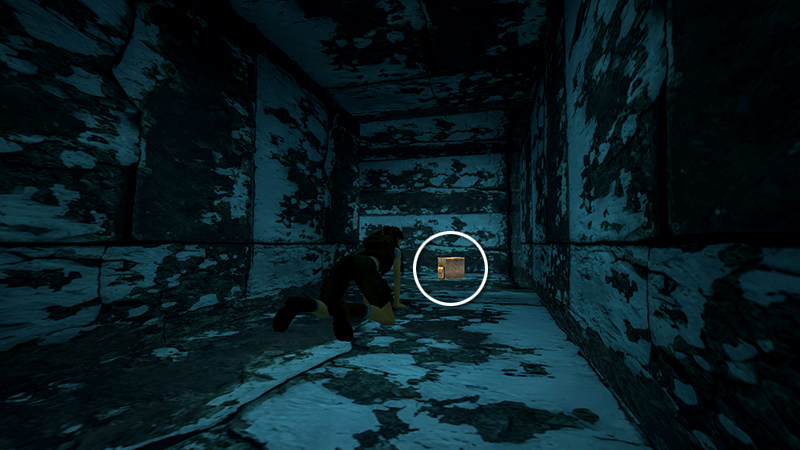
...and pick up a large medipack.
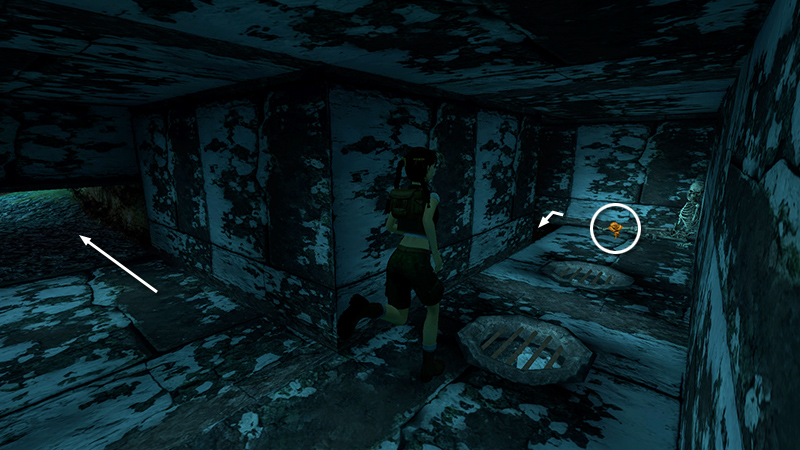
With the flame trap deactivated, it's now easy to retrieve the golden rose (SECRET #2) lying near the skeleton. Return outside through either opening (the crawlspace you just came through or the passageway with two small pools just beyond the skeleton).
NOTE: If you haven't missed anything else, your pickup count should now match the main walkthrough: 26/36 secrets and 172/239 total pickups. Again, if you obtain the secret after shutting down the WINDMILL, you will not unlock the "Roses are Gold, Lara Got Burned" achievement/trophy.
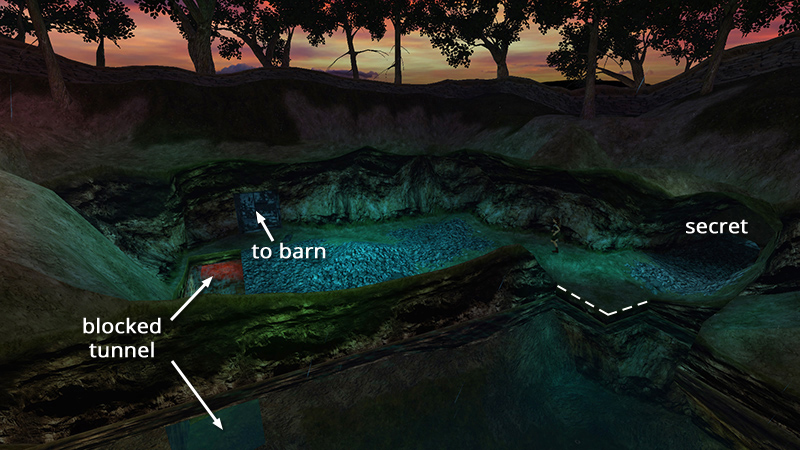
Follow the whitewashed tunnel on the right back to the BARN area. Pick up the main walkthrough with the section "BARN AND SMALL MILL (again)."
NOTE: As the last cutscene showed, the flooded tunnel with the red lighting connects the MILL POND to the streams near the BARN, but a wooden barrier prevents you from swimming all the way through.
DARK MODE: I plan to add optional dark mode for these pages, but my current priority is updating the walkthroughs. Meanwhile, may I suggest a reputable dark mode browser extension, such as Dark Reader? (Download only from trusted sites, like darkreader.org or your browser's web store.)
Walkthrough text and diagrams copyright © Stellalune (email ). Feel free to copy or print this walkthrough for personal use. By all means, share it with friends, but please include this credit line so people can send me their feedback. No part of this walkthrough may be reproduced on another site without permission.