Chambers of Tulun - Room with Red Sprinkler Heads and Conveyor (part 2)
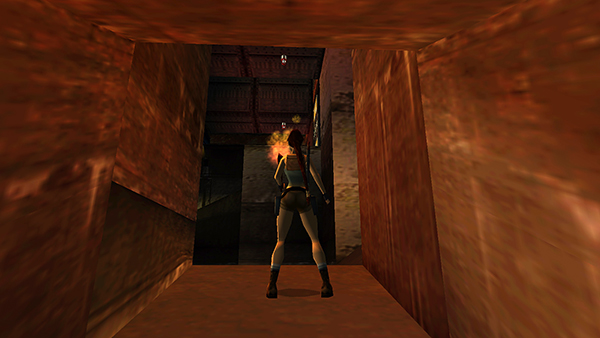
Carry the lit torch up the ramps to the ROOM WITH RED SPRINKLER HEADS AND CONVEYOR.
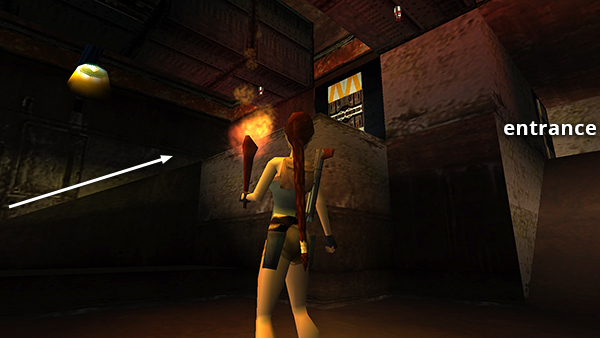
Go up the ramp on the east side of the room to the ledge below the sprinklers.
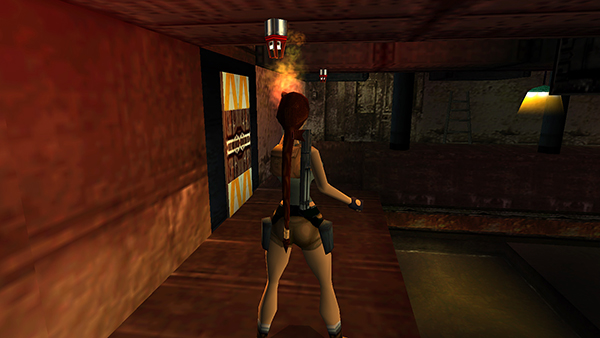
Stand beneath the first sprinkler head and press Action to use the lit torch...
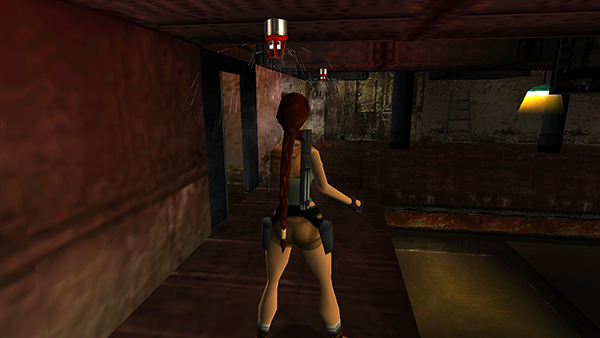
...to set off the sprinklers. This also opens the remaining yellow-and-white doors.
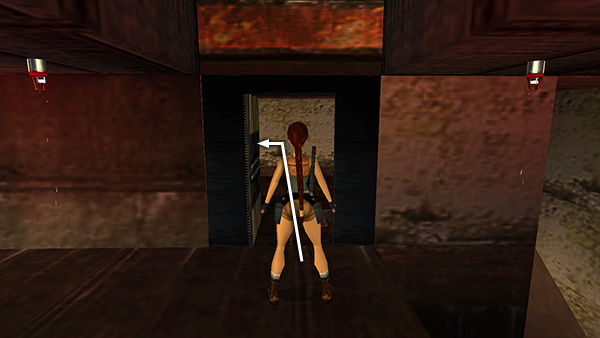
Drop the torch (you won't need it again) and go through the door between the sprinklers. Follow the passageway forward then left.
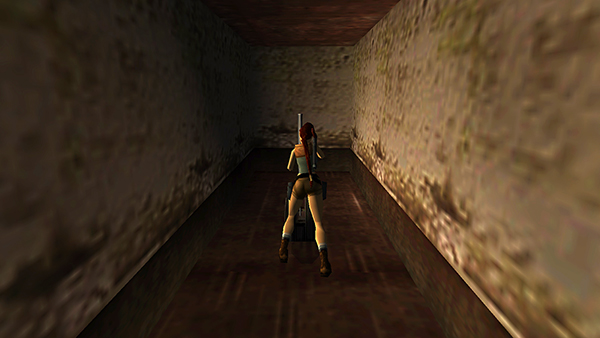
Use the lever...
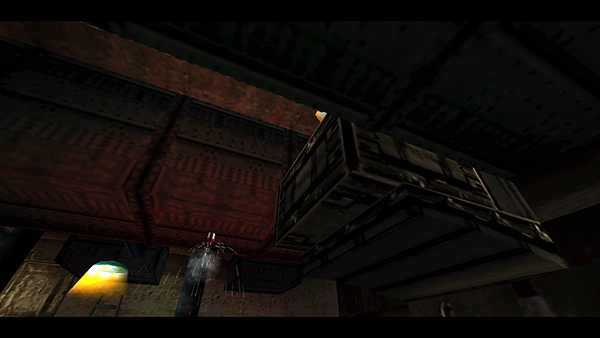
...to activate the conveyor...
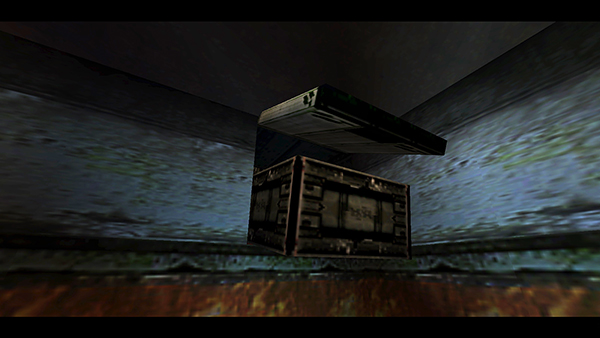
...depositing a storage box in the next room.
NOTE: Setting off the sprinklers also opens the yellow-and-white door in the area at the bottom of the ramps, where you lit the torch, but there's nothing there.
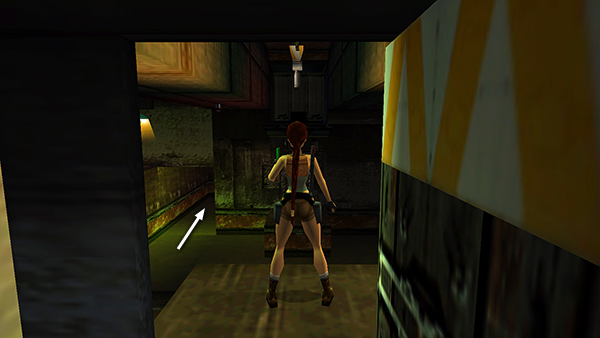
Return through the SPRINKLER ROOM to the room to the north, where you found the torch earlier.
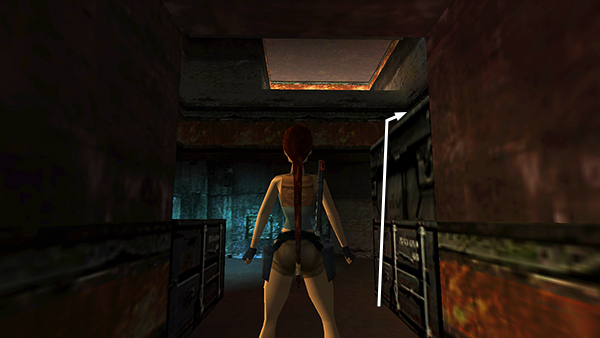
The crate that came in on the conveyor is now stacked on top of one of the others. Climb on top of these crates.
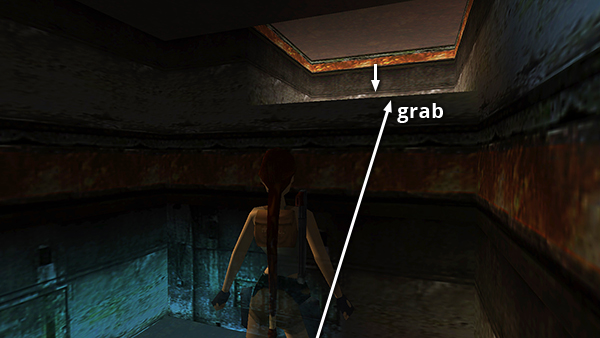
Then take a running jump to grab the high ledge. Pull up and hop down into the next room.
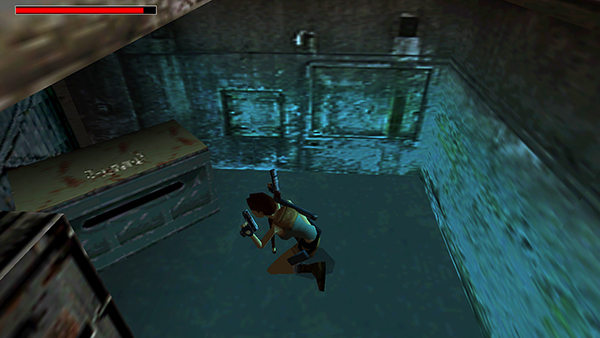
All but two of the storage crates can be broken by shooting them. (Crouch to hit the smaller ones.)
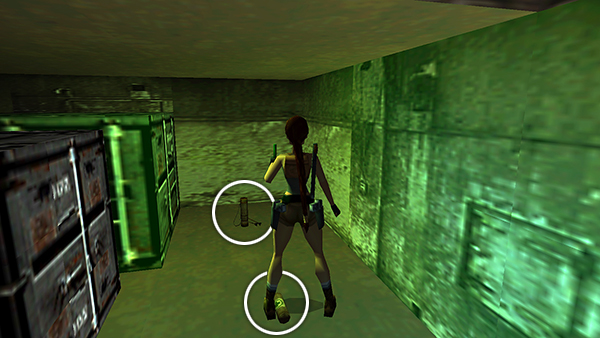
Inside you'll find a small medipack, normal arrows...
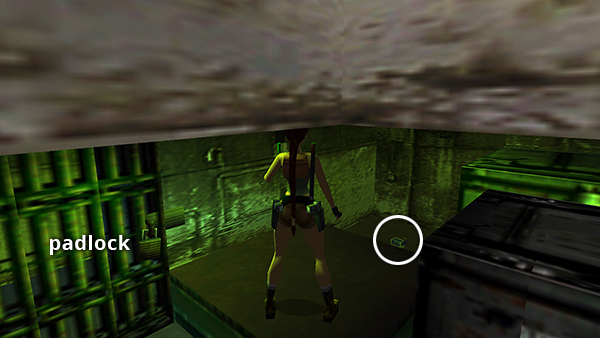
...and wideshot shells.
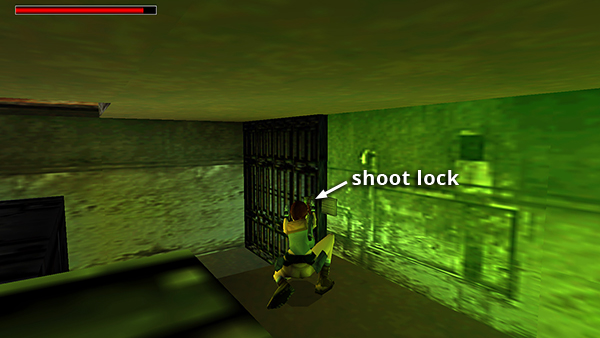
Shoot the padlock on the barred door to break it. If you stand on the low step near the door and crouch, you can use pistols.
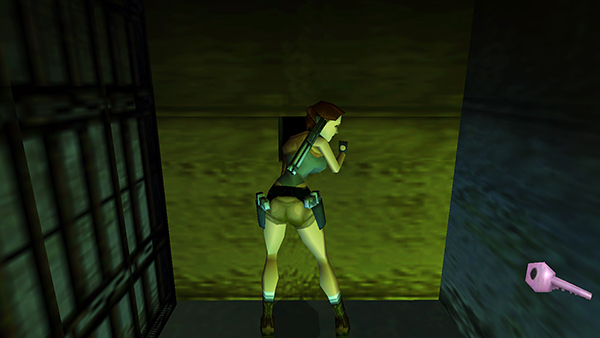
Reach into the niche in the barred alcove to get the ROOF KEY.
Copyright © 1999- - Stellalune ( ). All rights reserved. Feel free to copy or print this walkthrough for personal use. By all means, share it with friends, but please include this credit line so people can send me their feedback. No part of this walkthrough may be reproduced on another site without permission. Follow this link for details about this site's advertising and privacy policy.