Trenches - Rooftops (part 1)
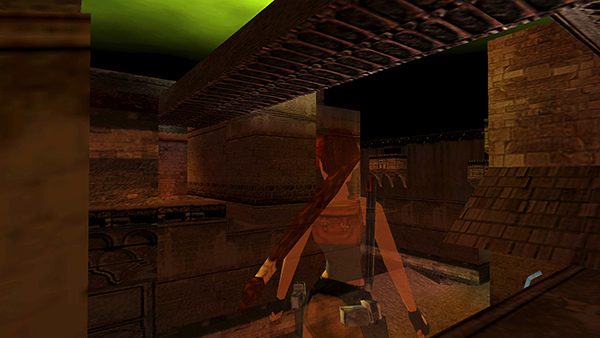
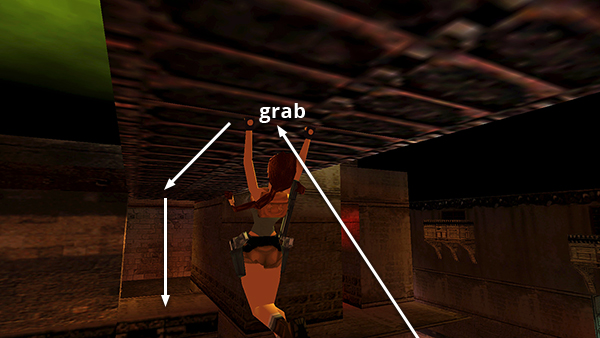
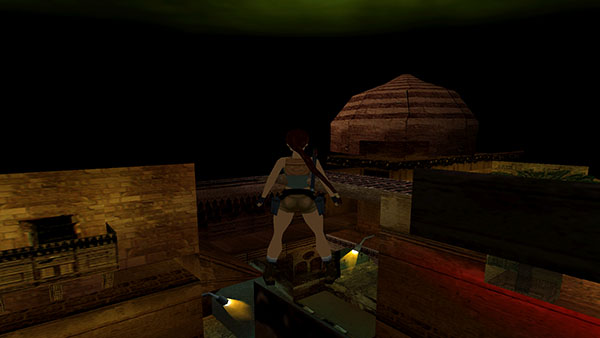
Now you're headed for the building across the street via the overhead bars.
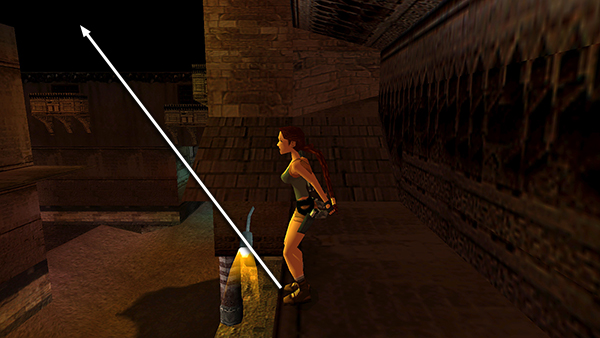
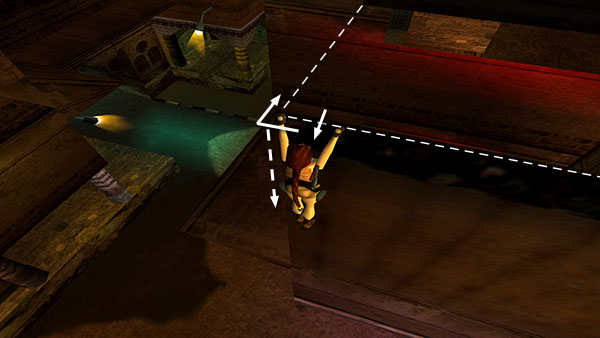
To avoid a swarm of locusts, stand at the edge of the ledge and jump forward...
...to grab the bars, rather than just jumping straight up. This should prevent the swarm from spawning. (If you do encounter the locusts while monkey swinging, try saving and reloading to eliminate them. Just remember to hold Action while the game loads so Lara doesn't fall.)
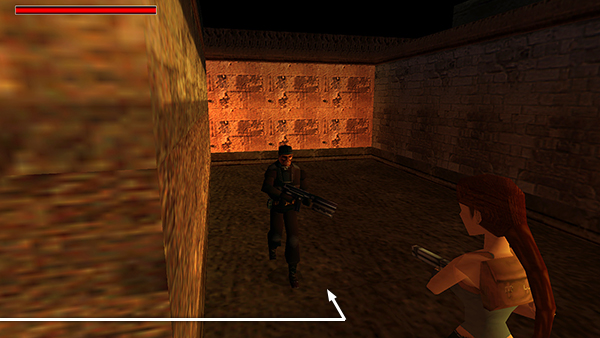
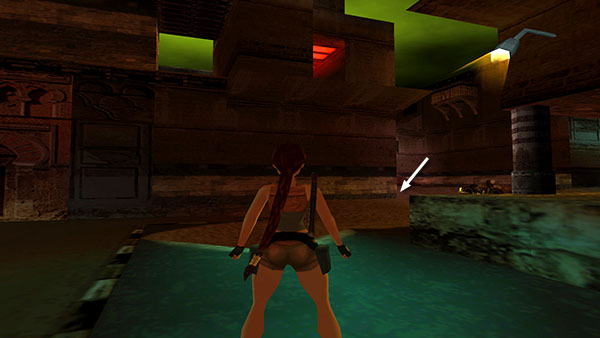
Enter the next room cautiously so you're not ambushed by the soldier inside on the left. He drops a small medipack when you kill him.
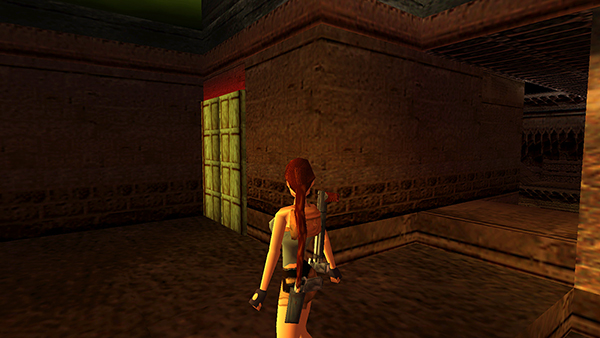
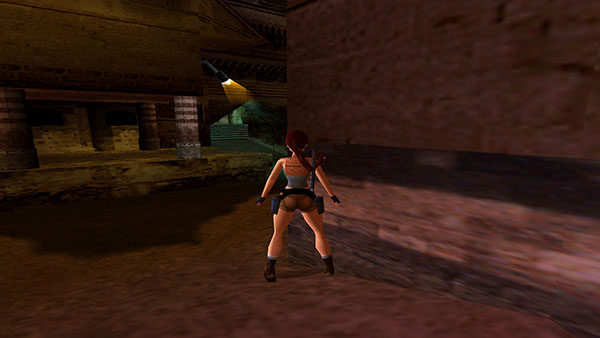
Go around to the right (left if you're facing the entrance from inside the room) and use the ROOF KEY to unlock the double doors.

There is no visible lock, but if you stand facing the middle of the doors and press Action, you'll be prompted to use the key.
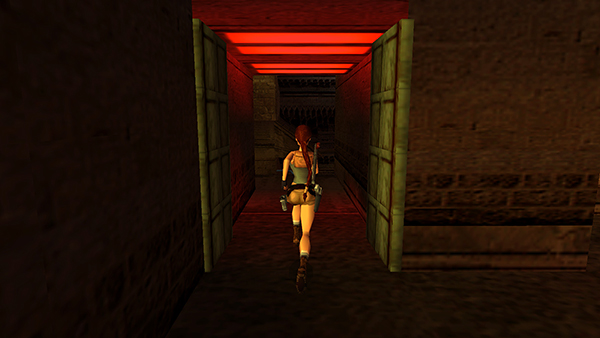
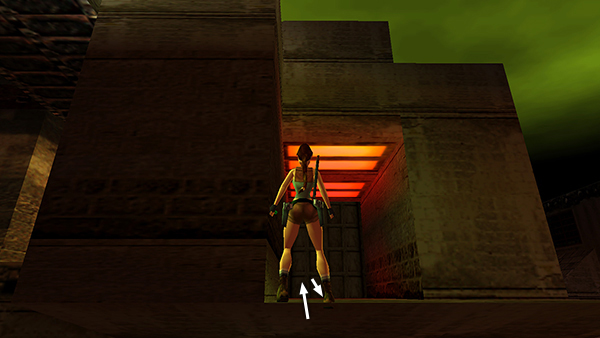
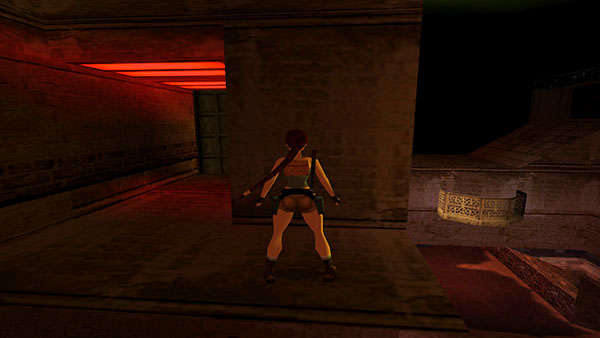
Go through the red-lit doorway to another ledge above the street.
- OR -
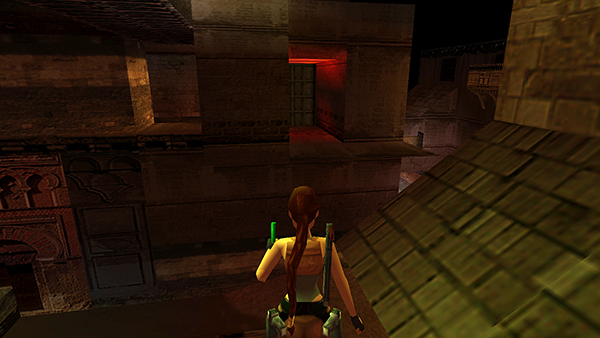
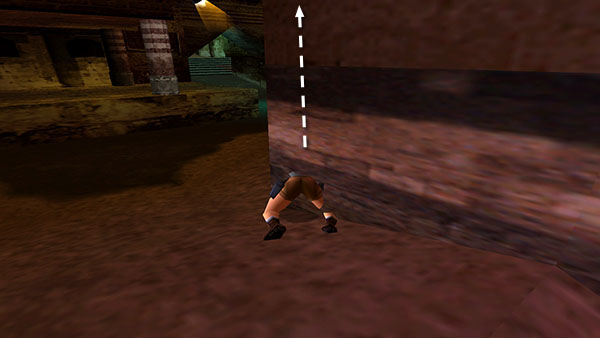
If you missed the ROOF KEY back in the CHAMBERS OF TULUN, or just want to avoid the locusts and soldier, you can instead take a running jump from the ledge on the north side of the monkey bars to grab the sill in front of the red-lit doorway.
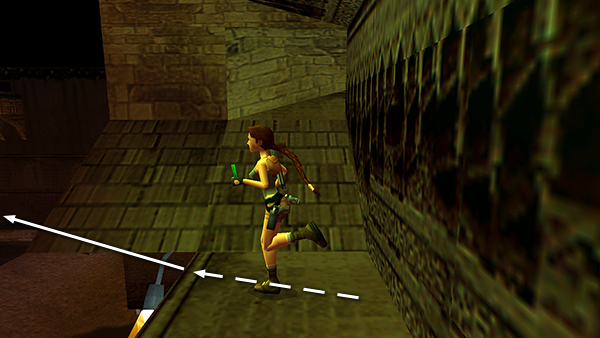
Start near the west end of the walkway and angle the jump slightly...
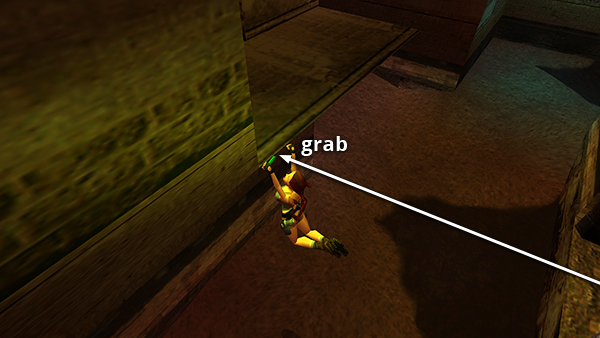
...so Lara grabs the left side of the ledge near the door.
Pull up and turn around.
- OR -
 Another alternative if you missed the ROOF KEY is to use the crawling corner bug at this corner of the building with the red-lit doorway.
 If you position Lara here, facing northeast...
 ...and use the bug like so, she should pop up...
 ...onto the untiled corner of the roof just above the red-lit door.
 You can then hang from the edge, traverse around the corner, and drop onto the ledge...
...directly in front of the red-lit door. Turn around and proceed.
Copyright © 1999- - Stellalune ( ). All rights reserved. Feel free to copy or print this walkthrough for personal use. By all means, share it with friends, but please include this credit line so people can send me their feedback. No part of this walkthrough may be reproduced on another site without permission. Follow this link for details about this site's advertising and privacy policy.