Tomb of Seth - Secrets #4 and #5 (part 2)
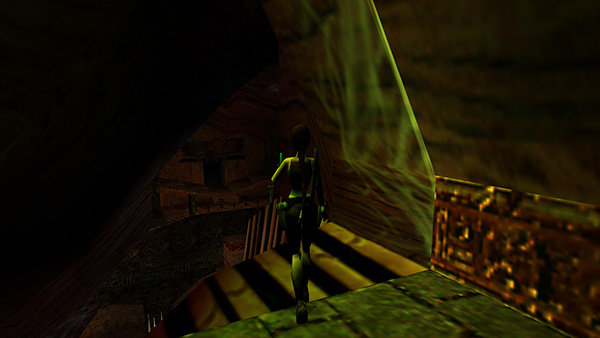
After obtaining secret #4, as described in part 1, walk back out onto the lapis-and-gold ledge.
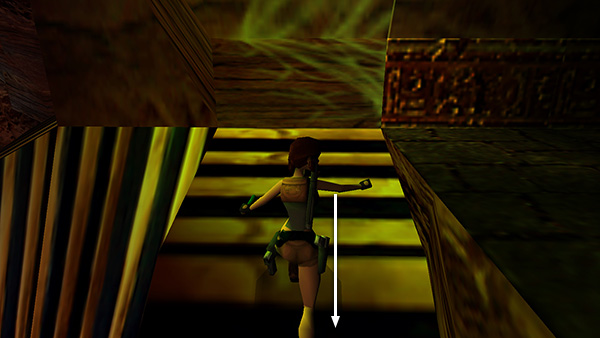
Turn right to face the rock wall and then hop back (i.e., don't backflip, just lightly tap Back/Down without jumping) to slide down the side of the headdress.
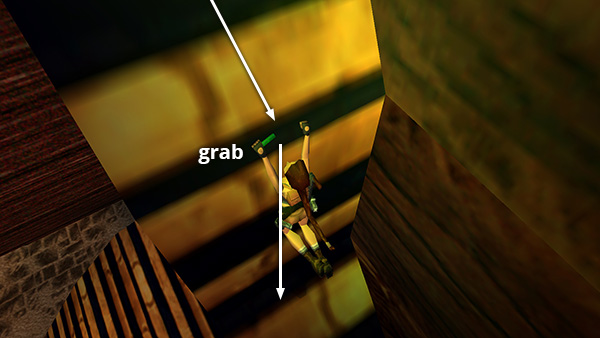
Hold Action as Lara slides in order to grab the edge of the headdress, breaking her fall. Release Action and immediately press it again to drop, slide, and grab once more.

Finally, release Action to drop to the floor.
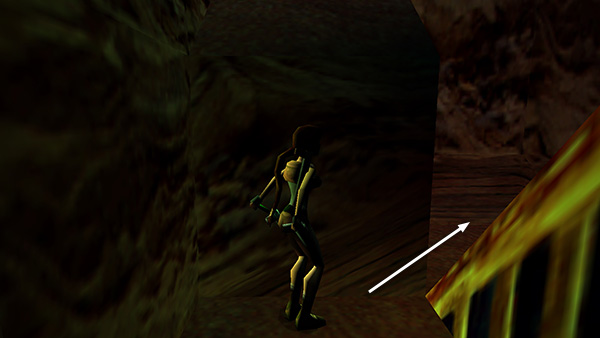
Make your way out of this dark corner toward the front of the sphinx by jumping through the uneven gap between the headdress and the cavern wall.
NOTE: If you prefer, instead of sliding down here, you can jump back across to the other side of the headdress and slide down there to land directly in front of the 5th secret. I'd rather not risk a fall, but it's up to you.
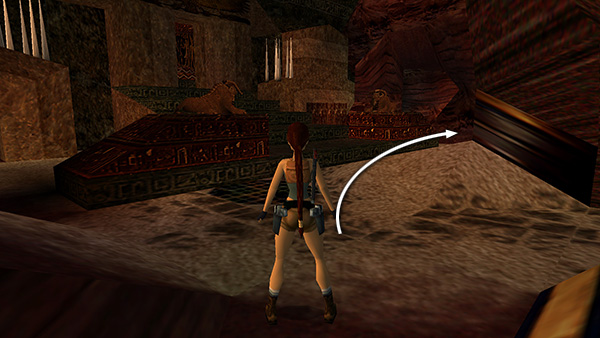
Go around in front of the sphinx.
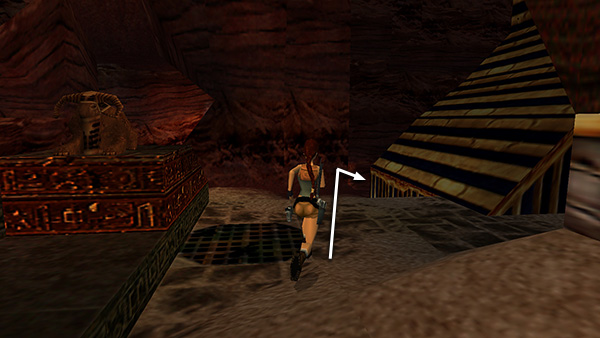
Head for the southwest corner of the cavern...
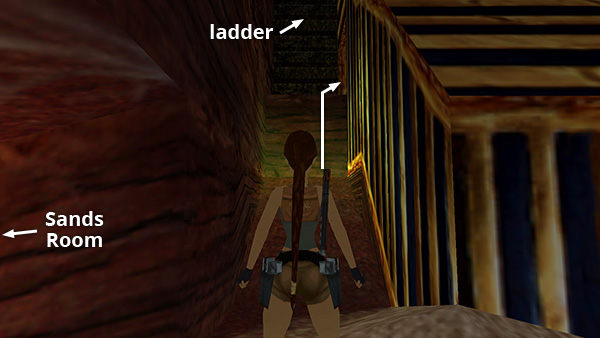
...and climb up to the alcove at the base of the ladder.
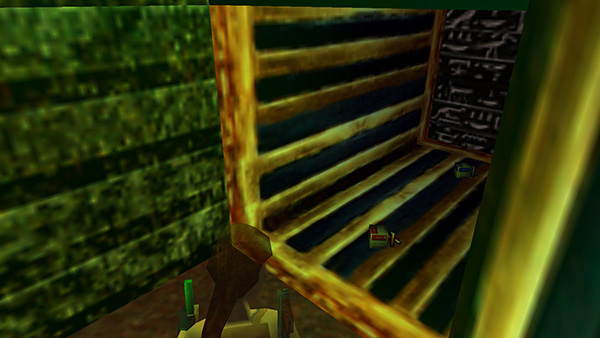
This is the gate you opened earlier using the lever at the top of the ladder. The chimes sound for SECRET #5 (13/70), and you find regular and wideshot shotgun ammo.
Copyright © 1999- - Stellalune ( ). All rights reserved. Feel free to copy or print this walkthrough for personal use. By all means, share it with friends, but please include this credit line so people can send me their feedback. No part of this walkthrough may be reproduced on another site without permission. Follow this link for details about this site's advertising and privacy policy.