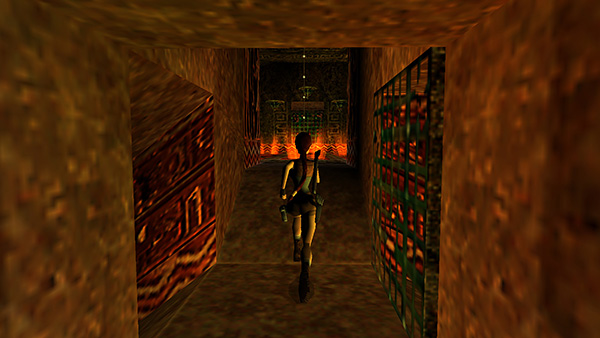
Tomb of Seth - Room with Pull Chain and Symbols on the Floor
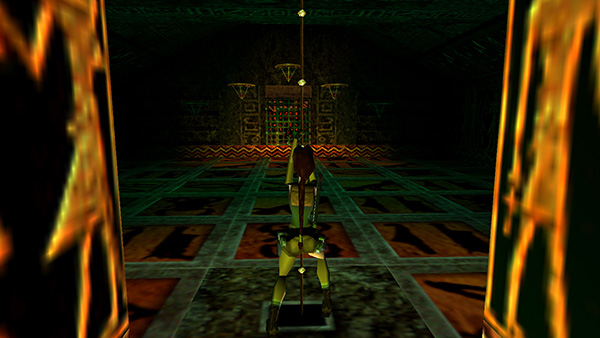
Upon entering this room, position Lara close to the chain and press Action to pull it.
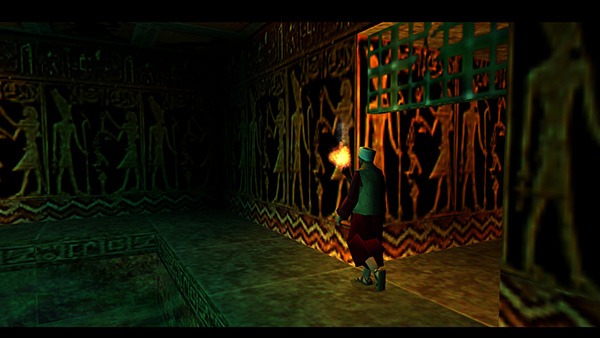
This opens the gate down below to let the guide into the ROOM WITH THE POOL OF OIL AND SEATED STATUE.

He lights the oil with his torch...

...causing some of the symbols on the floor in the room above to glow.
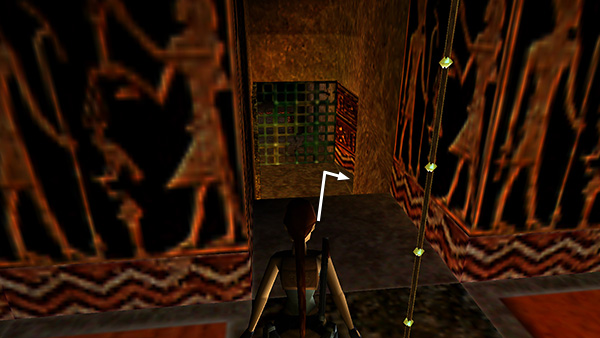
If you want all the pick-ups, before tackling this puzzle, turn around and go back into the passageway with the two square gates. You'll notice they have shifted, opening up the passageway on the right, which was previously blocked. Go through the opening, slide down the slope, and follow the passageway...
...to a small room with a second chain and and regular shotgun ammo lying on the floor. (This looks like the SHOTGUN and you'll get the gun itself if you don't already have it.) Take the gun/ammo and then pull the chain to re-arrange the gates in the passageway . To get back to the room with the first chain, exit to the north...
...and follow the passageway up the slope.
NOTE: The gate directly behind you closes as you enter the room with the first chain, but but the gate at the top of the steep slope remains open in case you need to get back to the second chain.
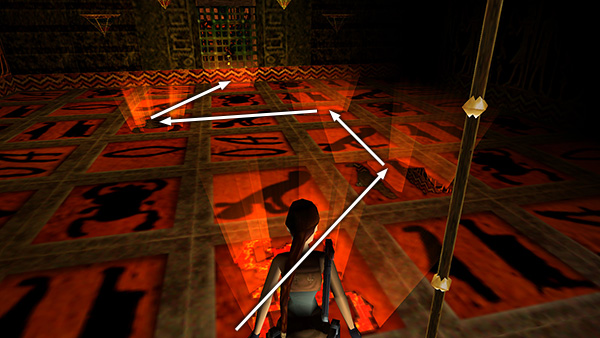
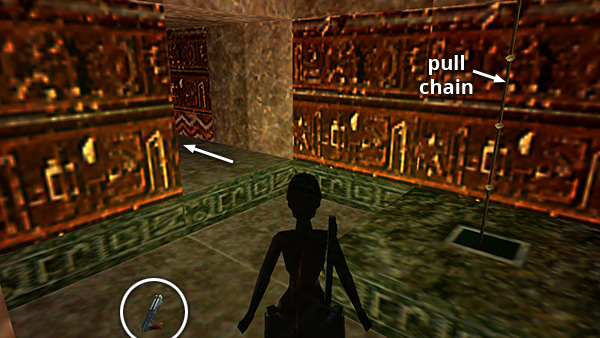
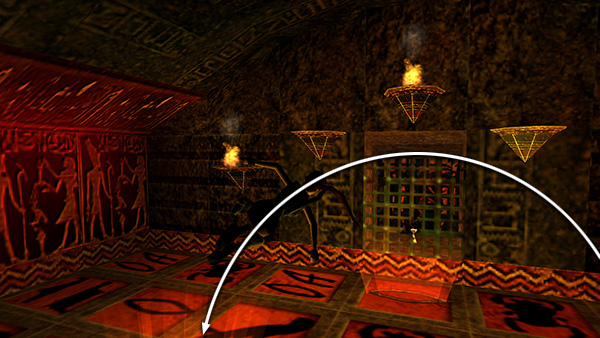
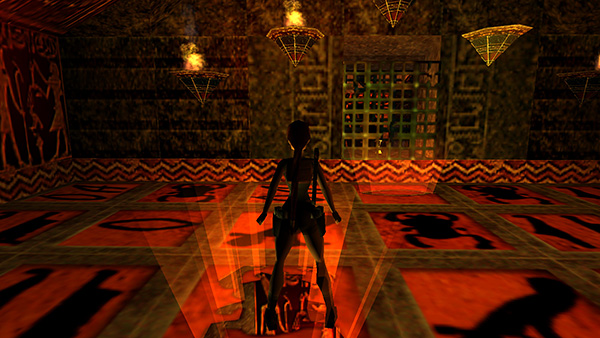
There's no need to pull the first chain again. The symbols on the floor should still be glowing. This screenshot shows the path across the glowing tiles. The screenshots below break it down jump by jump.
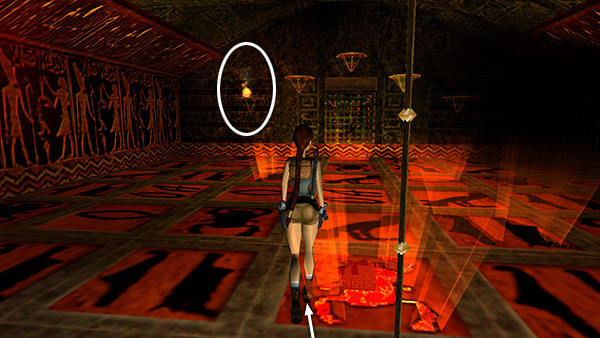
First, walk from the square with the chain onto the near left corner of first symbol (a scarab). As you do this, the leftmost torch above the exit lights.
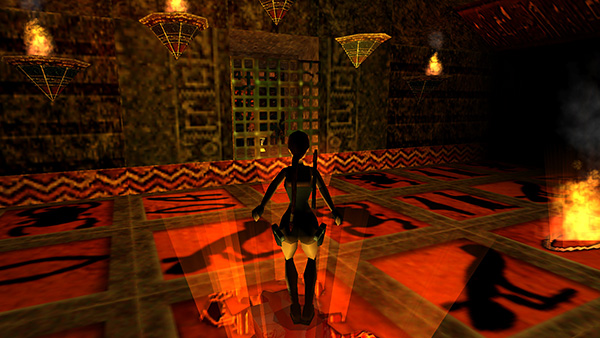
Turn about 45 degrees to the right...
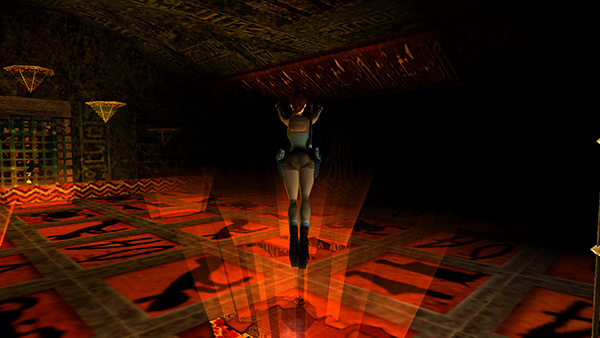
...and take a standing jump with Action...

...to land on the tile with the two papyrus reeds. The rightmost torch and the scarab tile behind you ignite. This is OK, though, just avoid stepping on the flaming tile.
Turn about 45 degrees to the left and take a standing jump over the adjacent square...
...to land on the mouth symbol. The middle torch and the papyrus reed tile, where you just were, ignite.
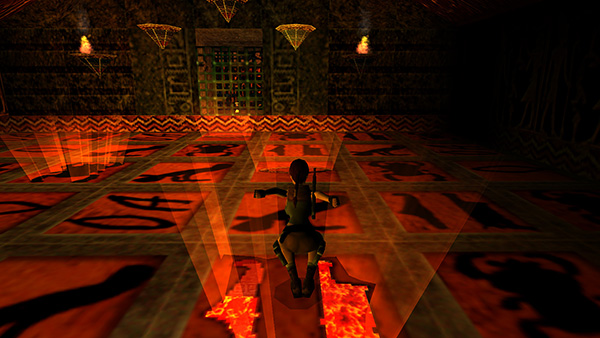
Now side flip to the left (Jump + Left)...
...clearing the adjacent square and landing on the second scarab tile. The left middle torch and the mouth tile where you were just standing ignite.
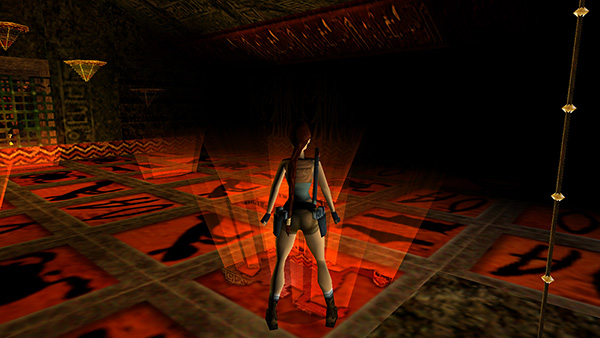
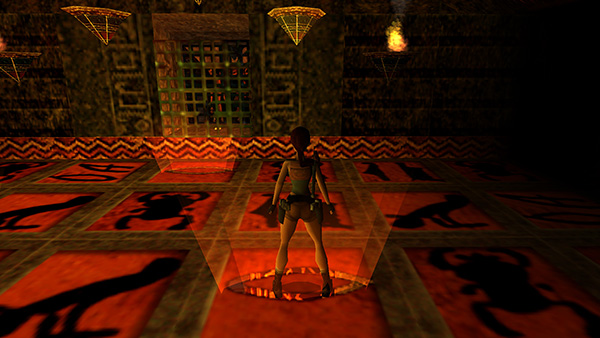
Pivot a little to the right and take a standing jump onto the mouth symbol near the exit.
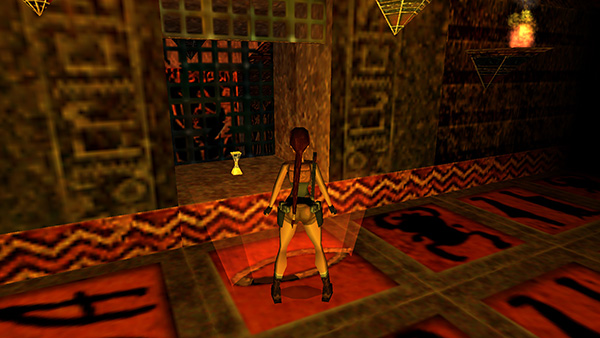
The last burner lights, the second scarab tile ignites, and the gate opens. Enter the alcove and pick up the TIMELESS SANDS. When you do, the outer gate opens. Exit here and follow the stairs down to to emerge near the base of the sphinx
Copyright © 1999- - Stellalune ( ). All rights reserved. Feel free to copy or print this walkthrough for personal use. By all means, share it with friends, but please include this credit line so people can send me their feedback. No part of this walkthrough may be reproduced on another site without permission. Follow this link for details about this site's advertising and privacy policy.