Tomb of Seth - Secret #3 (part 1)
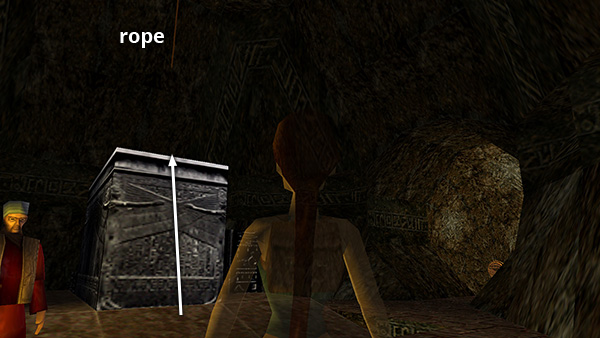
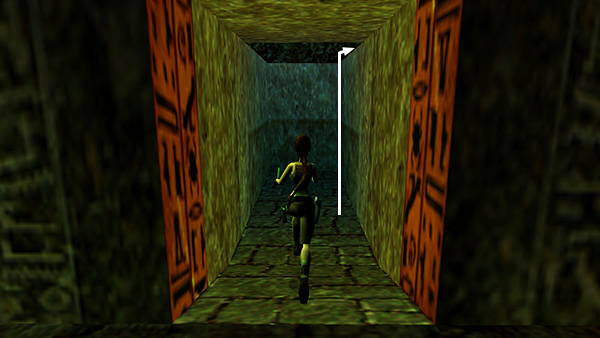
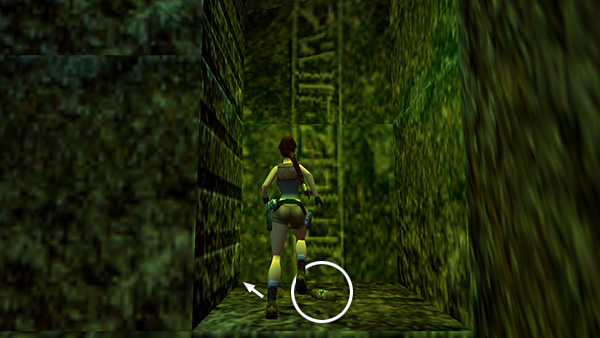
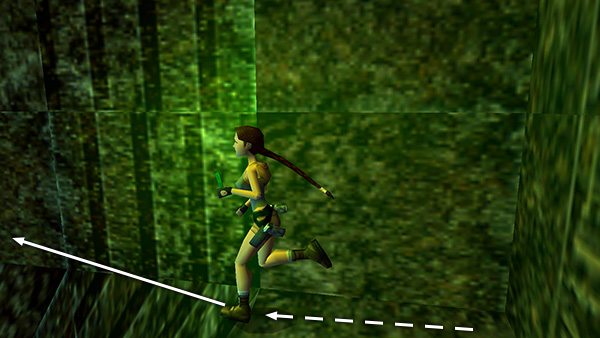
In the room with dangling rope and artifact receptacle (shown here in the round alcove on the right), climb onto the rectangular, gray pedestal.
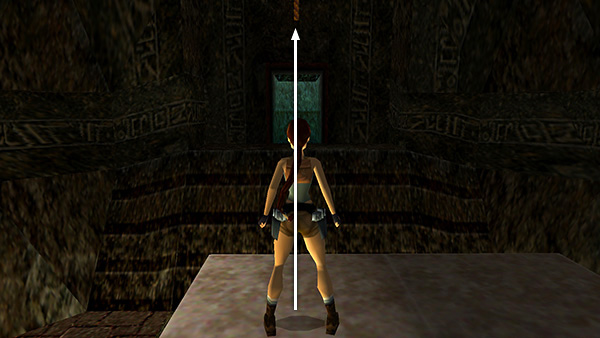
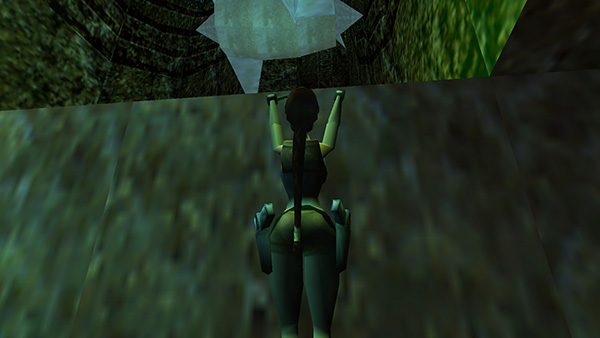
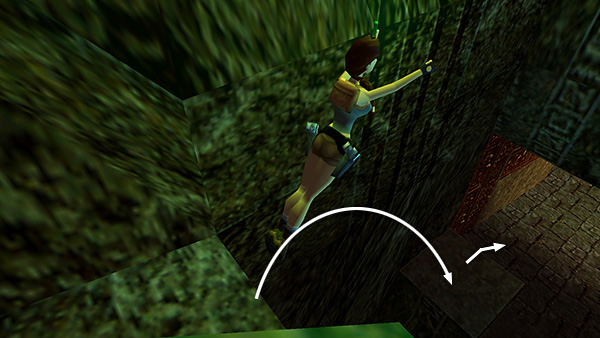
Turn to face the blue-lit doorway on the wall oppsite the artifact receptacle. Position Lara directly below the dangling rope. Jump straight up and hold Action to grab the rope. Don't climb any higher, though; you want Lara to be at the very bottom of the rope.
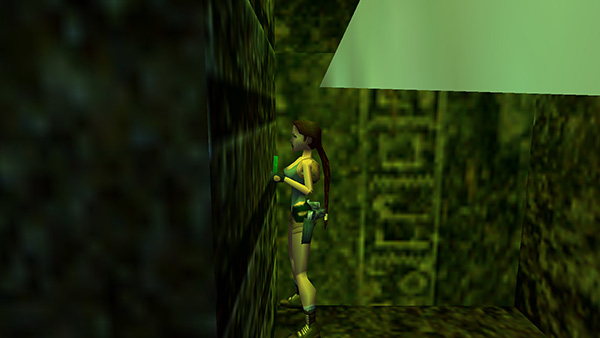
If necessary, adjust Lara's angle left to right so she's squarely facing the doorway.
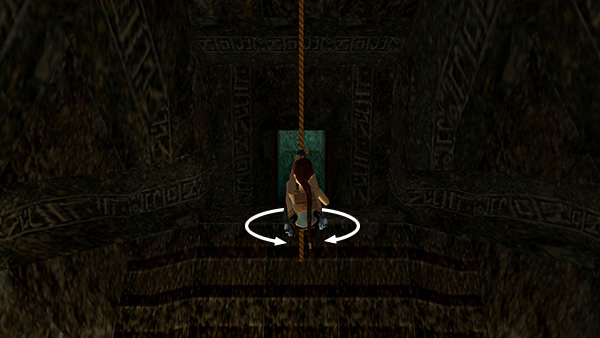
Now press the Sprint/Dash once (don't hold it) to start the rope swinging.

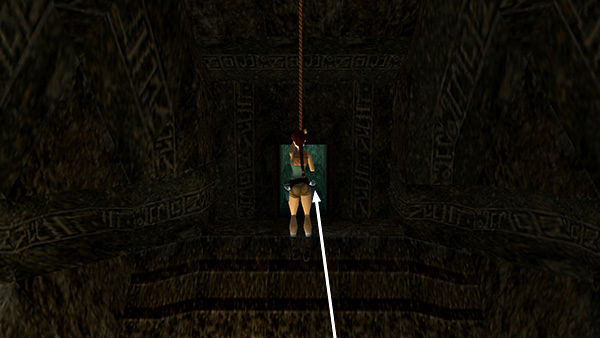
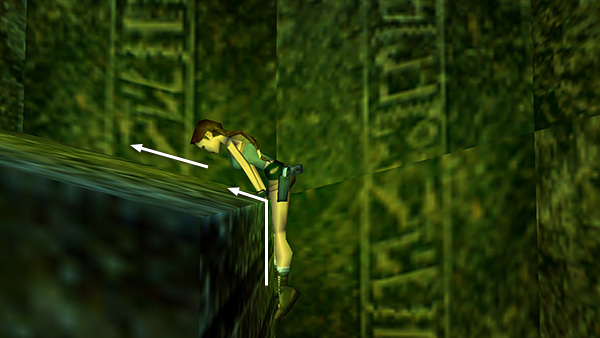
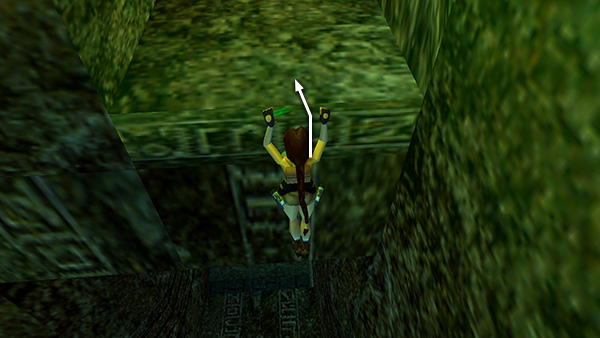
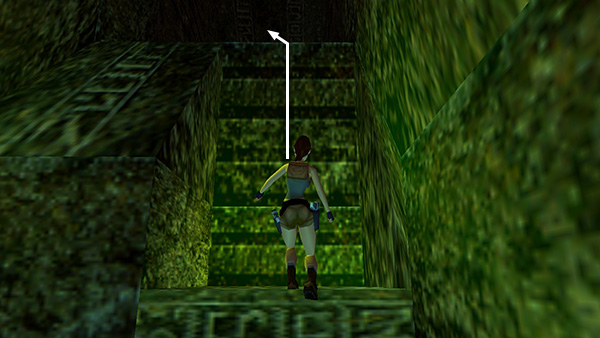
At the highest point of the arc, when Lara is closest to the doorway, press Jump, while continuing to hold Action, to make Lara leap off the rope and land in the doorway. Step forward ino the dark passageway. Ta-dah! It's SECRET #3 (11/70)
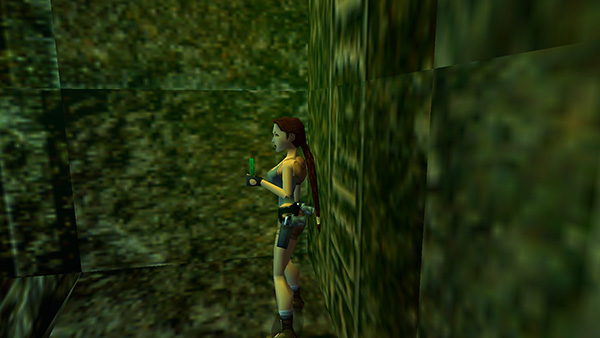
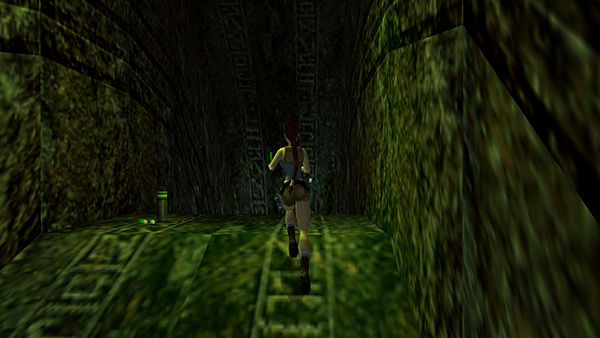
NOTE: If you're only interested in having the secret count, you can slide back down to the rope-and-pedestal room once the chime sounds. Otherwise, continue for the goodies. Otherwise, continue for the goodies.
You're now at the bottom of a tall, circular room with a set of rolling blades moving around the outside edge. Grab onto the ledge on the right...
...and hang there until the blades pass.
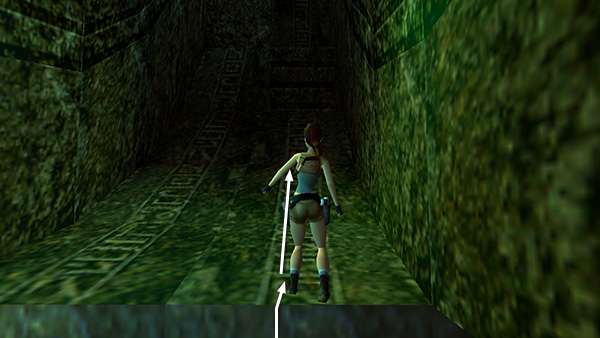
Then pull up, run forward...
...and take a standing jump up the slope to land on the flat spot at the top. Run forward and pull up onto the next ledge.
Take the small medipack and move into the far left corner of this ledge.
Wait here for the blades to pass.
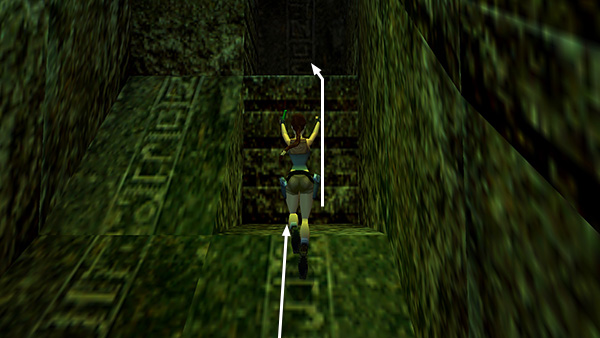
When they do, immediately climb onto the ledge above on the left. Take a few steps forward so Lara is standing on the middle or higher side of the block.
Turn left to face out toward the open room.
Then take a running jump...
...to grab the ledge on the right side of the central structure. Pull up.
You're safe from the blades for now. So climb up to the top of the central structure...
...where you'll find some flares.
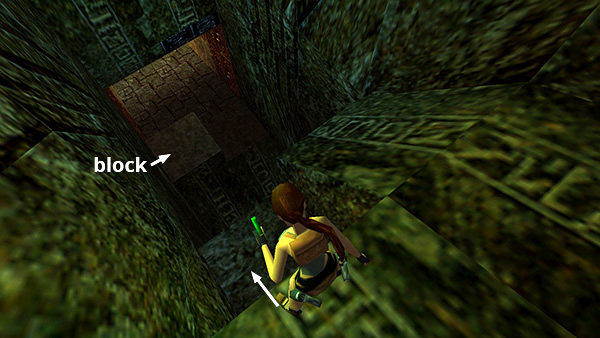
Walk carefully down the slope just beyond the flares and stop at the edge. If you look down, you'll see a flat ledge immediately below and a raised block in the doorway ahead. Step (don't jump) off the edge to land on the flat ledge.
Walk to the edge and wait until the blades pass once more. Then take a standing jump down to the raised block in the doorway. Immediately get off the block to avoid being hacked by the blade on its next pass.
Copyright © 1999- - Stellalune ( ). All rights reserved. Feel free to copy or print this walkthrough for personal use. By all means, share it with friends, but please include this credit line so people can send me their feedback. No part of this walkthrough may be reproduced on another site without permission. Follow this link for details about this site's advertising and privacy policy.