Sacred Lake - Mirror Room and Canopic Jar #2
After opening the trapdoor and swimming through the flooded passageways to the room with the large medipack, as shown in the previous section, save again if you like.
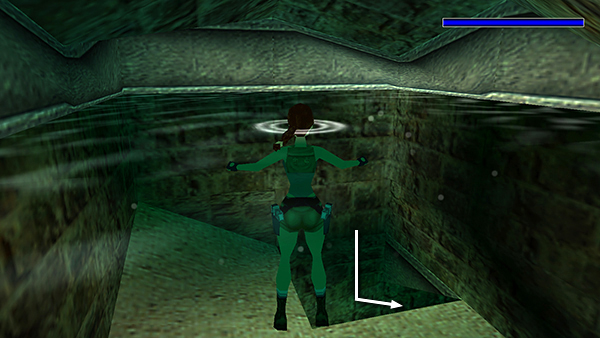
Swim down through hole in the floor (the same way you came in).
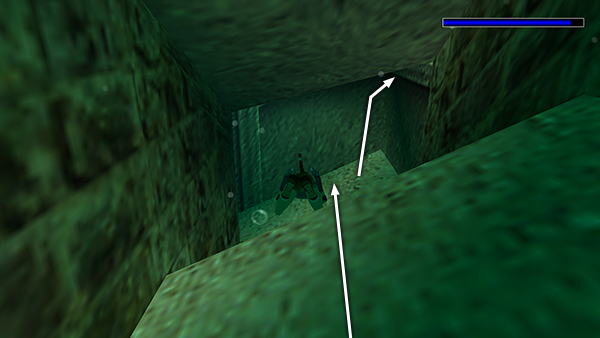
Swim forward through the uneven opening. Then, when you reach the wall, head upward to the right.
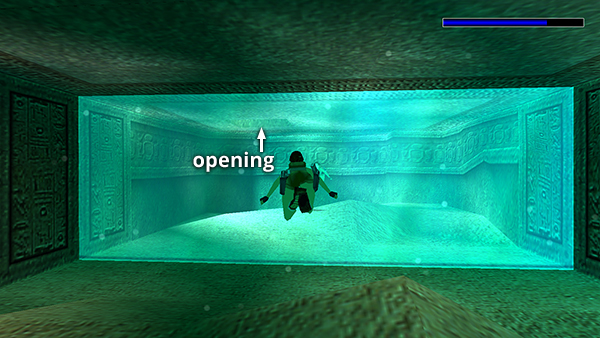
This short passageway leads to a flooded room with one wall made of mirror. There's an opening in the ceiling on the left side (when facing the mirror), but it is cleverly camouflaged. (Oh, those crafty Egyptian architects!) However, the mirror image of the room clearly reveals the opening.
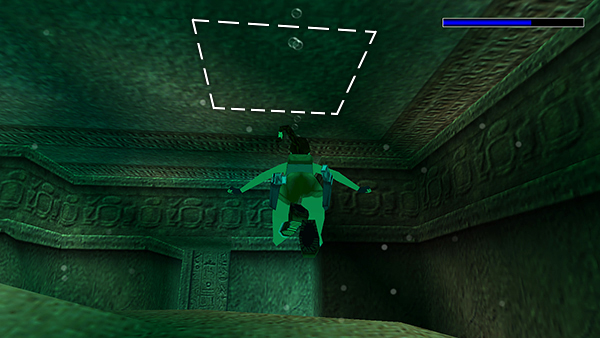
Get your bearings from the mirror, then roll and swim up to the opening.
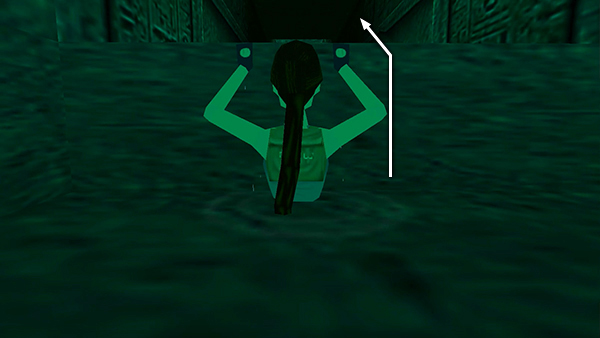
Climb out of the water...
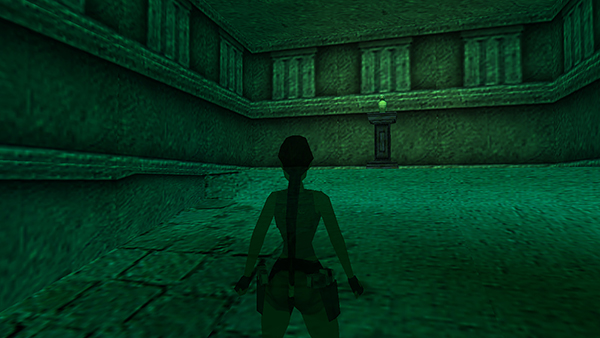
...and follow the dimly lit passage to a room with CANOPIC JAR 2 on a pedestal.
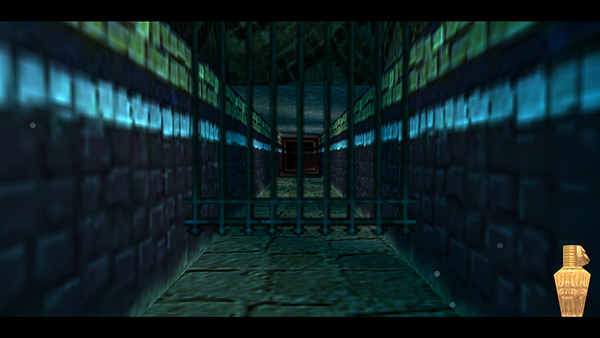
When you take the jar, a cutaway shows a gate opening back at the room in the middle of the SACRED LAKE.
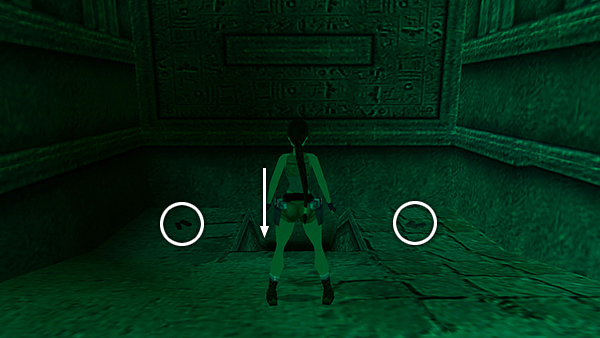
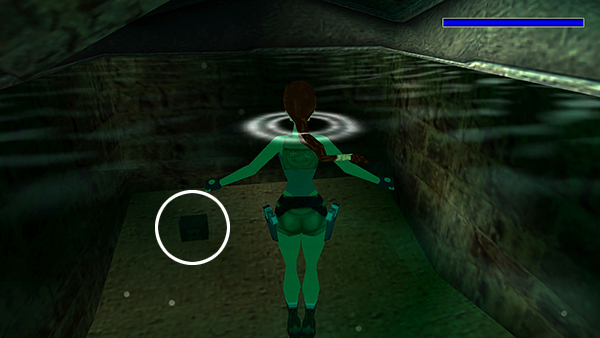
Pick up 2 sets of Uzi clips, one on either side of the opening in the floor. Then hop down into the opening and follow the passageway back to the opening in the ceiling of the MIRROR ROOM.
Copyright © 1999- - Stellalune ( ). All rights reserved. Feel free to copy or print this walkthrough for personal use. By all means, share it with friends, but please include this credit line so people can send me their feedback. No part of this walkthrough may be reproduced on another site without permission. Follow this link for details about this site's advertising and privacy policy.