Pharos, Temple of Isis - North Staircase and Pyramid Room (part 2)
After obtaining the BLACK BEETLE artifact from the room at the bottom of the middle (west) chute, as shown in the previous section, slide down the LEFT (SOUTH) CHUTE...
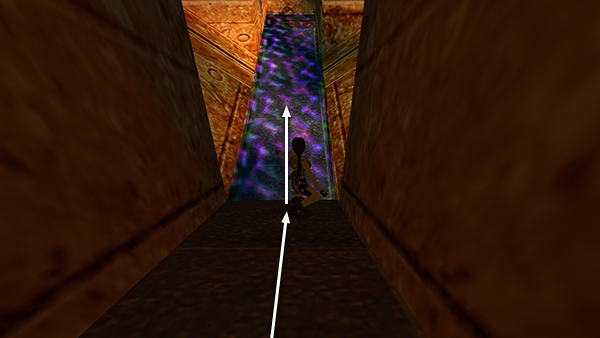
...jumping at the end to get a little more distance.

Then hurry to the end of the pool and climb onto the ledge on the right before the oil ignites.
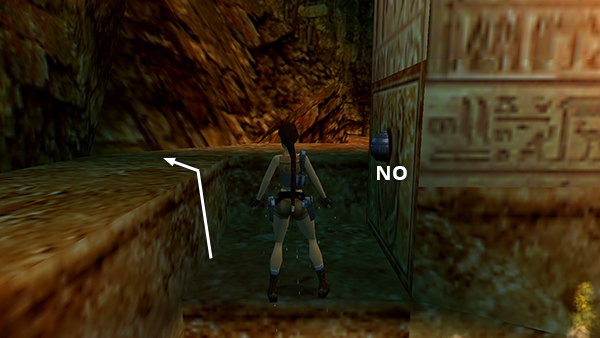
Do not pry out the BROKEN BEETLE next to the step. You don't need it, and taking it out will cause a swarm of live beetles to scurry out of the hole. Instead, climb onto the ledge above.
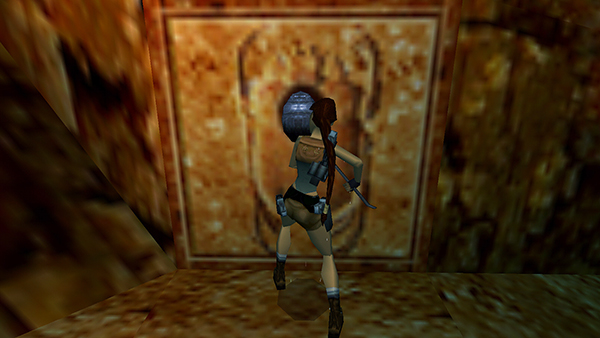
Use the CROWBAR to pry the BLACK BEETLE out of the end wall. You can then pry out the BROKEN BEETLE without the scarabs swarming out, but there's no need to do this.
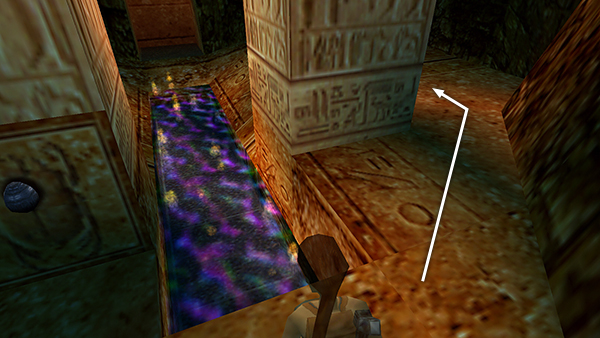
Follow the ledge around either side of the flaming pool to the ramp, which has turned into stairs.
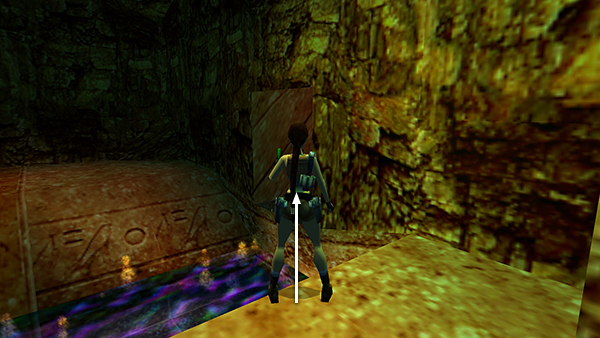
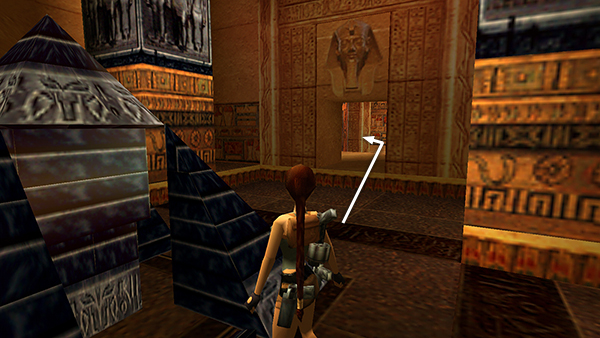
Take a standing jump-grab into the opening.
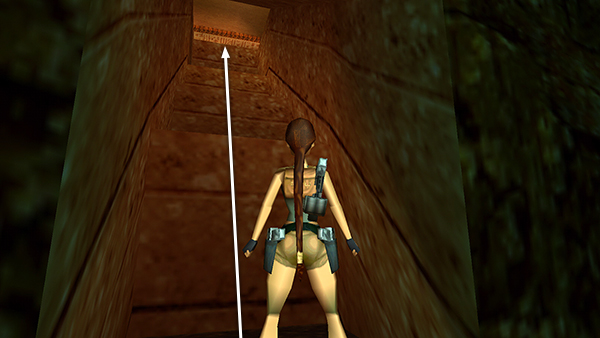
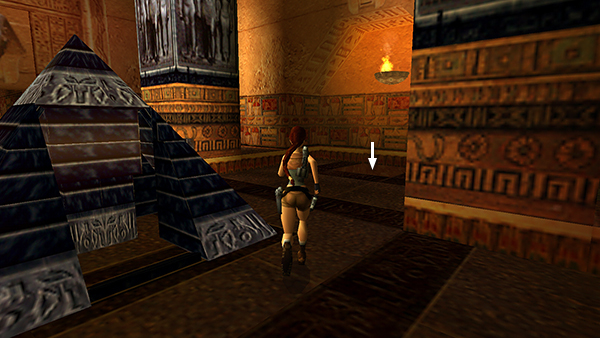
Climb/jump up the block steps to the PYRAMID ROOM.
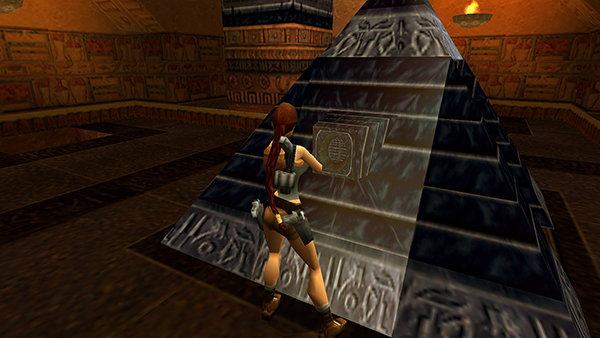
To avoid possible complications with the beetle bug, place the BLACK BEETLE in one of the receptacles on the side of the pyramid now.
After finishing this area and the ROOM WITH THE ISIS STATUE, you should have found 3 BLACK BEETLES and placed them in the receptacles on the small pyramid. There's still one BEETLE missing. So return through the room with the hollow benches where you found the health packs and ammo earlier. Continue downstairs to the ROOM WITH THREE STAIRCASES AND SMALL POOL.
Copyright © 1999- - Stellalune ( ). All rights reserved. Feel free to copy or print this walkthrough for personal use. By all means, share it with friends, but please include this credit line so people can send me their feedback. No part of this walkthrough may be reproduced on another site without permission. Follow this link for details about this site's advertising and privacy policy.