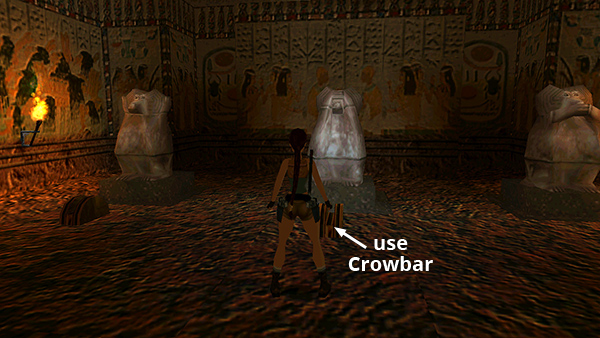
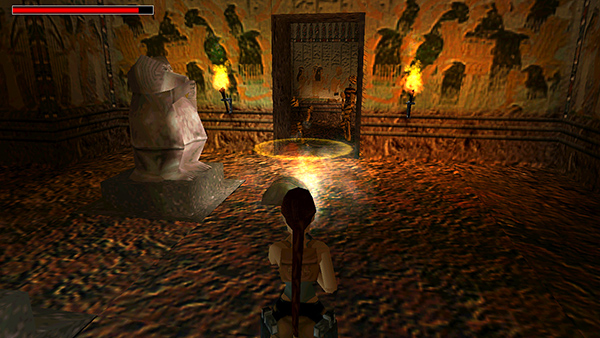
The Mastabas - Room with Three Monkeys
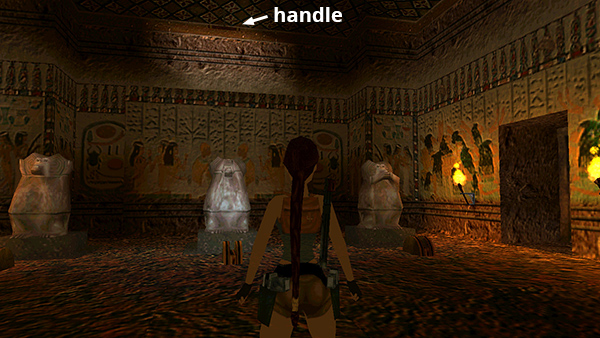
Beyond the FOURTH ROOM WITH GOLDEN LIONS' HEADS, we have something a little different. Three monkey statues in the classic poses "hear no evil," "see no evil," and "speak no evil."
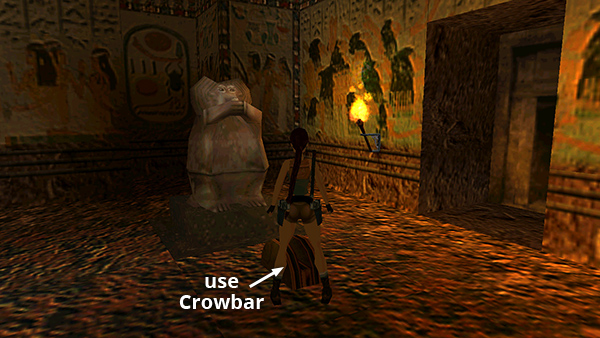
Each statue has a lever mechanism in front of it. You'll need to use the CROWBAR as a handle to operate each lever. If you like, you can skip the left and middle levers and use only the lever on the right. But if you want the full experience, start with the lever on the left. Stand in front of the mechanism and press Action to use the crowbar.
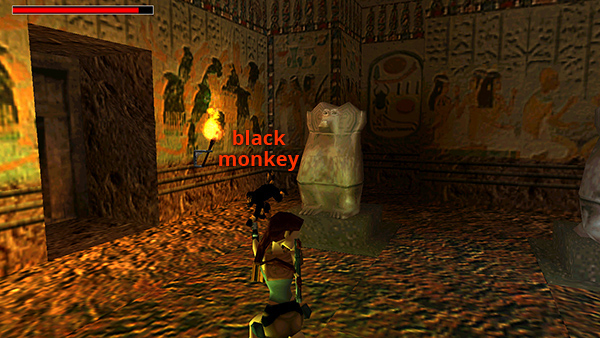
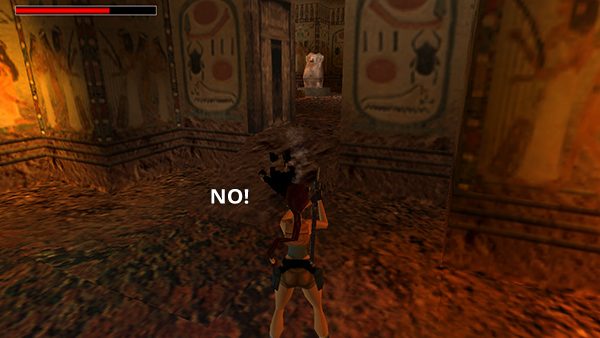
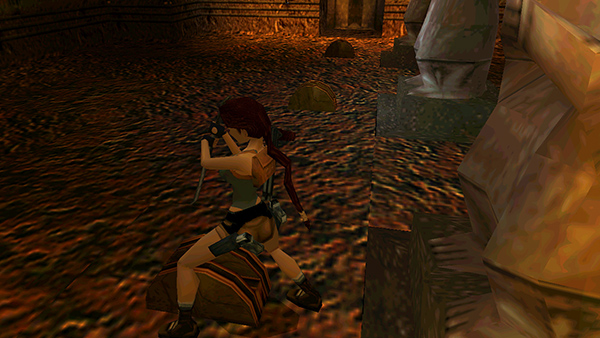
This releases a black monkey that attacks Lara.
It's not hard too kill, and it makes an interesting explosion when it dies.
If you do release the black monkey (and the ghost monkey, below), just be sure to kill them inside the main room with the statues and levers. If you release one of the bad monkeys and then back out into the previous room to kill it, neither of the remaining levers will work, and you will be stuck here and have to reload an earlier save.
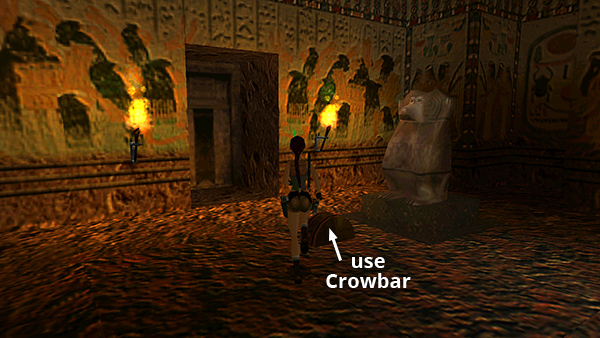
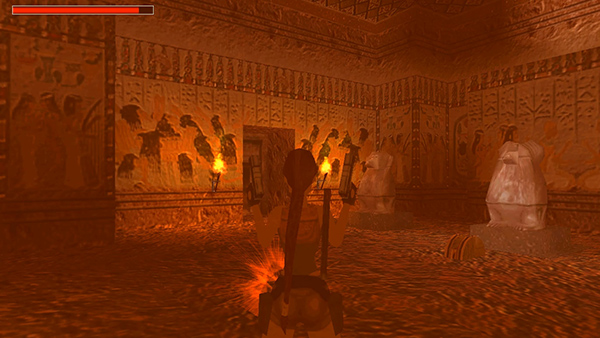
Next use the crowbar to operate the middle lever.
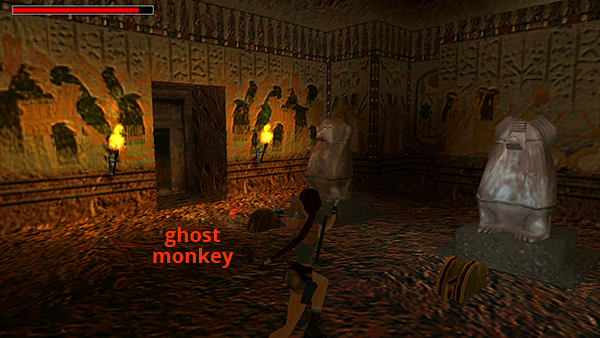
This one releases a ghost monkey, which also attacks Lara. It's difficult to see, but Lara will target it automatically (assuming you have auto-targeting enabled).
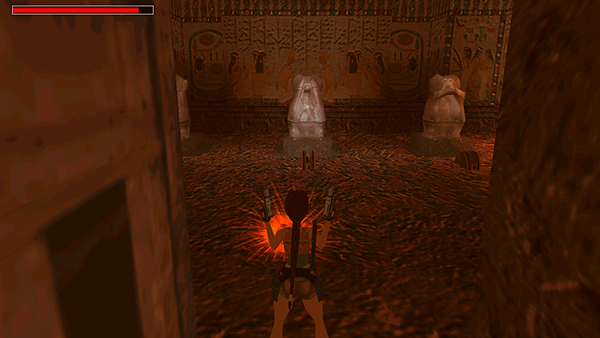
It also explodes spectacularly when you defeat it.
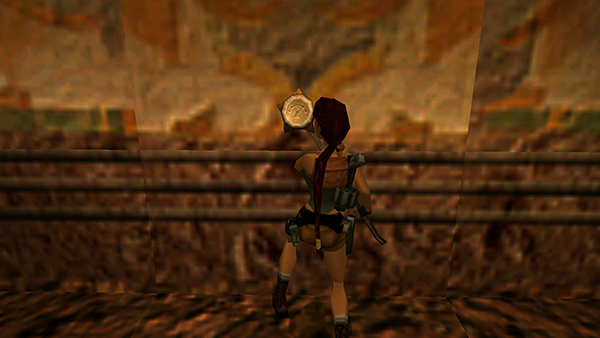
Finally, use the crowbar once more to operate the lever on the right.
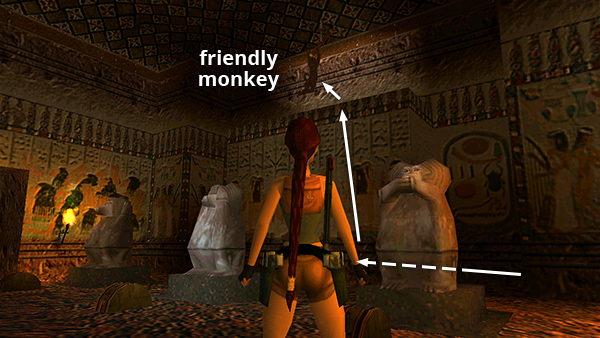
This one releases a friendly monkey that climbs up onto the high ledge and pulls the handle there to open the door to the right (east).
If you accidentally kill the friendly monkey before it can open the door, use the crowbar again to operate the lever on the right. You'll need to position Lara facing the lever mechanism from the other side (i.e., with her back to the statue). The monkey will appear again and climb the wall to pull the switch. You can kill it after it's done its job, but this is not counted among the "official" kills, and you might just be a bad person if you do.
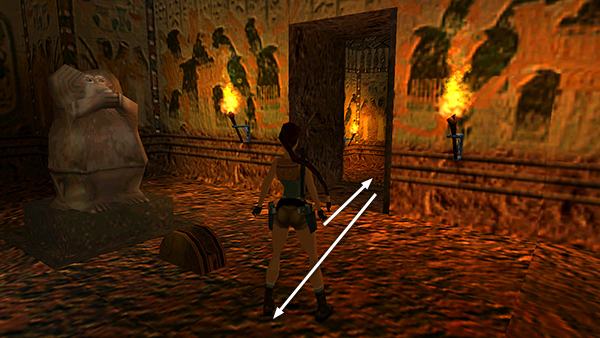
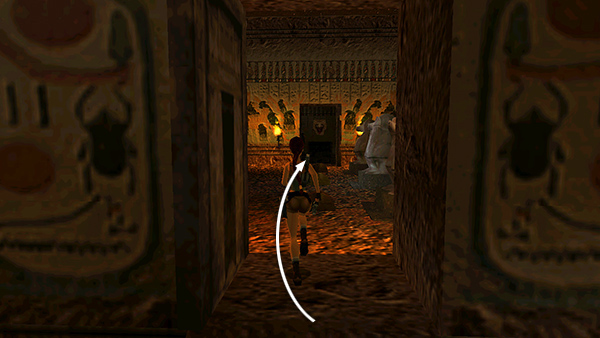
The EAST ROOM, contains 2 mummies. If you step inside to get their attention, then back out and wait for them to move into the doorway...
...you can destroy both with a single grenade or explosive arrow.
When the area is clear, go in and pry the SOUTHERN SHAFT KEY off the wall. The west door in the MONKEY ROOM then opens.
Go through the MONKEY ROOM into the WEST ROOM WITH GOLDEN LIONS' HEADS. Again, you can shoot the gems if you like, but this doesn't seem to accomplish anything, since the exit is already open. Climb the stairs and follow the tunnel to the next level.
Copyright © 1999- - Stellalune ( ). All rights reserved. Feel free to copy or print this walkthrough for personal use. By all means, share it with friends, but please include this credit line so people can send me their feedback. No part of this walkthrough may be reproduced on another site without permission. Follow this link for details about this site's advertising and privacy policy.