Temple of Karnak - Pool and Flooded Passageway (part 2)
Includes Secret #3
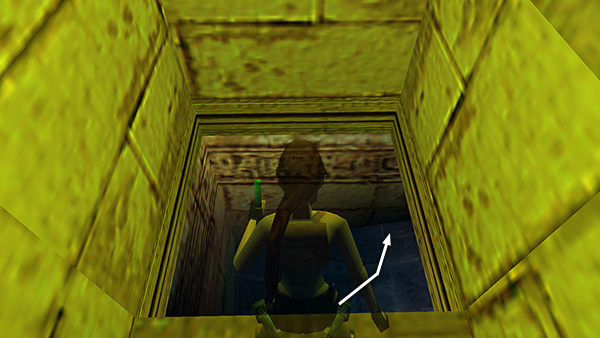
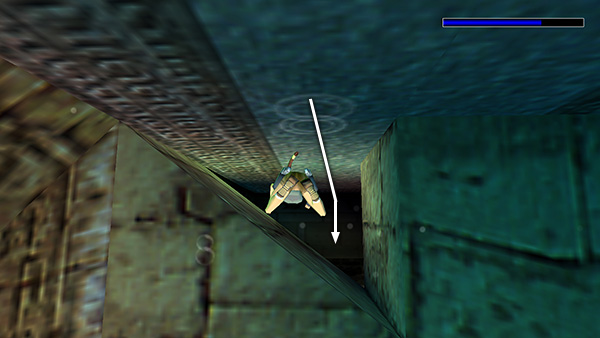
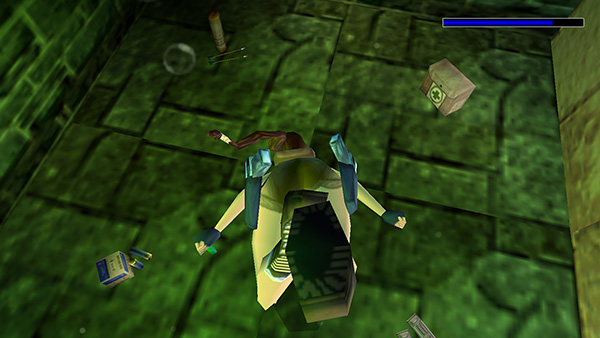
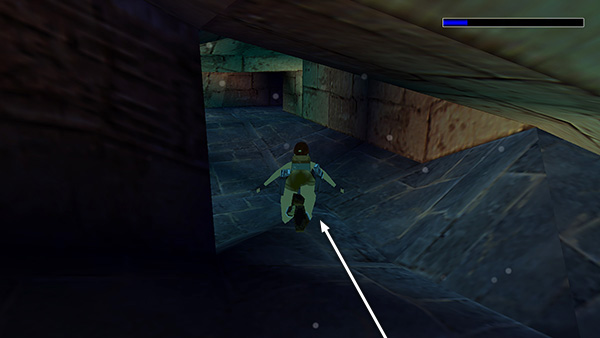
After obtaining secret #2, as shown in the previous section, save the game since the next section is a bit tricky. Stand facing the opening in the floor and jump into the water. Swim down and forward...
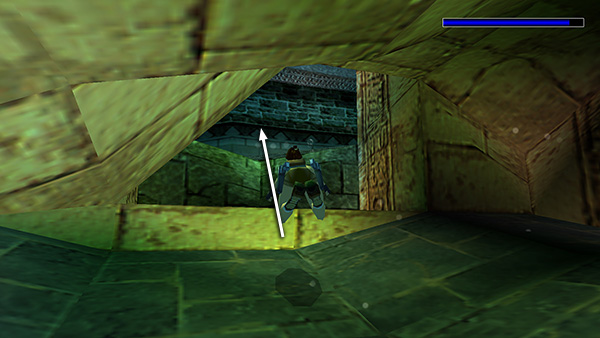
...through an uneven horizontal opening into a perpendicular passageway with bluish lighting.
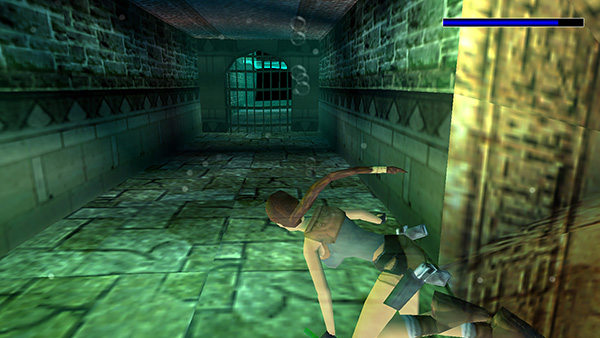
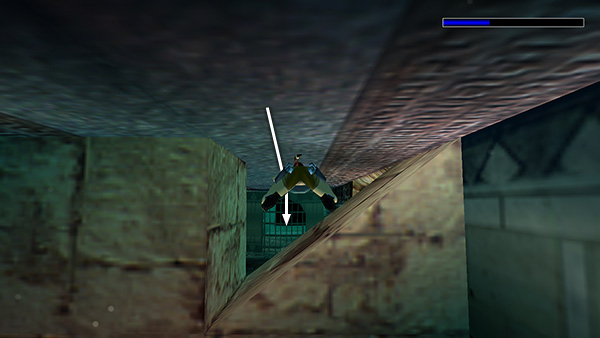
To the right is a dead end with a gate, through which you can see another area.
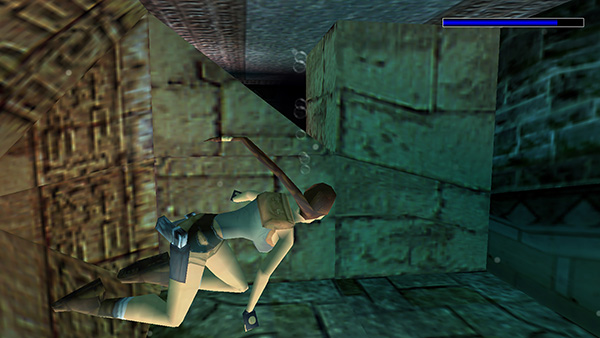
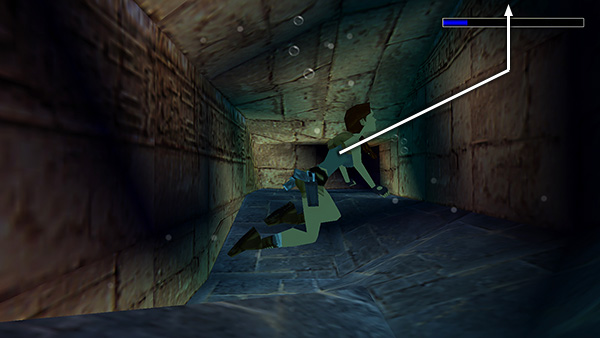
To the left is a small, triangular opening.
Swim through, staying close to the ceiling so Lara doesn't get stuck. This is SECRET #3 (28/70).
Pick up the goodies: a large medipack, Uzi clips, wideshot shells, and poisoned arrows.
To get back to the air pocket where you found secret #2, swim out along the ceiling then downward.
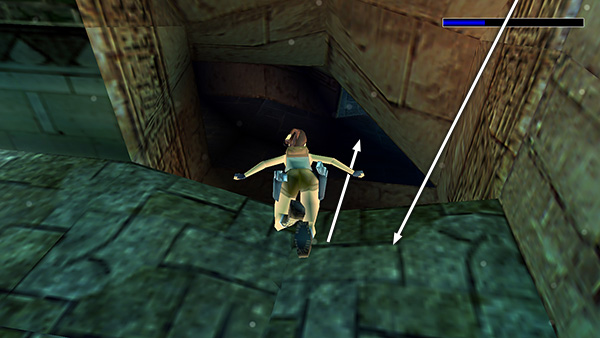
Turn right and swim down through the uneven horizontal opening.
When you clear the angled ceiling...
...turn right and swim upward...
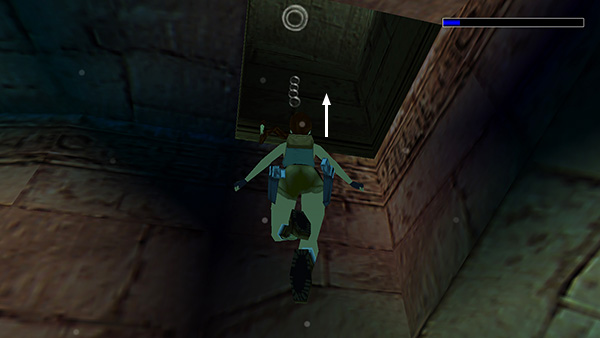
...to reach the opening.
NOTE: If you have trouble collecting all of the items in the secret room in one go, you can swim back to this opening between pick-ups.
Copyright © 1999- - Stellalune ( ). All rights reserved. Feel free to copy or print this walkthrough for personal use. By all means, share it with friends, but please include this credit line so people can send me their feedback. No part of this walkthrough may be reproduced on another site without permission. Follow this link for details about this site's advertising and privacy policy.