Inside the Great Pyramid - Secret and Level Exit (part 2)
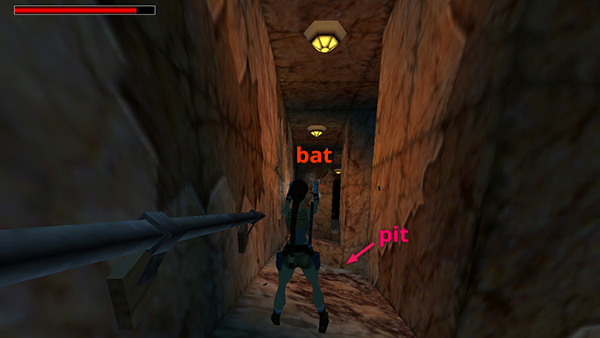
Continue downhill. Shoot a bat as you approach the edge of the next pit. (If you didn't get the Uzi ammo one of the first enemies dropped here, it should still be lying somewhere nearby.)
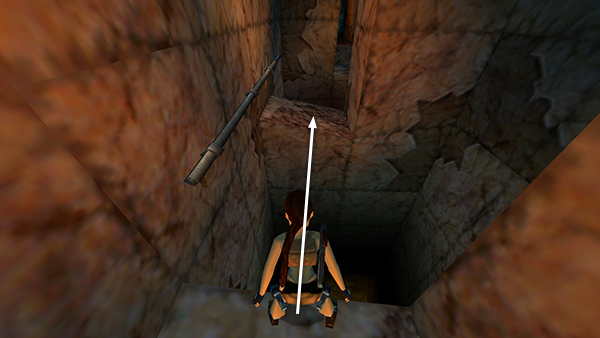
Walk to the edge of the pit and take a standing jump across.
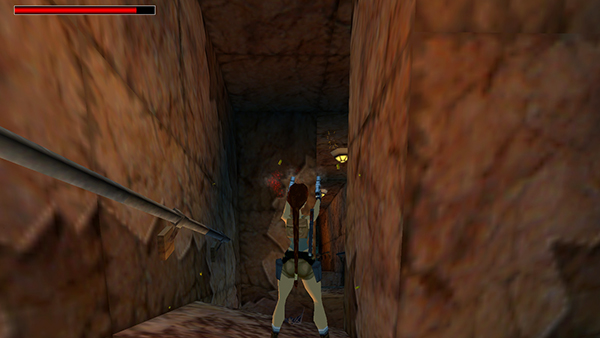
Kill another bat.
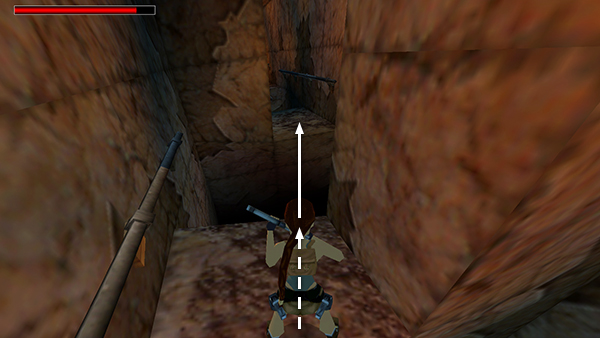
Switch weapons if you like. Then take a running jump across the next pit...
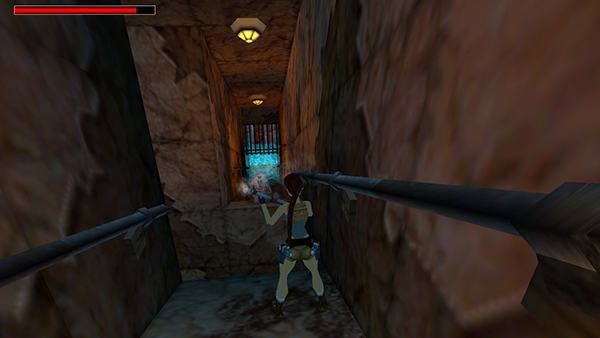
...and kill another bad guy in the passageway ahead.
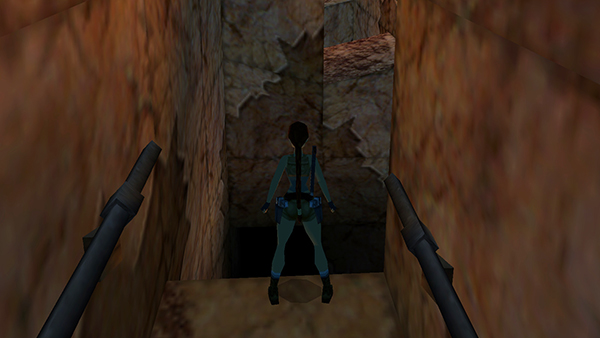
Before jumping across the next pit, turn around...
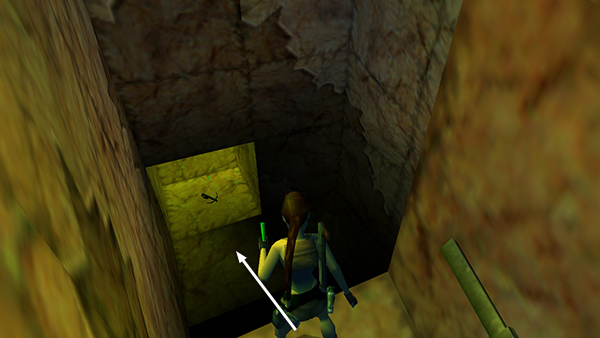
...and light a flare (or equip the BINOCULARS and press Action to activate night vision) to spot a small alcove down inside the dark pit. Take a standing jump down to this alcove and pick up the CROSSBOW (or normal arrows if you already have the weapon). This is the level's only SECRET (70/70).
NOTE: Congratulations if you've found all the secrets! There's no reward for collecting them all, other than personal satisfaction, but if you'd like to play a bonus level when you're finished with the main game, The Times Exclusive Level is available on the TR4 Downloads page.
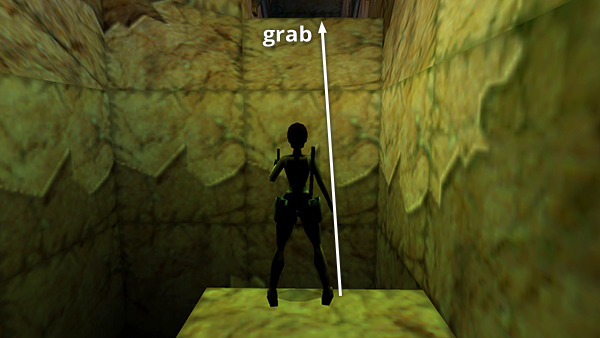
Turn around so the secret alcove is behind Lara. Walk to the edge and take a standing jump to grab the opposite rim of the pit. Pull up.
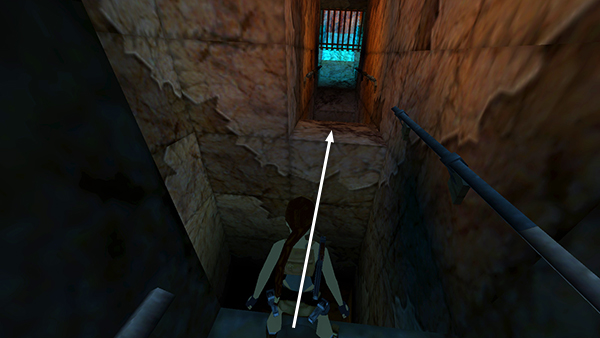
Take a standing jump over the next pit to the next narrow ledge, where that last enemy fell.
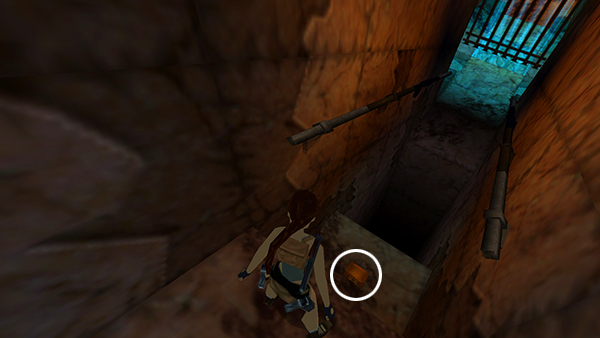
Step off the edge to land on the ledge below, where you'll find a large medipack.
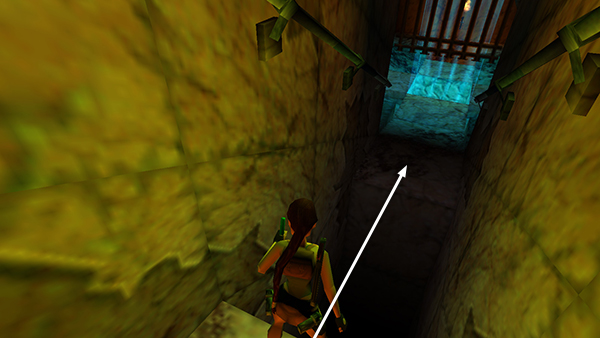
Switch to pistols again if you like, then take a standing or running jump across the last pit toward the gate. (It should be open if you used the switch in the east alcove of the ROOM WITH THE MARBLE BASIN.)
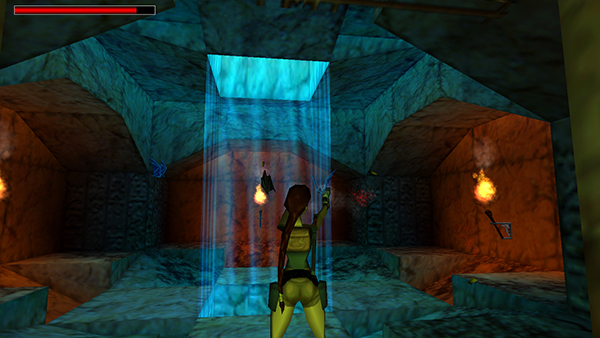
Enter and kill 3 more bats. If Lara loses a little health in this encounter, don't bother using a medipack, since you're about to change levels, and her health will be restored.
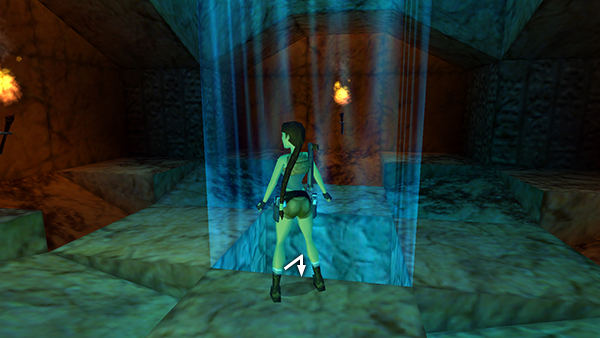
Approach the opening with the SHAFT OF BLUE LIGHT. Turn around, hop back, and grab the edge.
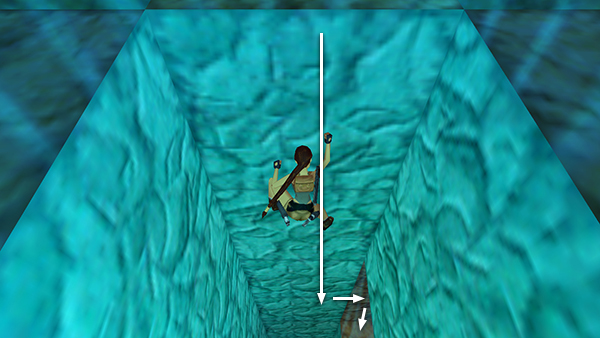
Climb down the carved wall of the shaft, then over to the opening on the right (west) side. Drop down into this passageway and follow it into the next level.
Copyright © 1999- - Stellalune ( ). All rights reserved. Feel free to copy or print this walkthrough for personal use. By all means, share it with friends, but please include this credit line so people can send me their feedback. No part of this walkthrough may be reproduced on another site without permission. Follow this link for details about this site's advertising and privacy policy.