Great Hypostyle Hall - Glowing Pyramid and Rotating Needles (part 2)
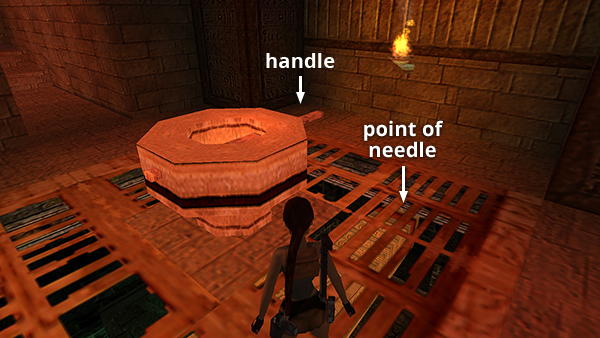
The huge, carved stone "needles," three in all, are mounted on wheels with handles so they can rotate. The goal is to rearrange them so they all point toward the GLOWING PYRAMID at the center. Use your compass and, if necessary, refer to this diagram and screenshots below.
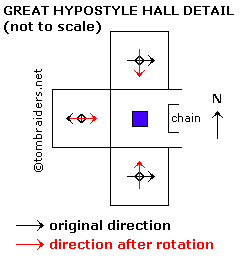
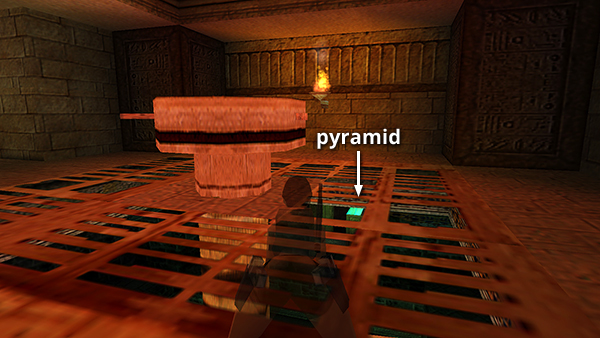
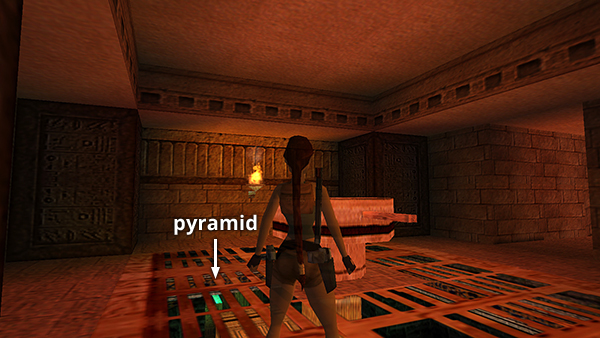
If you peer through the openings in the floor, you can see the PYRAMID in the room to the south.
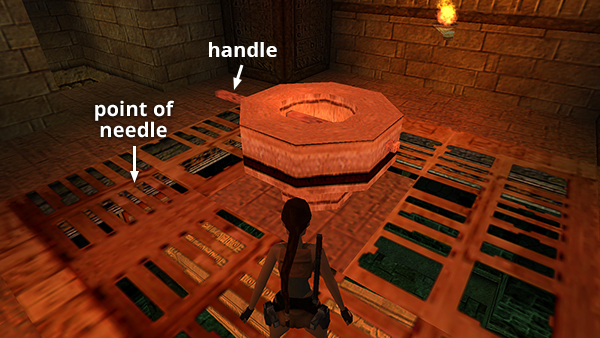
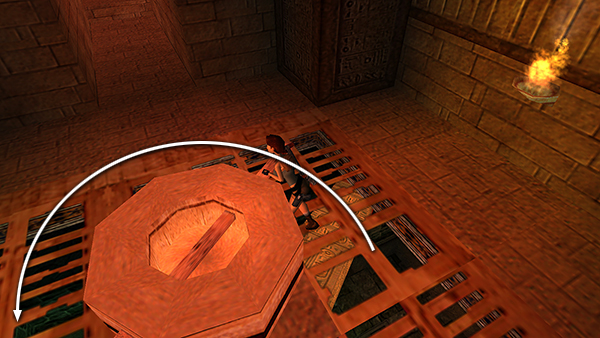
The pointed end of the needle in the room below is oriented toward the east. The red stripe makes it a little easier to tell which is the pointed end from above. The handle on the wheel also points in the same direction.
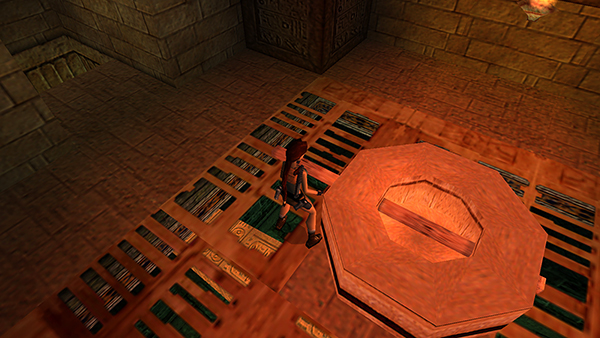
So turn the wheel clockwise one-quarter turn. That is, approach the handle on the wheel from the right side and press Action to grab it...
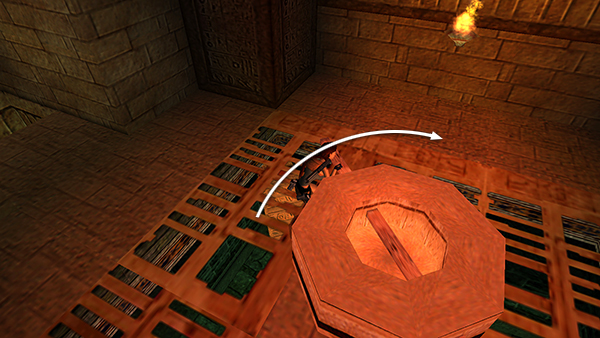
...and push it once. (Each push is a quarter turn.)
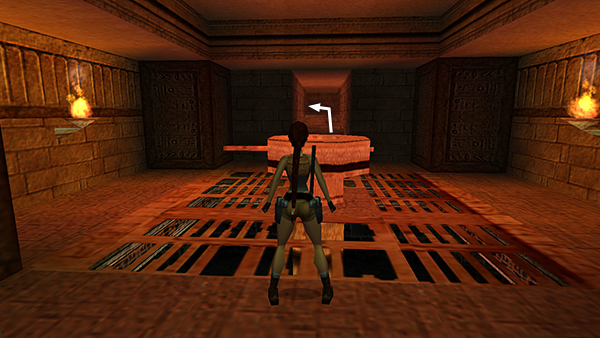
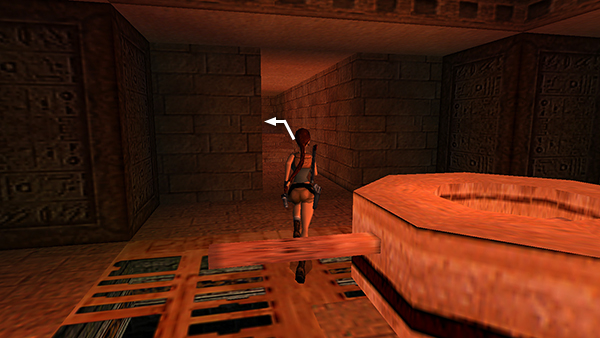
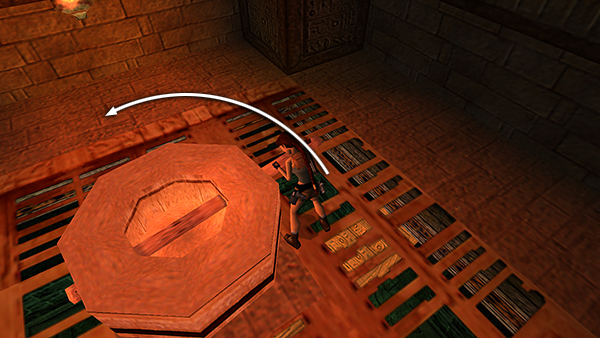
Exit through the doorway to the west and follow the passageway...
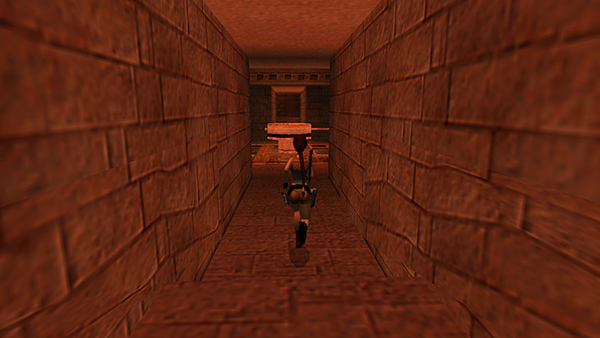
...to the SECOND (WEST) WHEEL ROOM.
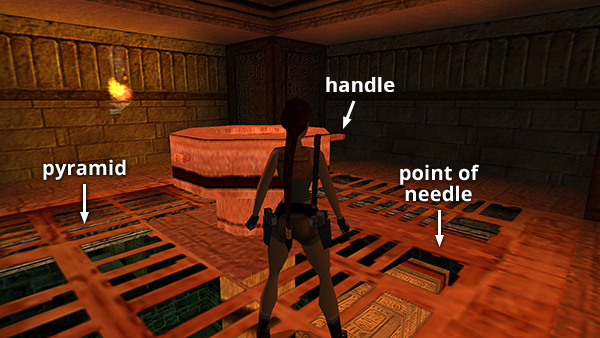
Here, the needle and the handle on the wheel point west.
The GLOWING PYRAMID is to the east.
So grab the handle and give the wheel one-half turn (two pushes) in either direction.
Proceed to the THIRD (SOUTH) WHEEL ROOM.
The needle and handle here point east and the GLOWING PYRAMID is to the north.
So grab the handle and and give the wheel one-quarter turn (one push) counterclockwise. Now all the needles should be aligned correctly.
Copyright © 1999- - Stellalune ( ). All rights reserved. Feel free to copy or print this walkthrough for personal use. By all means, share it with friends, but please include this credit line so people can send me their feedback. No part of this walkthrough may be reproduced on another site without permission. Follow this link for details about this site's advertising and privacy policy.