Temple of Horus - First Water and Scale Puzzle
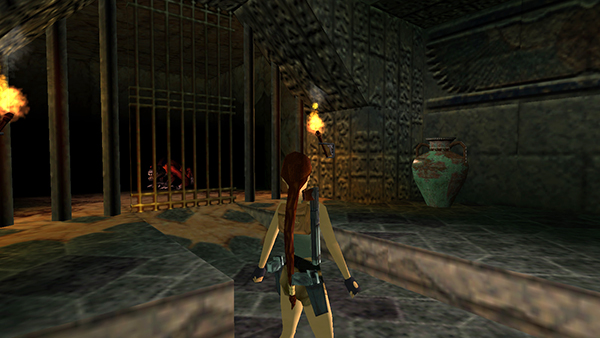
From the level entrance, follow the ramp up to the next room. On the left is a cage containing a nasty monster.
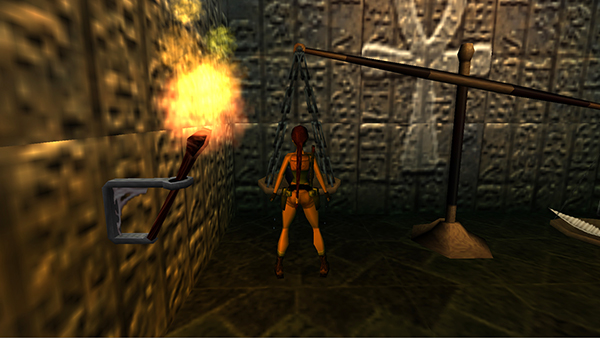
On the right is a balance-beam scale with a silver pitcher on one side and a feather on the other.
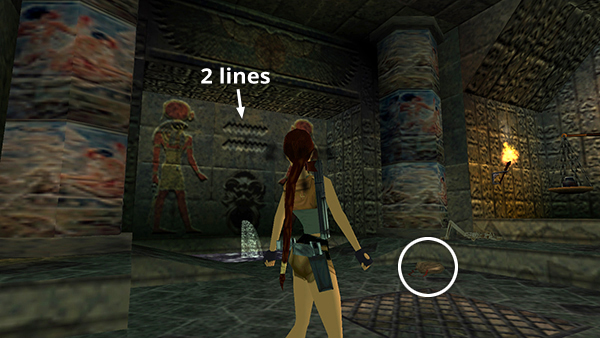
As you approach the scale, Lara looks to the left at the inscription above one of the fountains. There are two wavy line symbols representing water, so for this puzzle you need 2 liters of water. (Never mind that ancient Egyptians knew about as much about the metric system as modern Americans. We'll just suspend our disbelief, won't we?) Pick up the LARGE WATERSKIN from the floor near the skeleton. You will need this—along with the SMALL WATERSKIN, which you should still have in your inventory from the MASTABAS—to solve the puzzle.
How to use the waterskins: If you stand in the pool on either side of the walkway, open your inventory, select either waterskin, and press Action, Lara will fill that waterskin if it's empty. If you stand outside the pool, open your inventory, select either waterskin, and press Action, Lara will empty that waterskin on the ground. By experimenting you'll see that the large waterskin holds 5 liters when it's full; the small waterskin holds 3 liters. You can also pour the contents from one skin to another using the 'Combine' option inventory ring. You can then pour the contents of either skin into the silver pitcher on the scale.
BUG NOTE: If Lara says "no" when you try to fill or empty the waterskins, try pausing a moment between actions before pressing Action. If she's in the middle of a movement animation, she won't start another action. If you're playing with keyboard and she still says "no," make sure you're pressing Action (Ctrl) instead of Enter when using or combining the items within the inventory ring. If that doesn't help, see the footnote in the main walkthrough.
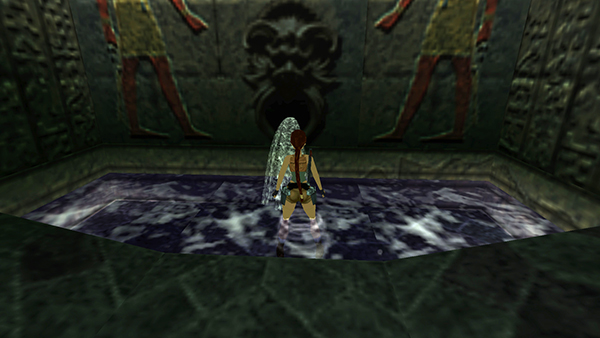
To solve the puzzle: First make sure both waterskins are empty. If not, stand on dry land, select each one from inventory, and select "Use" to dump it out (not shown). Now stand in either pool.
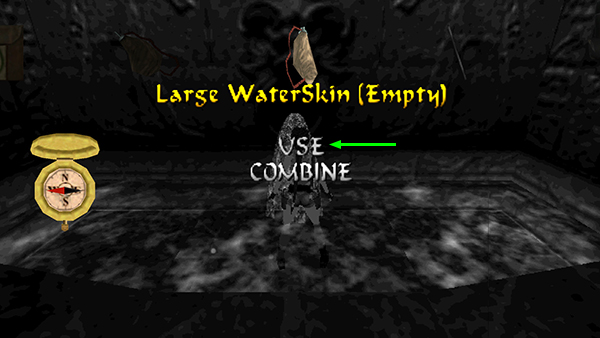
Select the large waterskin from inventory, and select "Use."
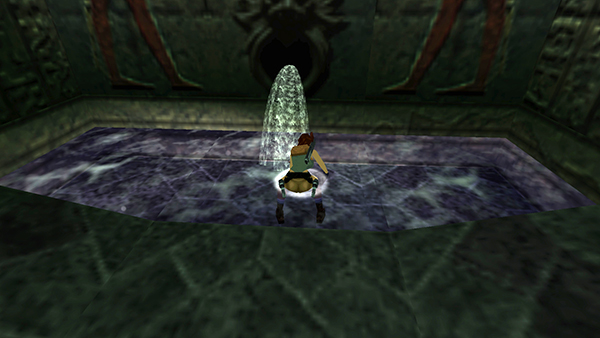
Lara then dips the waterskin into the pool to fill it.
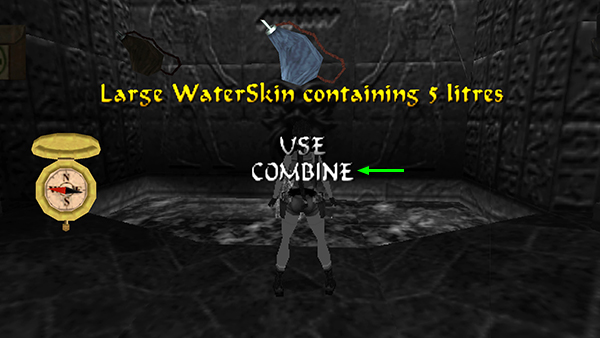
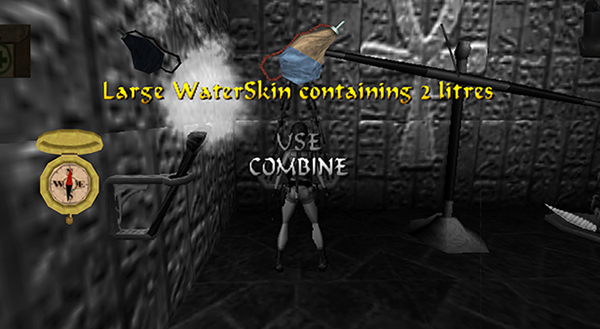
Select the large waterskin containing 5 liters. Select "Combine"...

...then the small waterskin (empty) to fill the small waterskin from the large one.
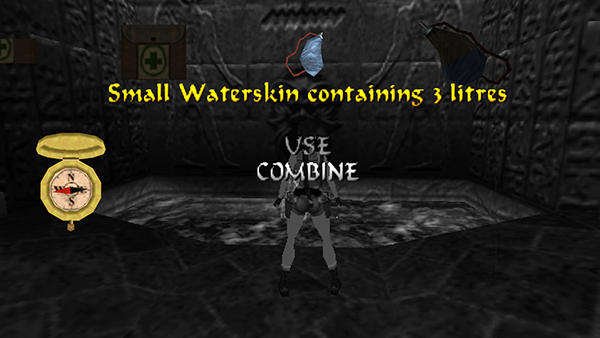
You should now have the small waterskin containing 3 liters...

...and the large waterskin containing 2 liters. Exit the inventory ring without using either one.
Position Lara squarely facing the left scale platform with the pitcher on it. Make sure she's right up against it. (You might want to save your game before pouring the water.)
NOTE: If you want all kills, be sure to use the wrong amount of water (small waterskin) first to release the monster so you can fight it. Then use the correct amount (large waterskin) to solve the puzzle.
Open your inventory, select the large waterskin (with 2 liters of water), and Use it to pour the water into the pitcher. If you're too far from the scale, Lara will pour the water on the floor and you'll have to start over. You will see and hear water pouring if you've done it correctly.
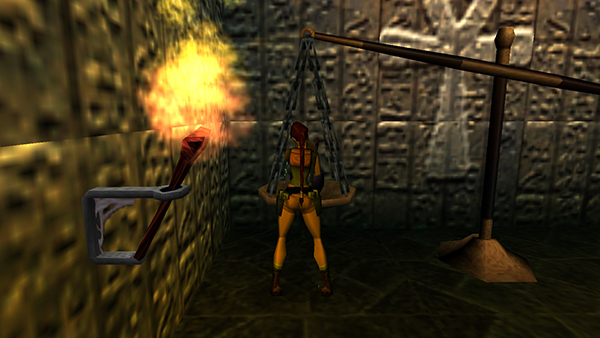
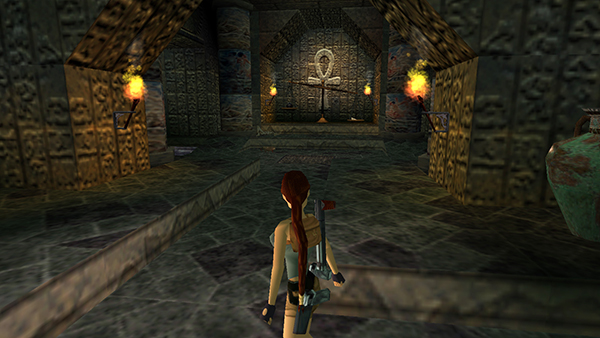
Once you pour exactly 2 liters of water into the pitcher, the scale balances...
...and the grate in the floor opens.
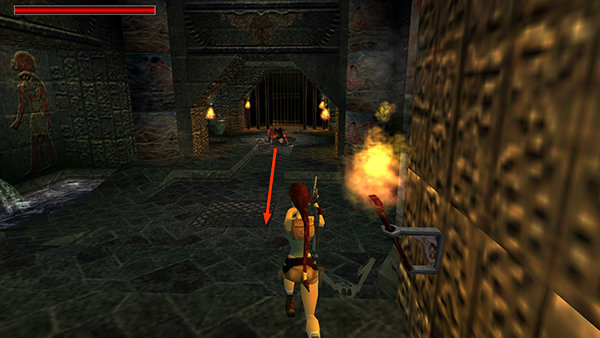
If you use the wrong amount of water, the scale won't balance and the monster will be released. You must then kill it or reload a saved game and try again. Explosives are basically useless, but 4 revolver rounds will do the trick. The shotgun, Uzis, or even pistols can also destroy it; this just takes a little longer.
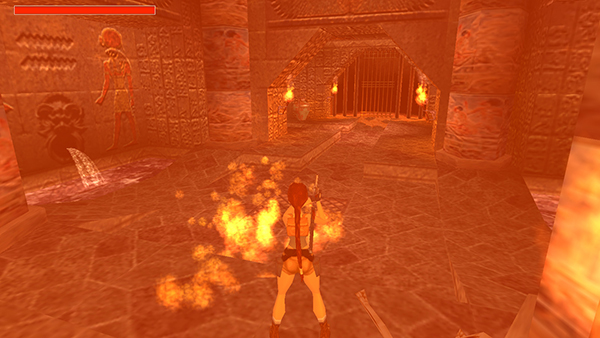
When you defeat the monster, it vanishes in a flash of fire and reappears in its cage, ready for Lara's next attempt.
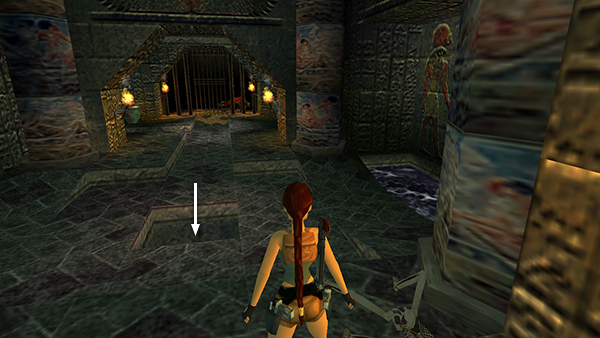
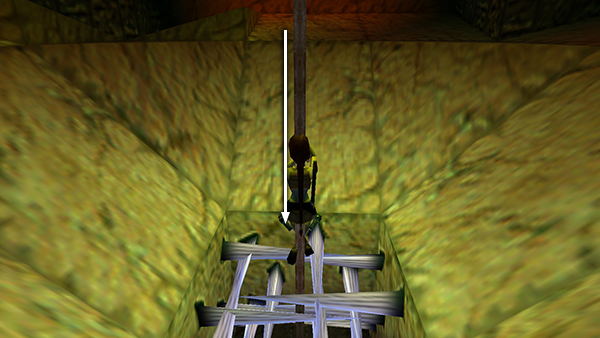
Once you've solved the puzzle, drop down through the open grate and follow the passage to a dark room with a climbing pole going down into an opening lined with retractable spikes.
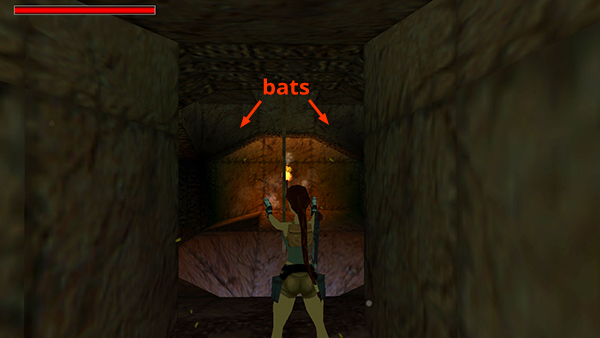
Enter and kill a couple of bats.
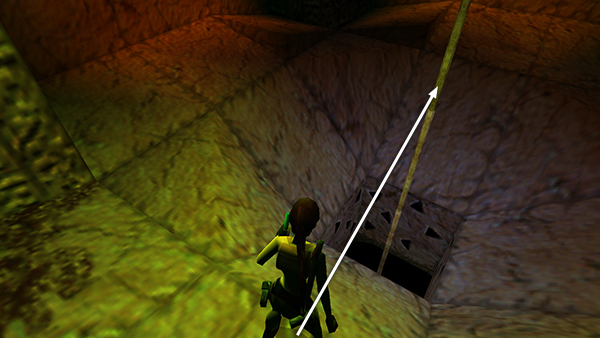
Take a standing jump from the edge of the opening to grab the pole.
Slide down and wait just above the spikes.
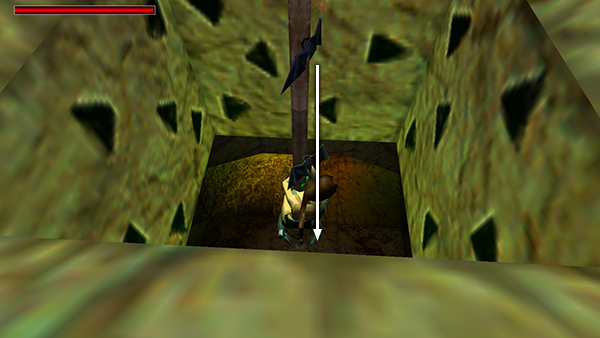
Then, just as they begin to retract, slide down through the opening.
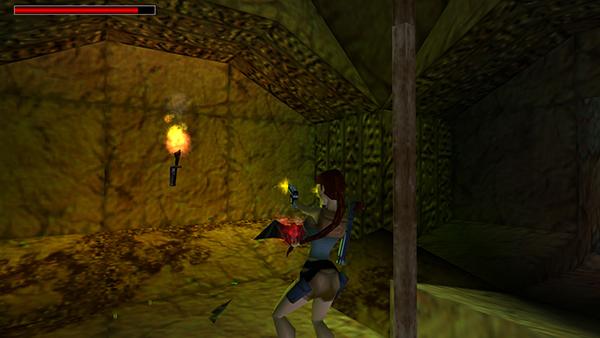
Kill a few more bats in the room below. Continue to the next room.
Copyright © 1999- - Stellalune ( ). All rights reserved. Feel free to copy or print this walkthrough for personal use. By all means, share it with friends, but please include this credit line so people can send me their feedback. No part of this walkthrough may be reproduced on another site without permission. Follow this link for details about this site's advertising and privacy policy.