Citadel Gate - Open Area with Coffins, Switches, and Bells (part 1)

After retrieving the items from the crocodiles' lair, climb through the gap in the north wall.
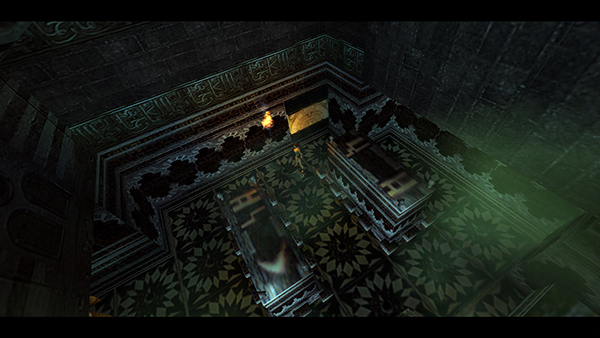
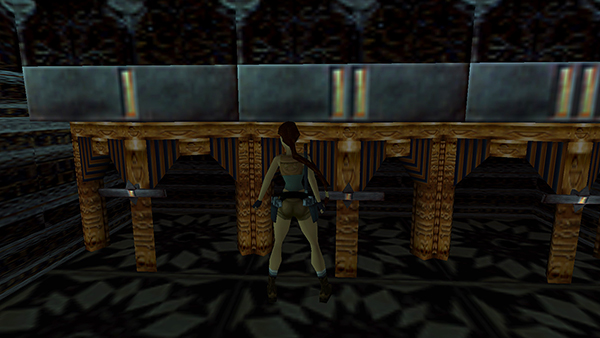
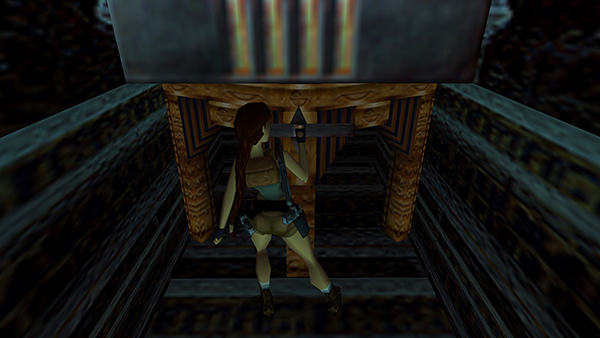
Below are a pair of stone coffins with symbols on their lids. You get a better view of them in the brief cutscene that plays when you hop down off the ledge.
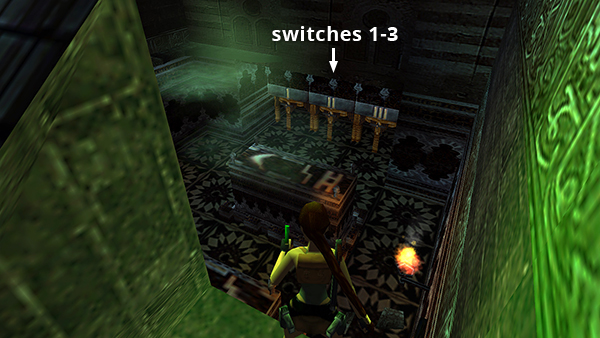
There are also 4 switches: 3 on the north wall at ground level...
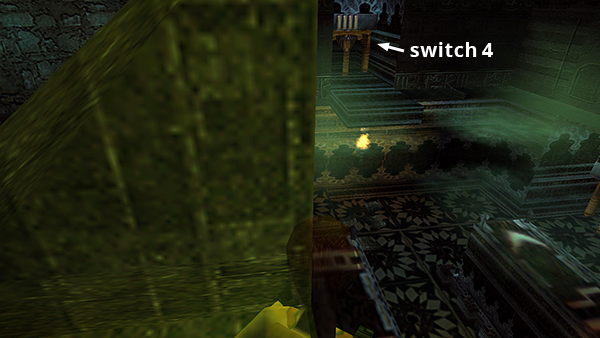
...a 4th on a ledge to the west, above the coffins.
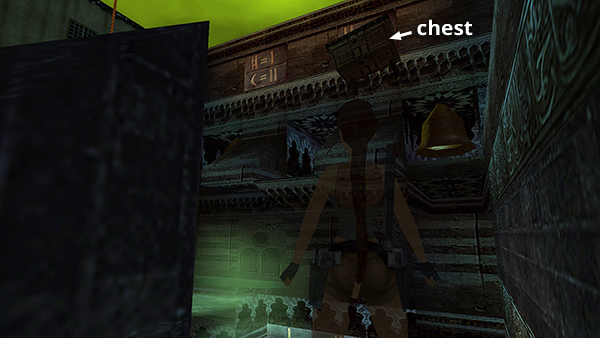
High above the 3 switches are carved tiles with symbols and numbers. The tile on the right is obscured by a wooden chest.
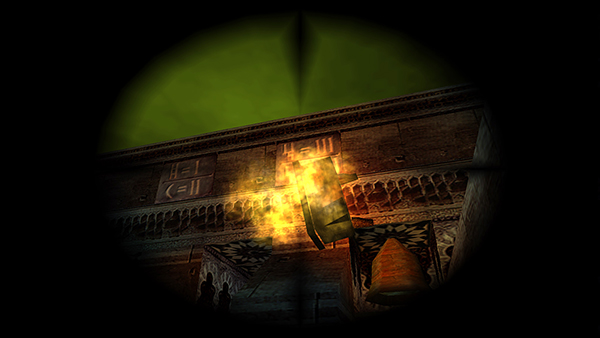
If you like, you can use the crossbow and laser sight to shoot an explosive arrow at the chest...

...knocking it aside so you can read the inscription, but this isn't necessary.
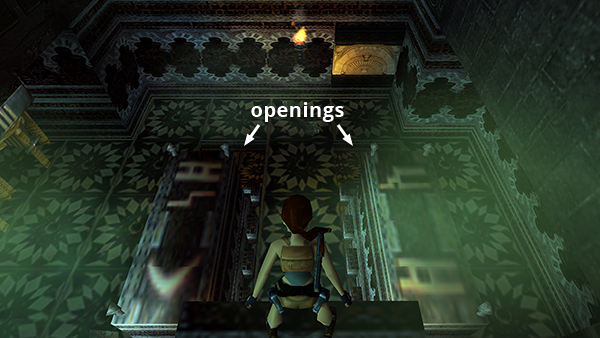
This puzzle isn't as difficult as it may at first seem. The coffin below the dangling rope has the symbols corresponding with 1 and 3 (| and |||). The other coffin has the symbols corresponding with 1, 2, and 4 (|, || and ||||). And, in fact, pulling these combinations of switches slides each coffin aside, revealing an opening beneath. However, the coffins and switches don't reset, so you can just use all of the switches in any order to move both coffins.
So basically, pull the 3 switches at ground level in any order.
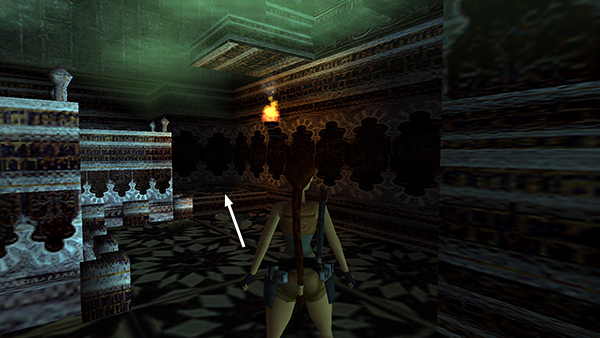
Turn around and move onto the low step beneath the jutting ledge.
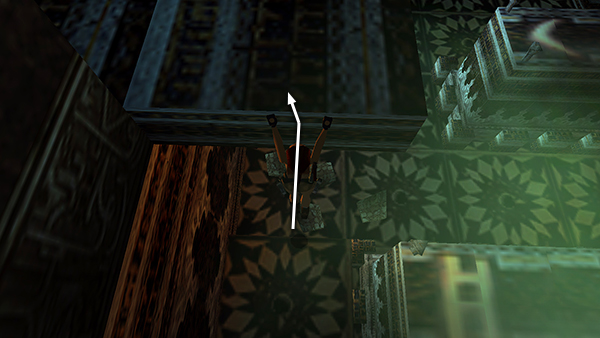
Turn around, jump straight up to grab the ledge, and pull up.
Then use the fourth switch.
Both coffins should now be open.
Copyright © 1999- - Stellalune ( ). All rights reserved. Feel free to copy or print this walkthrough for personal use. By all means, share it with friends, but please include this credit line so people can send me their feedback. No part of this walkthrough may be reproduced on another site without permission. Follow this link for details about this site's advertising and privacy policy.