Catacombs - Flooded Room with Ledges and Columns (part 1)
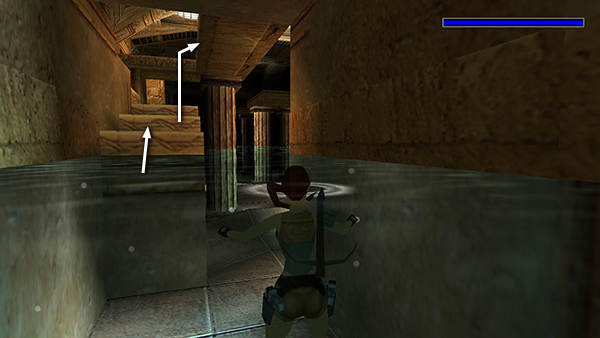
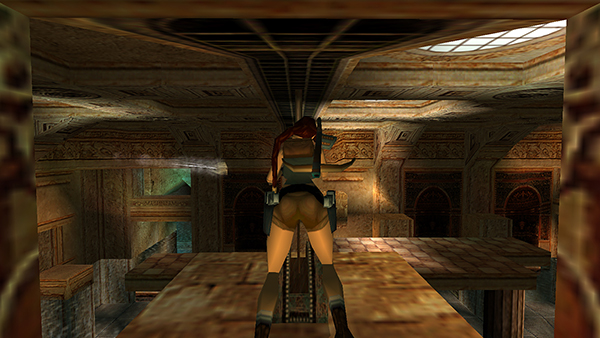
You enter this room by sliding down the slope from the passageway near secret #1. Climb out of the water at the base of the stairs near where you splashed down. Then pull up onto the L-shaped ledge.
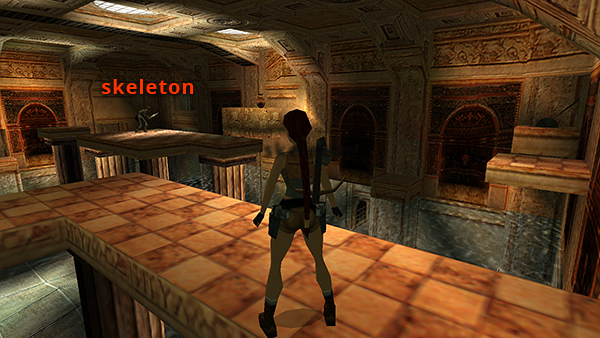
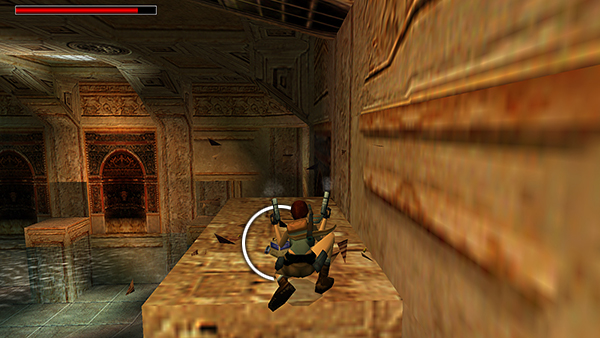
When you do this, a skeleton emerges from the center platform. You can destroy it now if you like. (There are skeleton-killing tips in the footnote at the end of the main walkthrough.) Or, just ignore it and continue exploring. A second skeleton will appear later, and you can probably destroy both with one explosive arrow. (See below.)
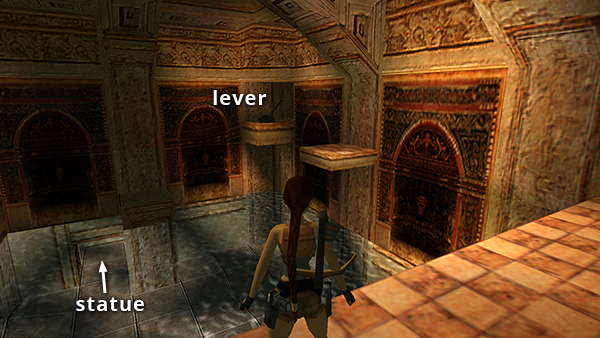
Note the lever in the southwest corner of the room. Below and to the left of it is an underwater passage leading to one of those golden bird statues that is so useful for extinguishing wraiths. So get a fix on its location before you proceed.
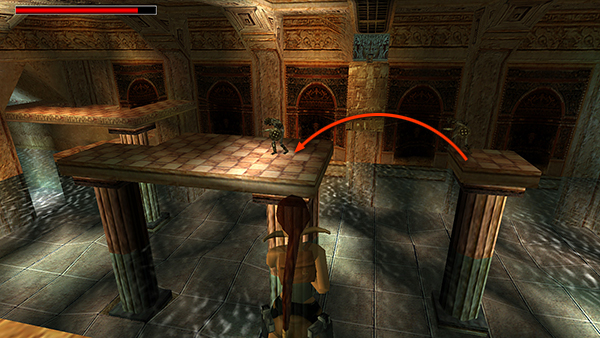
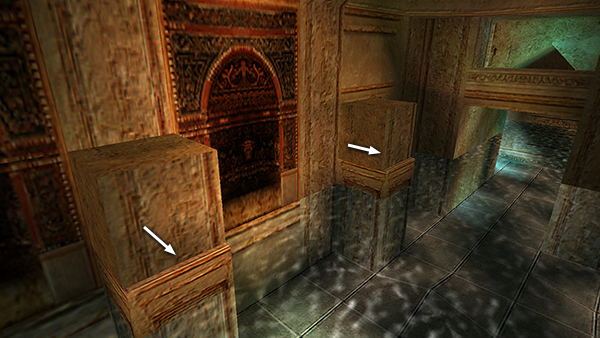
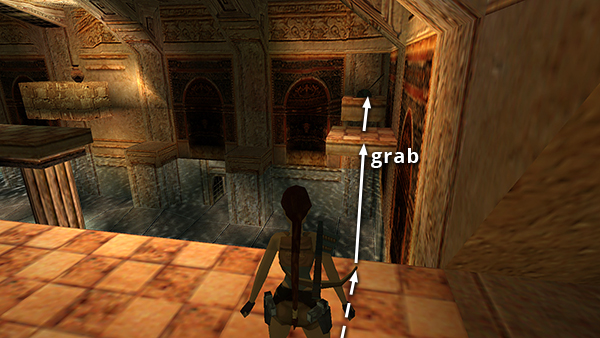 Take a running jump from the L-shaped ledge to grab the small, square ledge between here and the lever. Pull up and take another running jump to the lever.
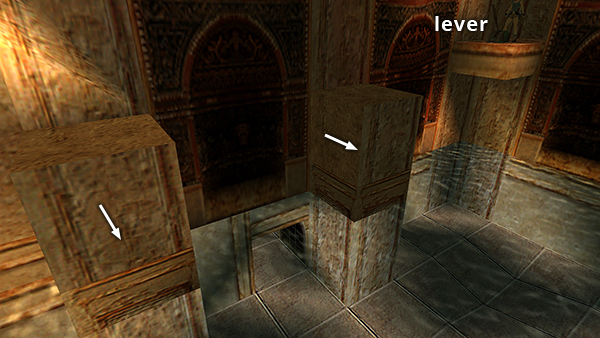
Use it it to extend a pair of block ledges just ahead.
Take a running jump from the lever to the first block.
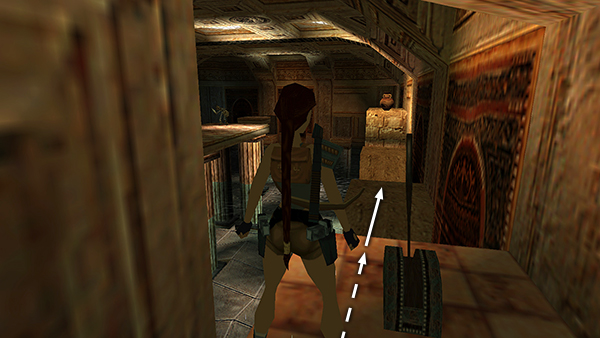
Take another running jump to the second block, then a standing jump up to the ledge with the breakable urn.
Crouch and shoot it to get the wideshot shells inside.
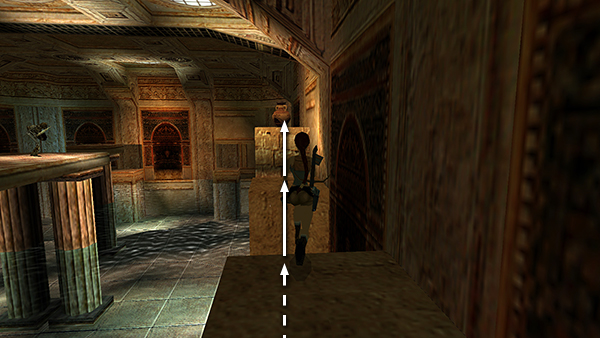
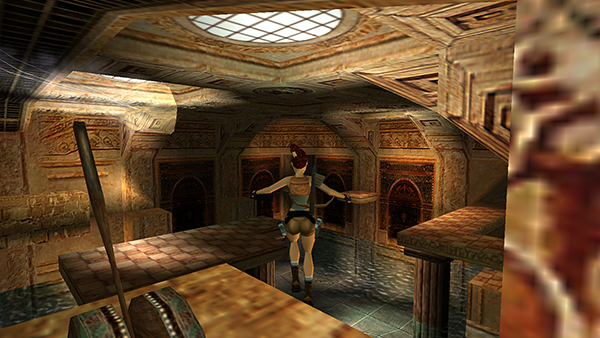
Walk to the other side of the ledge and turn left to spot a second skeleton emerging from small platform in the middle of the room. If you wait for it to jump over to the larger platform...
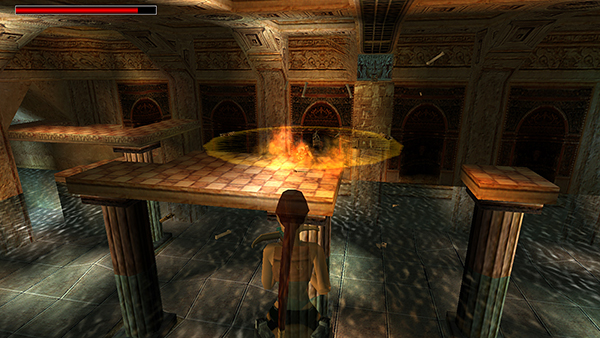
You can destroy both skeletons with one explosive arrow.
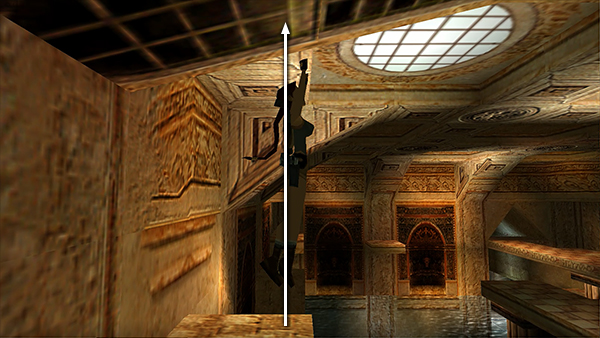
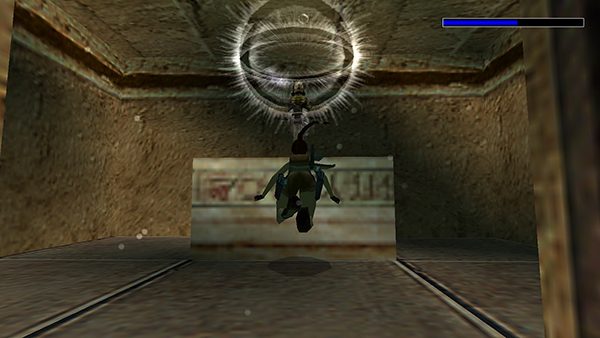
Now jump up to grab the grates on the ceiling.
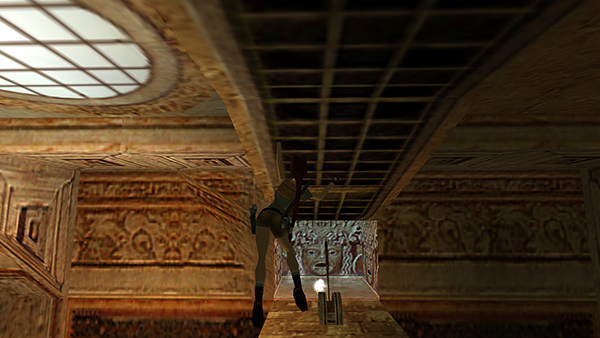
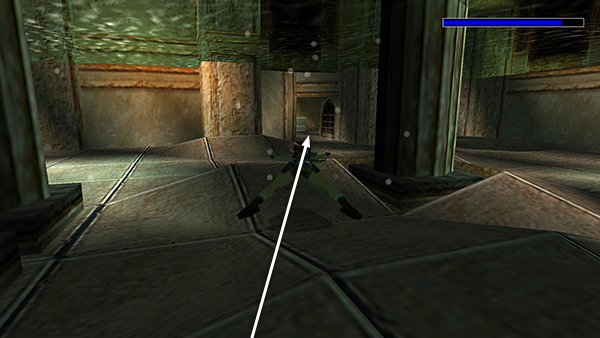
Monkey swing toward the alcove with the carved face and second lever. When you're nearly there, an air wraith emerges from the alcove.
Continue traversing forward, drop into the alcove, and use the lever.
More block ledges extend along the east side of the room.
Run off the right side of the ledge with the lever to land in the pool.
Swim forward and a little to the right, toward the underwater opening on the far side of the room.
Swim in and wait near the golden bird statue for the wraith to put itself out.
Copyright © 1999- - Stellalune ( ). All rights reserved. Feel free to copy or print this walkthrough for personal use. By all means, share it with friends, but please include this credit line so people can send me their feedback. No part of this walkthrough may be reproduced on another site without permission. Follow this link for details about this site's advertising and privacy policy.