Burial Chambers - Golden Serpent Artifact and
Room with Rising Sand and Spikes
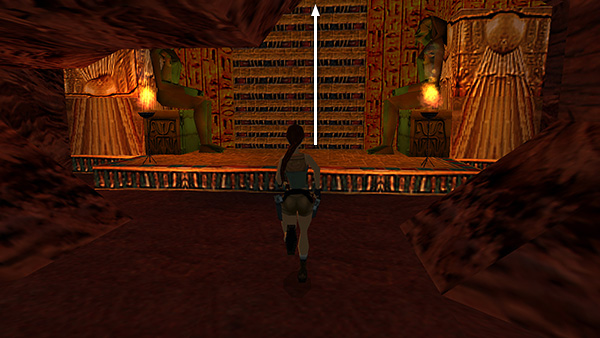
After scaling the climbable wall between the two statues...
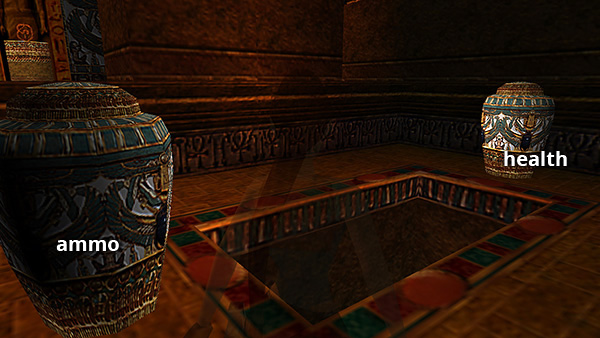
...shoot the jars on either side of the opening in the floor to get a small medipack and shotgun shells. Then climb through either of the two raised openings into the next room.
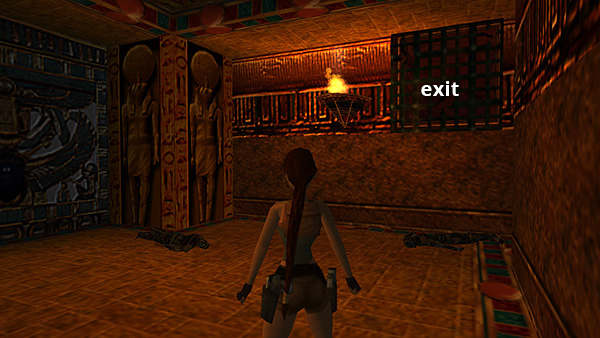
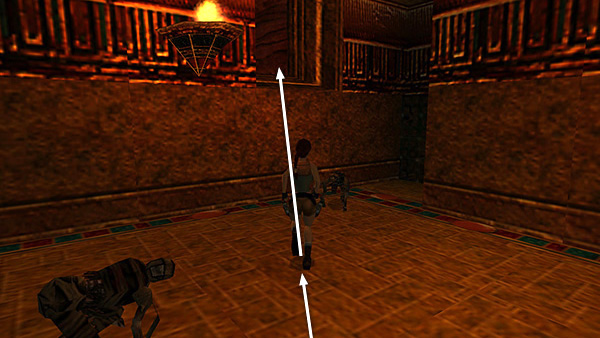
The 2 mummies lying on the floor are dormant for now, but take note of the gate on the north wall. This is where you'll exit.
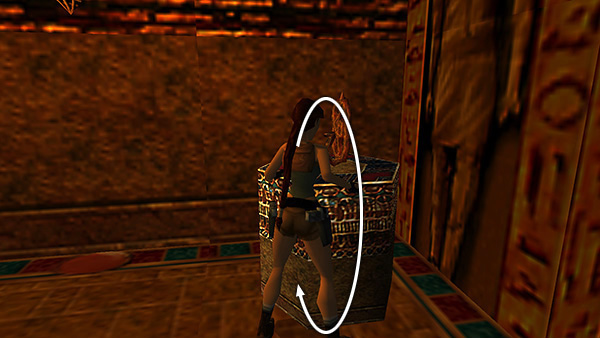
Take the GOLDEN SERPENT from the pedestal. The exit opens, the gates where you entered close, and the mummies awaken. If you're quick, you can pick up the artifact, Roll (End key or Up + Down together, or Circle on the PS controller)...
...and take a running jump over the mummy and into the doorway. Otherwise just run past the mummy and climb up into the doorway. Mummies can't climb, so you're safe here.
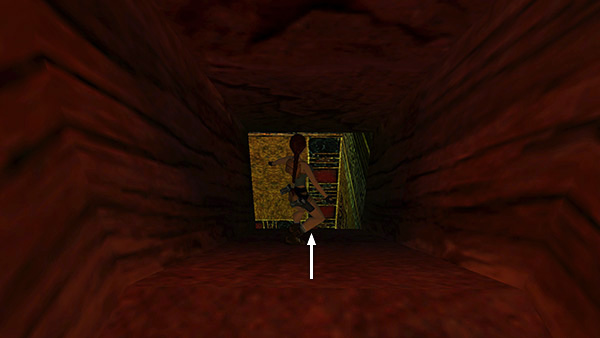
Follow the passageway to a ramp. Slide into the next room, which immediately starts filling with sand, raising Lara closer and closer to the spiked ceiling.
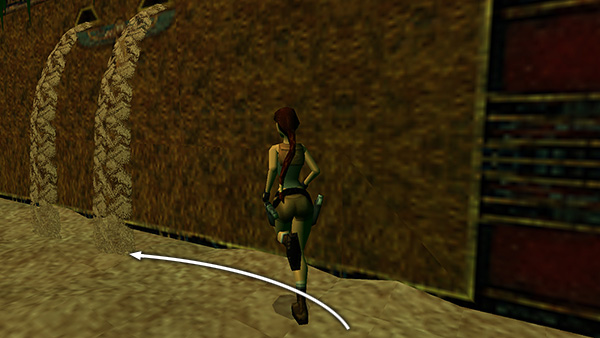
As soon as you land on the sandy floor, turn left...
...and sprint forward into the left (southwest) corner, where there are no spikes.
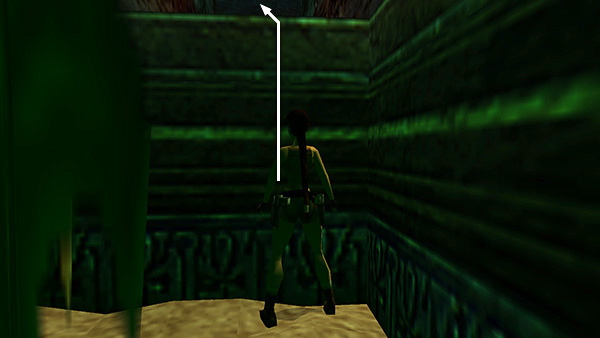
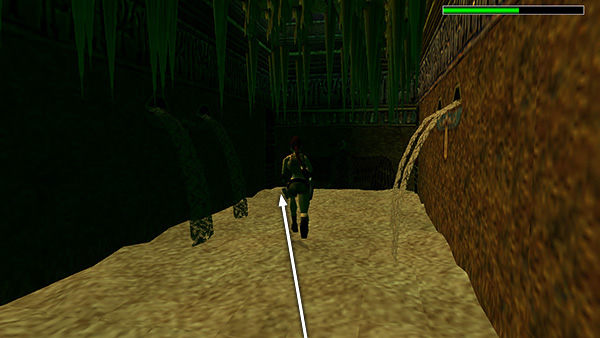
Climb into the passageway above.
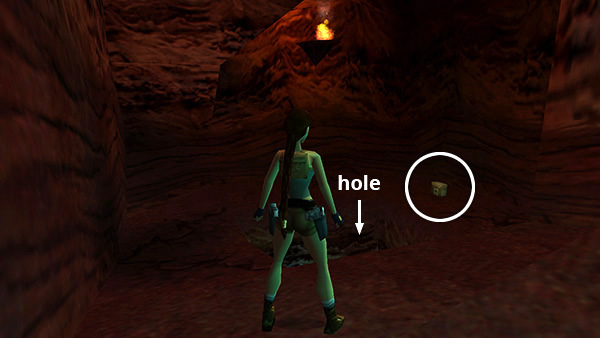
Follow the slope down to a hole in the floor. Grab the large medipack sitting nearby.
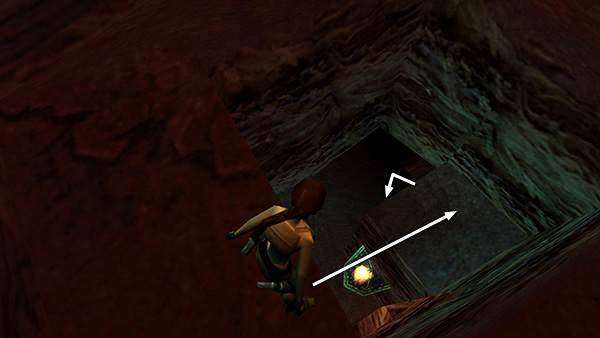
Hop down onto the block below one corner of the opening. Then safety drop to the CAVERN floor.
Copyright © 1999- - Stellalune ( ). All rights reserved. Feel free to copy or print this walkthrough for personal use. By all means, share it with friends, but please include this credit line so people can send me their feedback. No part of this walkthrough may be reproduced on another site without permission. Follow this link for details about this site's advertising and privacy policy.