Burial Chambers - Rotating Octagonal Room (part 2)
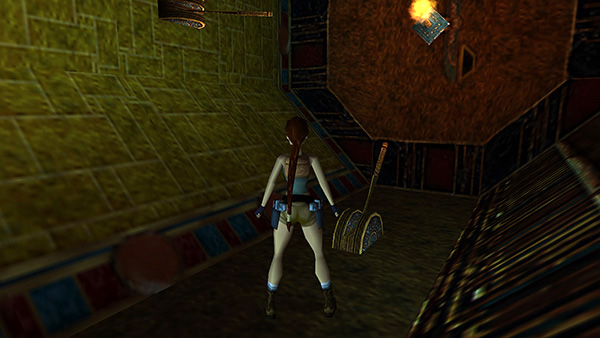
After using the lever to rotate the room, as shown in part 1, you'll notice that the room where Lara is standing has also rotated, so the floor is now a wall. Ignore the second lever for now; it doesn't do anything.
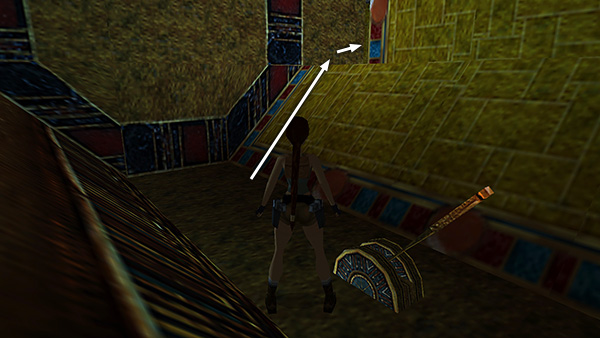
Turn around, walk to the base of the slope, and take a standing jump into the doorway.
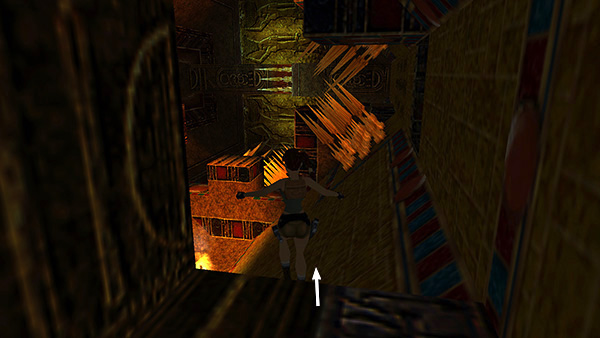
Follow the short passageway back to the OCTAGONAL ROOM. Step off the edge...
...and slide down to the floor.

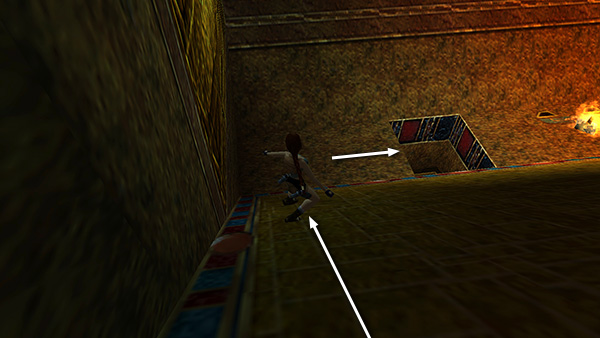
Safety drop through the square hole in the floor.
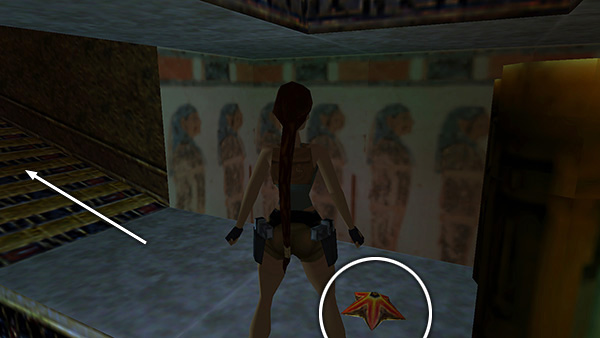
Pick up another star-shaped artifact: the HAND OF SIRIUS. Follow the passageway...
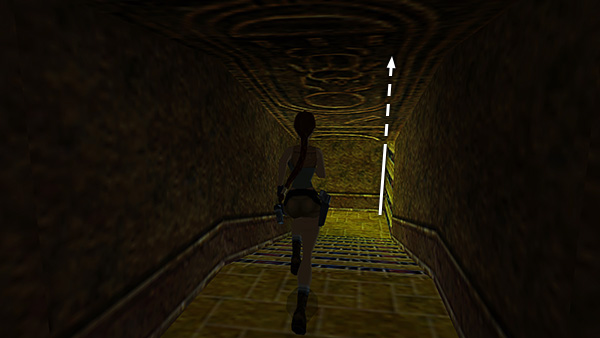
...to a ladder. Climb to the top.
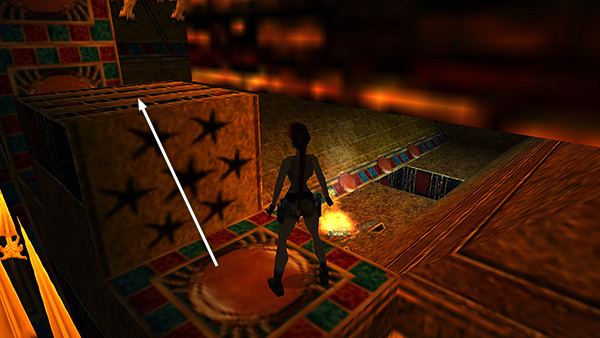
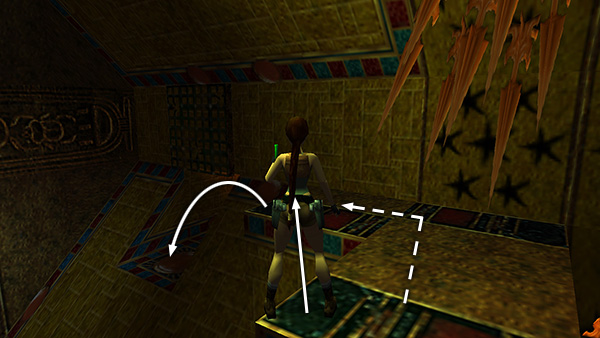
Then continue forward to emerge on another small ledge in the OCTAGONAL ROOM. Vault up onto the block with the star-shaped holes.
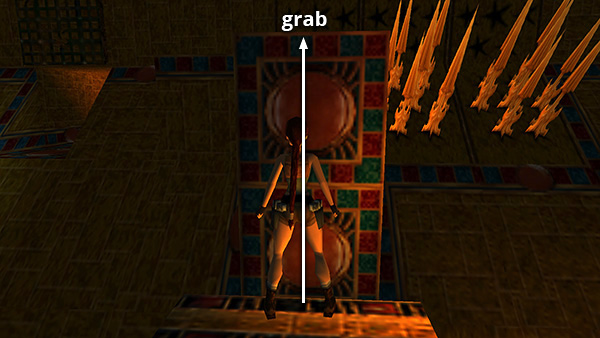
Walk to the far edge. Then take a standing jump to grab the taller block directly ahead.
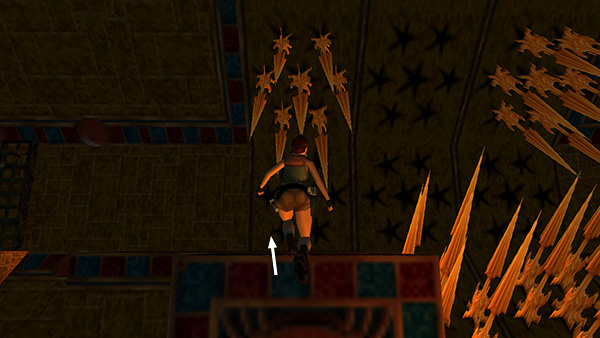
Pull up, carefully avoiding the blades on the ceiling.
Now you're aiming for the alcove with the open gate set into the slope ahead on the left. Either take a carefully angled running jump directly into the alcove (not shown), or take a standing jump to the ledge next to the blades and another standing jump to the alcove (solid arrows). Or, if you prefer, crawl under the blades (broken arrow) and then jump down to the alcove.
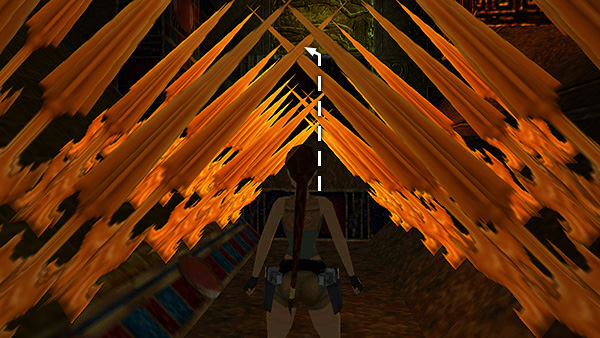
NOTE: If you miss the alcove and slide down through the blades, Lara will take some damage but should survive. Walk under the blades and pull up onto the tall block in the middle of the room and try again.
Copyright © 1999- - Stellalune ( ). All rights reserved. Feel free to copy or print this walkthrough for personal use. By all means, share it with friends, but please include this credit line so people can send me their feedback. No part of this walkthrough may be reproduced on another site without permission. Follow this link for details about this site's advertising and privacy policy.