Coastal Village - Alternate Path Through the Serpent Stone Area (part 3)
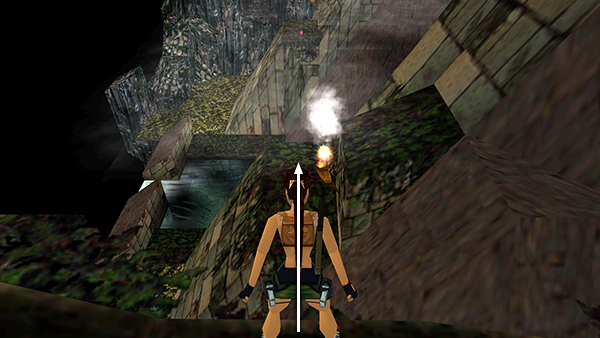
After picking up the SERPENT STONE, turn right to face the temple, walk to the edge of the branch, and take a standing jump down to the flat ledge near the burning torch.
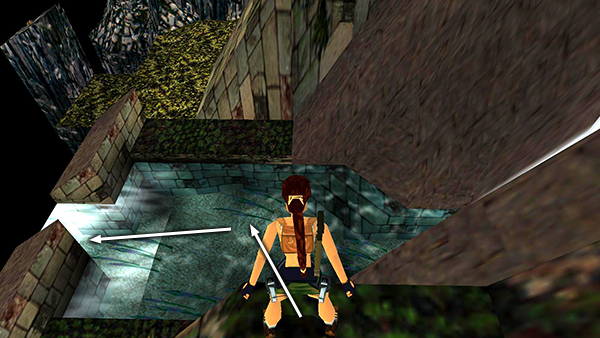
Now jump down into the pool below and let the current once again carry Lara over the falls...
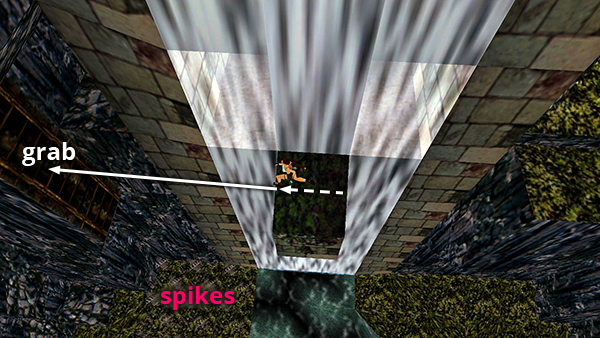
...and onto the small, square ledge below.
(This is where you found the FIRST SERPENT STONE earlier.) This time, take a running jump to grab the wooden ladder on the cliff wall to the left of the waterfalls. Don't let go; there are deadly spikes below.
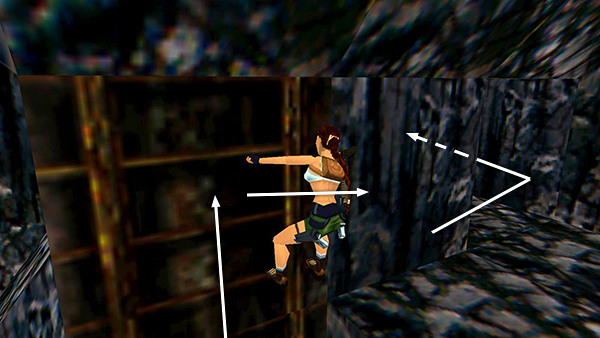
Climb up to the opening at the top right. Follow the passageway around...
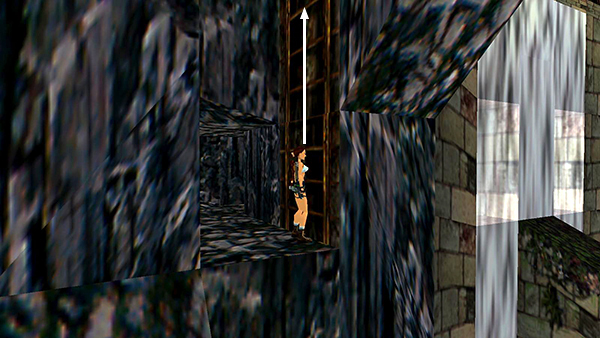
...to another ladder. Climb up.
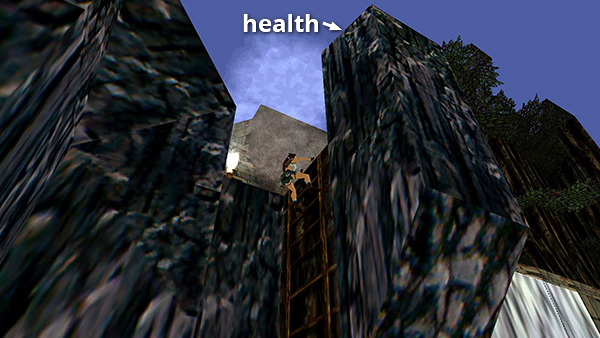
At the top of the ladder...
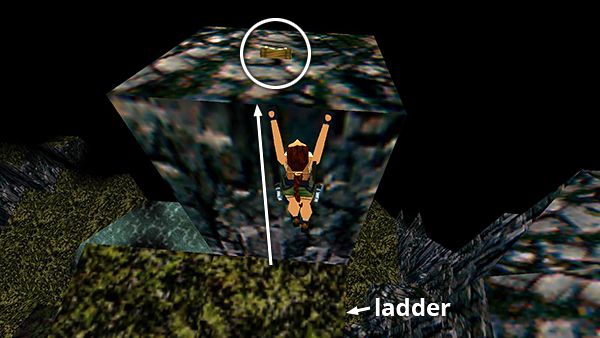
...pull up onto the tall stone block on the right to find a small medi pack.
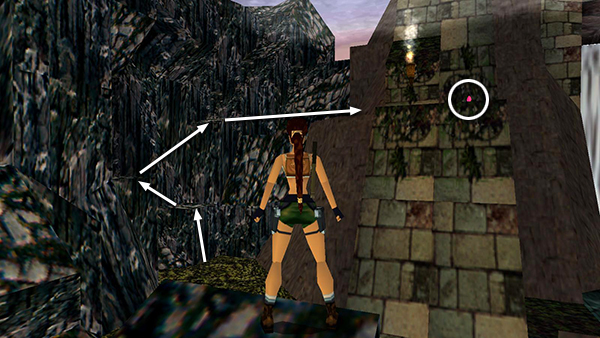
If you now turn around and face the temple, you can see where you need to go next. The THIRD SERPENT STONE is on the high ledge near the burning torch. There are some climbable, gray rocks off to the left that will enable you to get up there.
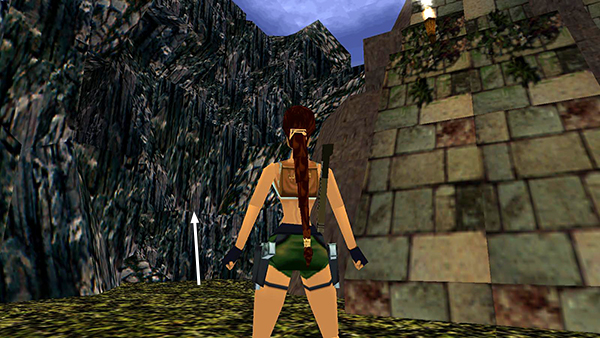
Drop back down to the ground, turn around, and head to for those climbable rocks. Pull up onto the lowest block.
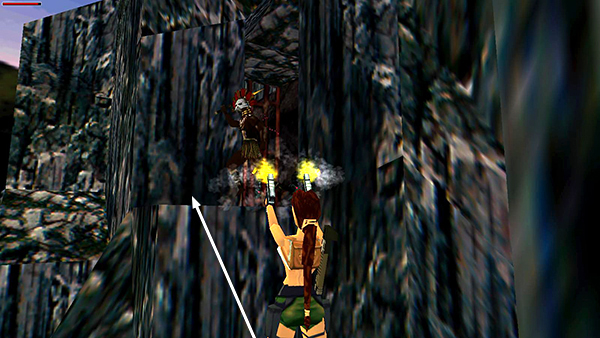
Turn and shoot the tribesman inside the doorway above. Then jump up onto the ledge where he fell.
IMPORTANT: Inside this doorway are three gates which can be opened with the SERPENT STONES. Do not place any of the stones into the snake receptacles until you have all three. Several players have reported a bug where they placed one stone then went to get the others. When they came back they were unable to open the gates.
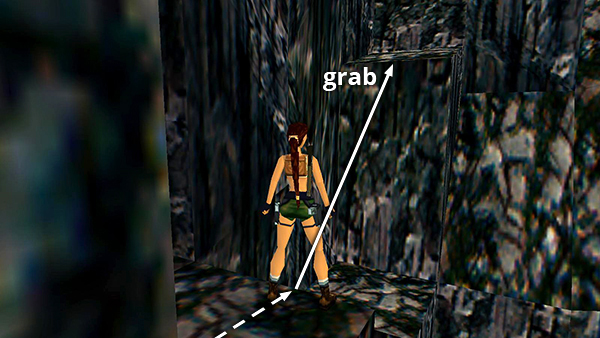
Turn around and take a running jump to grab the ledge above the block where you just stood.
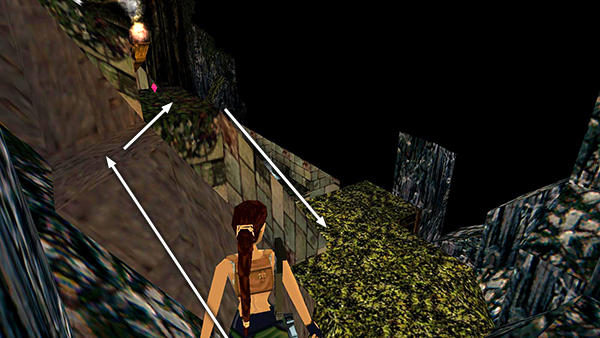
Turn right and take a running jump to the uneven, gray stone ledge near the temple. Jump over to the ledge with the burning torch and the THIRD SERPENT STONE.
You should now have all 3 SERPENT STONES. Slide down the side of the building, climb back onto the low block, jump into the doorway where that last tribesman fell.
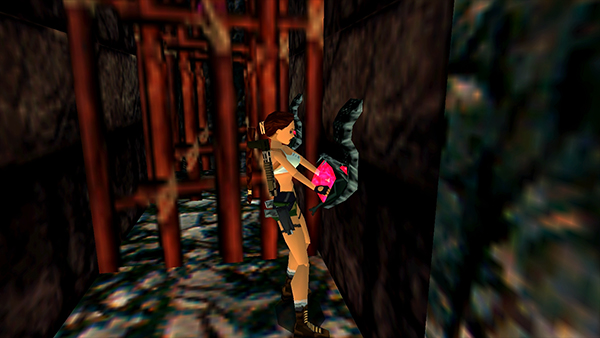
Place the stones in the 3 snake-head receptacles to open the gates. Slide down the chute into the village below.
[Part 2 |Return to the Alternate Coastal Village Walkthrough]
Copyright © 1998- - Stellalune ( ). All rights reserved. Feel free to copy or print this walkthrough for personal use. By all means, share it with friends, but please include this credit line so people can send me their feedback. No part of this walkthrough may be reproduced on another site without permission. Follow this link for details about this site's advertising and privacy policy.