Thames Wharf - Secret #1 - Across the Crane and Back (part 2)
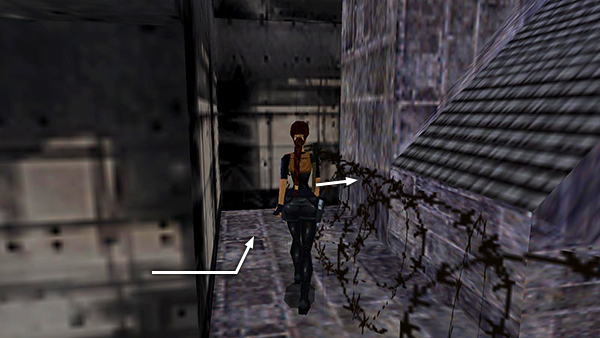
Exit the secret room, turn left, and walk through the barbed wire until Lara is facing the tall, gray block in the corner.
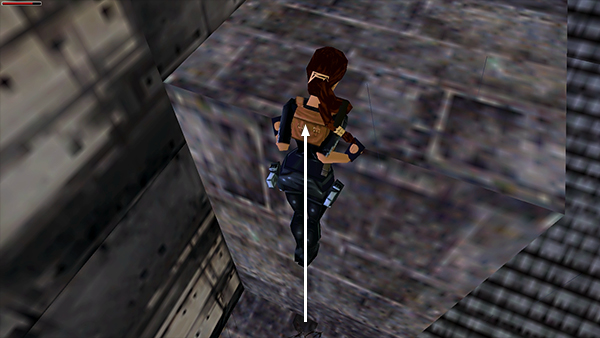
Pull up onto the block by pressing Forward + Action.
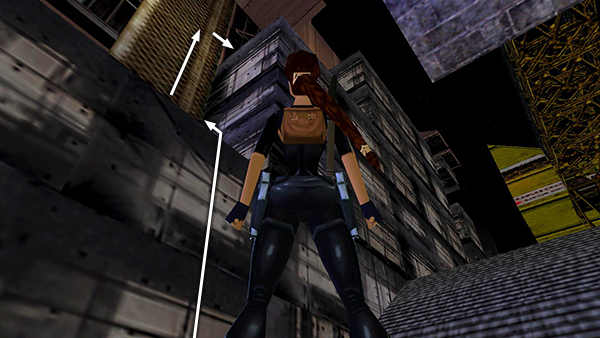
Climb onto the ledge above. Then climb the yellow grating and dismount on the right.
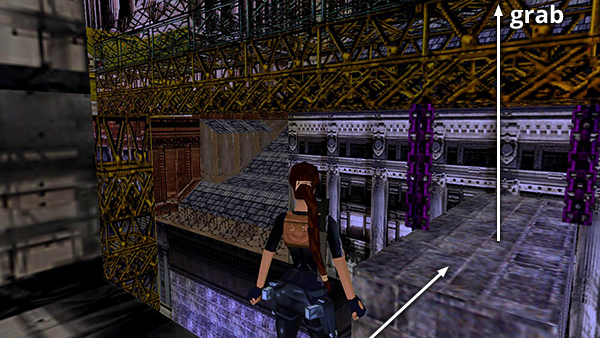
Turn around and jump across the gap onto the dangling block. Pull up onto the arm of the crane.
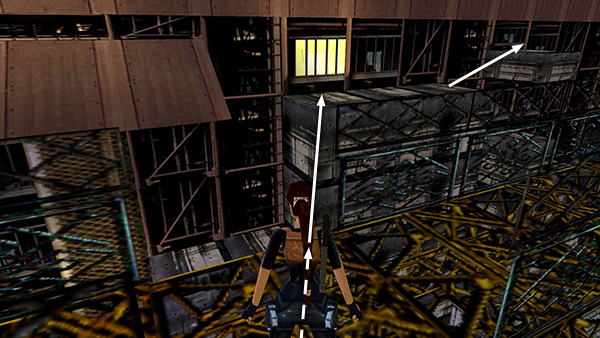
Turn around and take a running jump through the break in the railing to land on the corner of the gray ledge ahead on the right. Go to the right and jump onto the next small, square ledge.
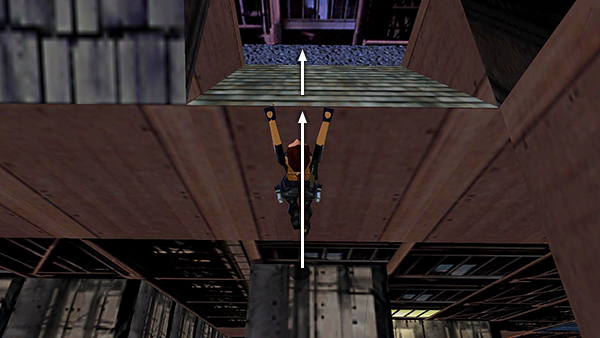
Face the wall, pull up, and slide down the other side into the area where you found the save crystal earlier.
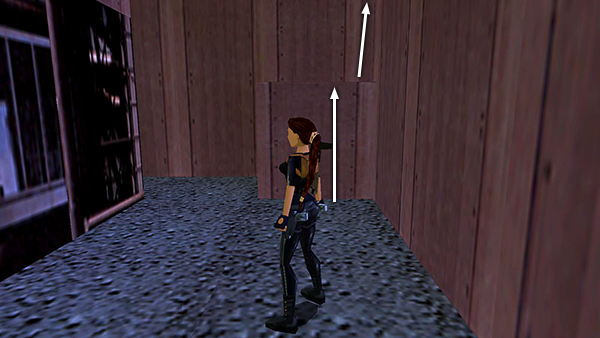
Again, use the pink block to climb onto the ledge above.
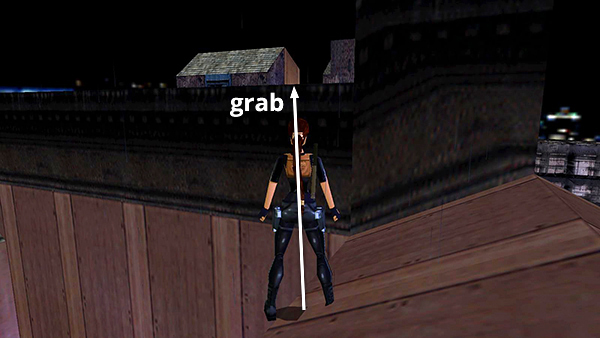
Turn left, adjust Lara's angle if necessary, and jump to grab the top of the wall above the pink block.
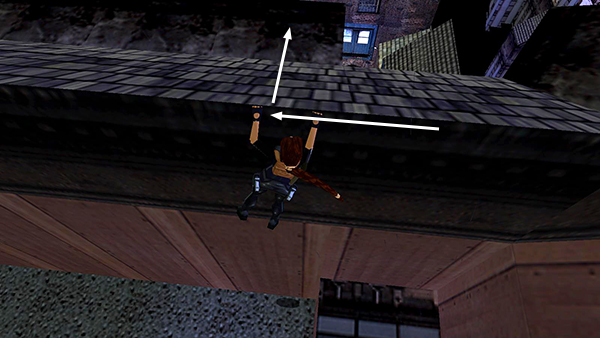
Do not pull up yet, or Lara will slide down the other side and take a long fall. Instead traverse to the left until you can pull up and slide onto the solid ledge.
Copyright © 1998- - Stellalune (
). All rights reserved. Feel free to copy or print this walkthrough for personal use. By all means, share it with friends, but please include this credit line so people can send me their feedback. No part of this walkthrough may be reproduced on another site without permission. Follow this link for details about this site's advertising and privacy policy.