Thames Wharf - From the Flooded Room to the Cathedral Roof
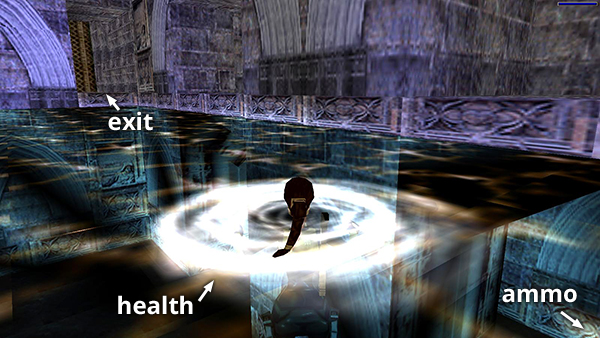
Swim down to the far right and left corners to find shotgun shells and a small medi pack. Then climb out of the water into the doorway where you can glimpse a grating ladder ahead.
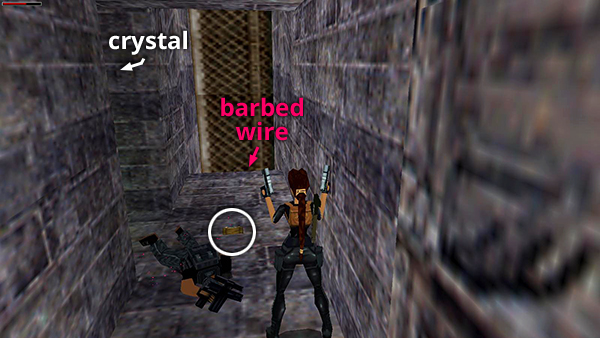
Kill the mercenary who rushes out of the alcove on the left. As you fight, watch out for the shallow pit lined with barbed wire just below the ladder. Take the small medi pack the man drops, plus the save/power-up crystal in the alcove.
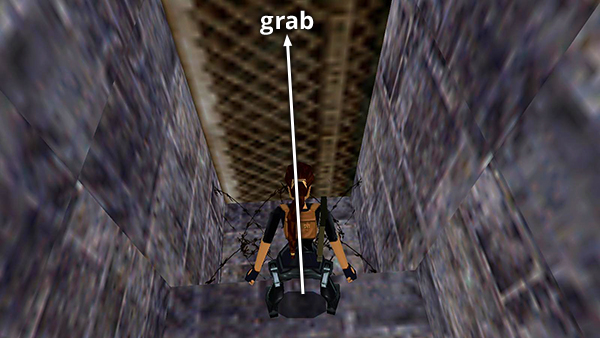
Jump over the barbed wire to grab the grating and climb to the top.
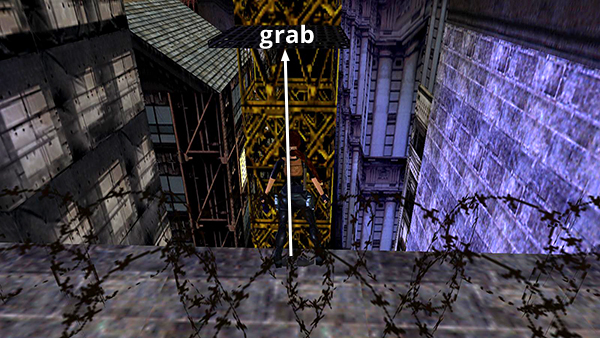
Walk through more barbed wire to the edge of the ledge. Then take a standing jump to grab the small platform on the side of the big, yellow crane.
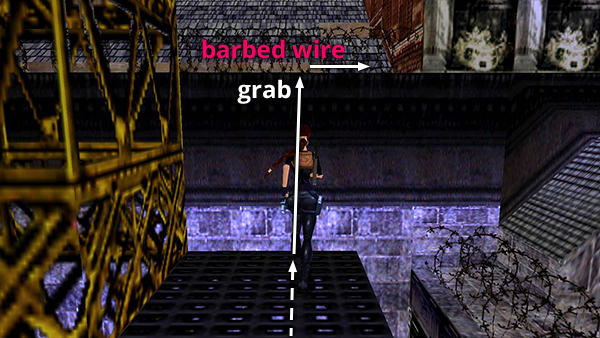
Pull up, turn right, and take a running jump to grab the ledge topped with more barbed wire. Pull up and walk carefully through the wire to the right.
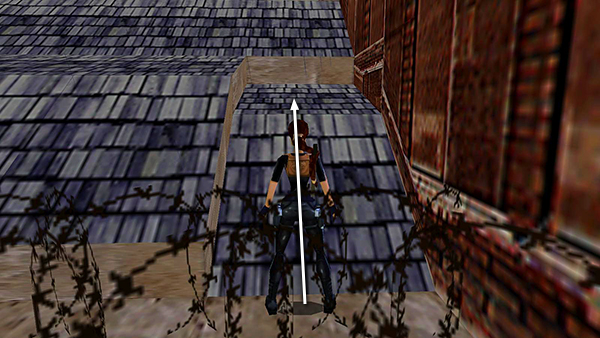
Position Lara at the base of the slope and take a standing jump up to the flat spot above it.
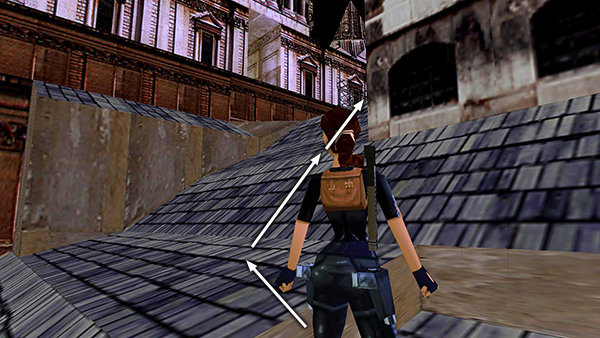
Jump up to the peak of the sloping, blue slate roof, but don't climb up into the building on the left yet.
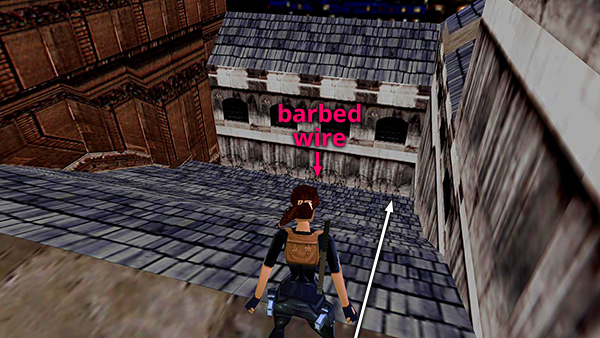
Instead slide down the other side of the roof to the flat area just above the trench filled with barbed wire.

Then safety drop into the trench at the right end, where there's a clear spot.
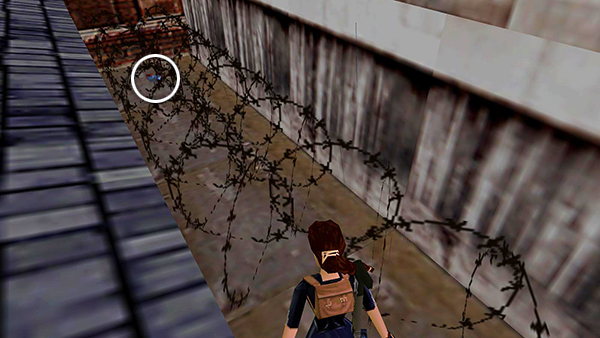
Walk through the wire to pick up some Desert Eagle clips.
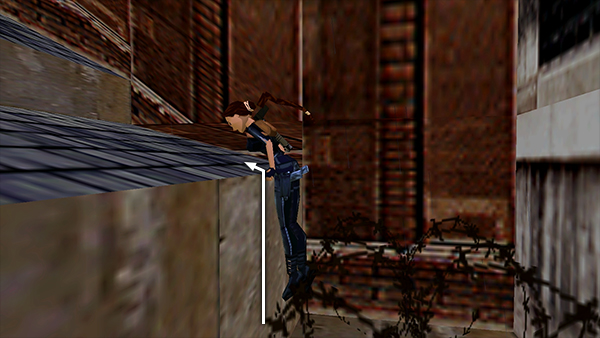
Then stand close to the ledge and press Forward + Action to climb out of the barbed wire without taking damage.
Copyright © 1998- - Stellalune (
). All rights reserved. Feel free to copy or print this walkthrough for personal use. By all means, share it with friends, but please include this credit line so people can send me their feedback. No part of this walkthrough may be reproduced on another site without permission. Follow this link for details about this site's advertising and privacy policy.