Temple Ruins - Path to First Ganesha Key (part 1)
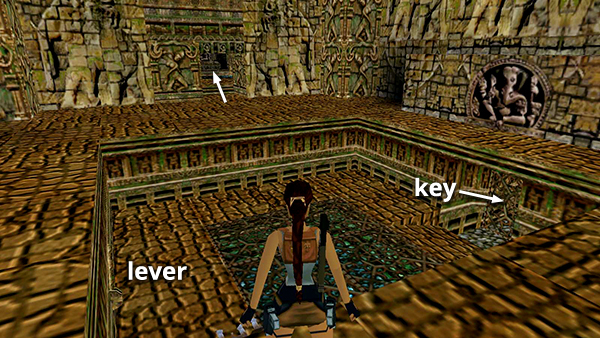
Pass through the room with the FIRST GANESHA KEY. Until you flood this pool, you cannot pull the lever that will open the gate so you can reach the key. (This is the "ROOM WITH EMPTY POOL AND LEVER" in the main walkthrough.)
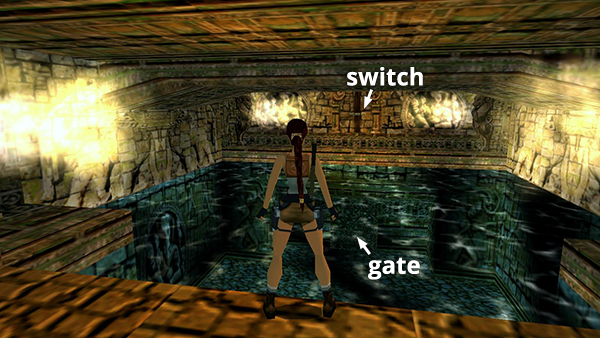
In the next room there's a pool flanked by fire-breathing statues. Swim across and climb out on the middle of the ledge to avoid being toasted by the flames. If this happens, quickly jump into the water and then use a medi pack to heal the damage. Pull the switch to open the underwater gate just below. (This is the "ROOM WITH POOL AND FIRE-BREATHING STATUES" in the main walkthrough.)
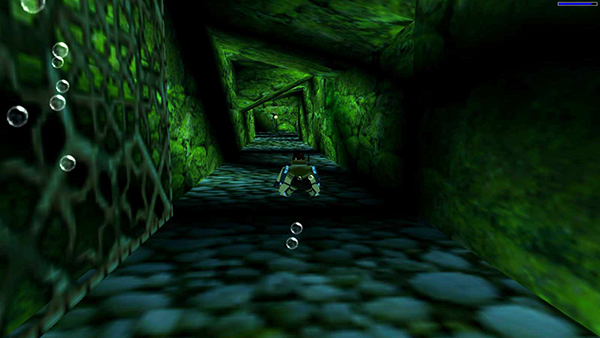
Swim through the gate and follow the tunnel, hugging one side or the bottom to avoid being hit by poisoned darts.
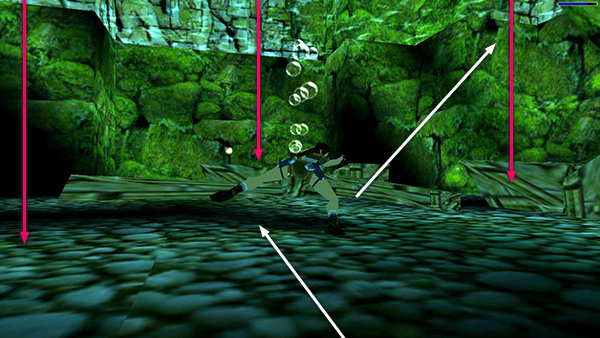
When you emerge from the tunnel, stay close to the bottom in the middle of the room for a moment so Lara doesn't get crushed by falling rocks. Once the debris has settled, surface on the right side of the room. (This is the "TALL ROOM WITH POOL AND LEDGES" in the main walkthrough.)
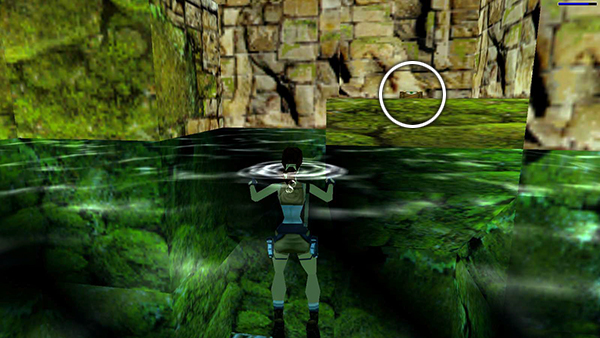
Climb out on the low, green ledge on the right, where you'll find a small medi pack. Grab it.
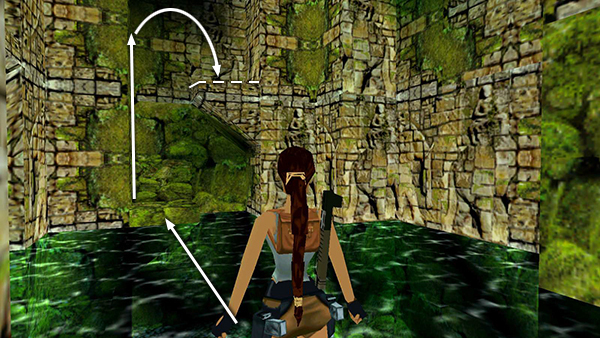
Then swim across the pool to the opposite ledge. The mossy, green wall with the horizontal grooves is a ladder. Climb up until Lara is hanging slightly above the ledge behind her. Then press Jump to backflip off the ladder onto the ledge.
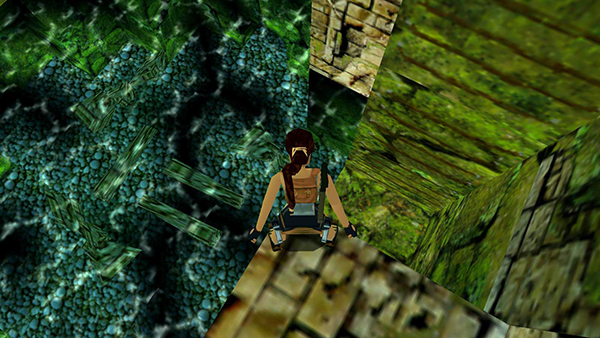
Position Lara at the outer corner of the ledge.
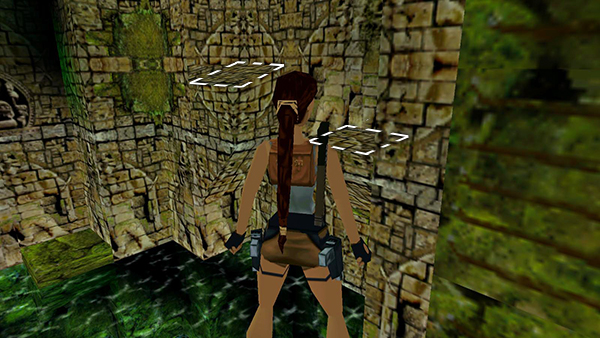
On the wall beyond the mossy ladder are two small, stone ledges. The slightly lower one on the right is where you're headed next. Adjust Lara's angle so she's facing that ledge.
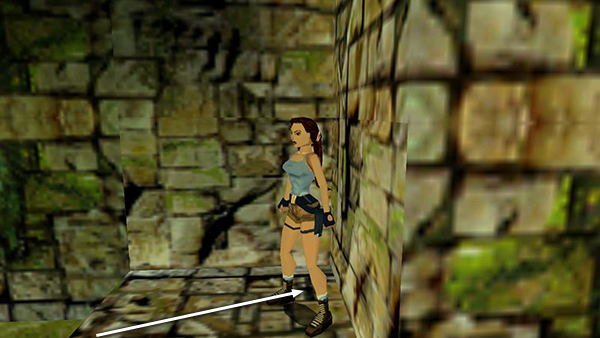
Hop back once.
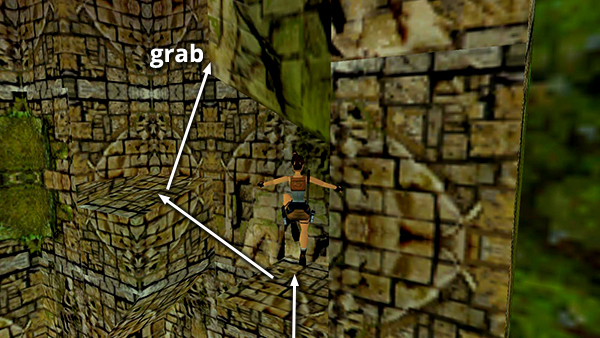
Then take a running jump across the pool to land on the next ledge. Turn left, walk to the edge, and take a standing jump up to the next higher ledge. Turn around, walk to the edge, and take another standing jump to grab the ladder rungs on the block above.
Copyright © 1998- - Stellalune ( ). All rights reserved. Feel free to copy or print this walkthrough for personal use. By all means, share it with friends, but please include this credit line so people can send me their feedback. No part of this walkthrough may be reproduced on another site without permission. Follow this link for details about this site's advertising and privacy policy.