Temple Ruins - Path to Second Ganesha Key (part 3)
After climbing up to SECRET #3, as described in part 2....
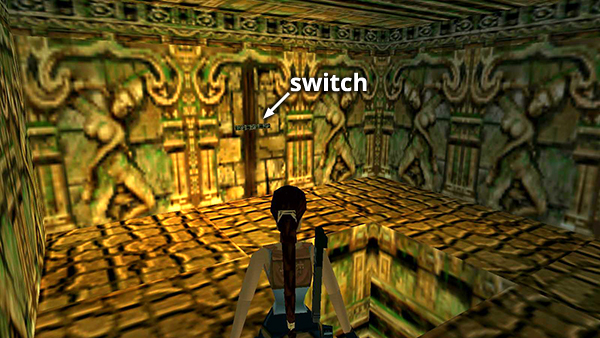
Pull the switch to activate a lever in another room. (You must do this now in order to get secret #4 later on. Once you leave this area, it's not possible to return.)
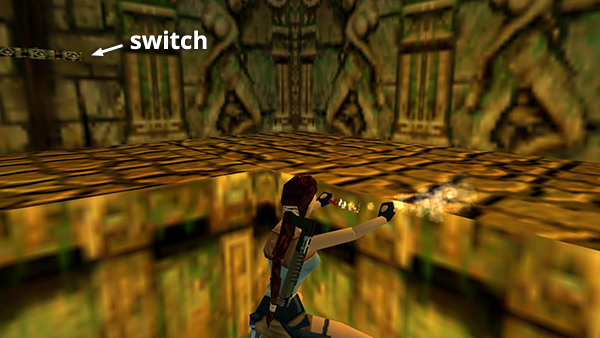
Position Lara with the switch on her left and the hole in the floor behind her. Then drop back and grab the edge of the hole.
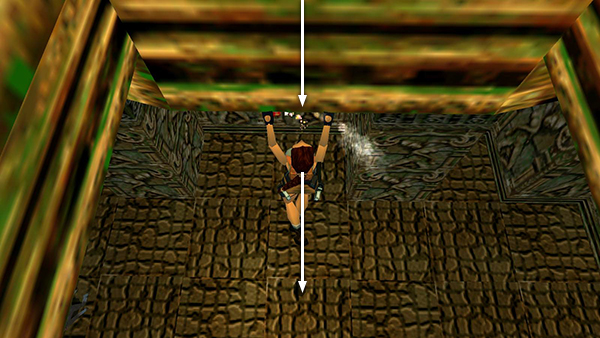
Climb down the ladder as far as possible before letting go. If you do this, she'll take only minimal damage from the fall.
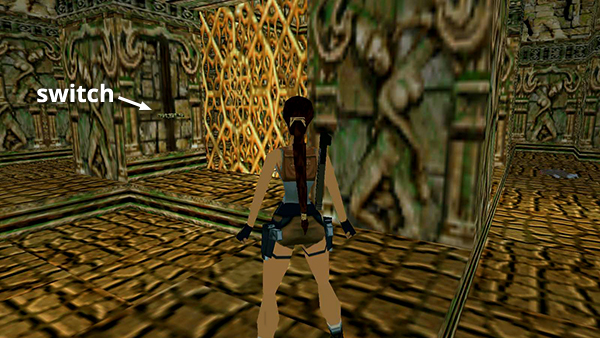
Now go around to the back of the central structure (i.e., the side farthest from where you entered). Pull the switch in the alcove with the gold lattice.
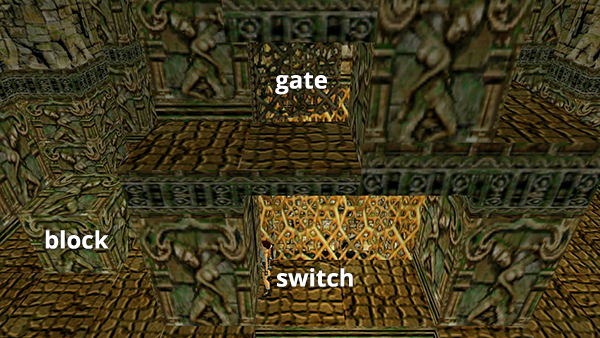
This opens a small gate directly above.
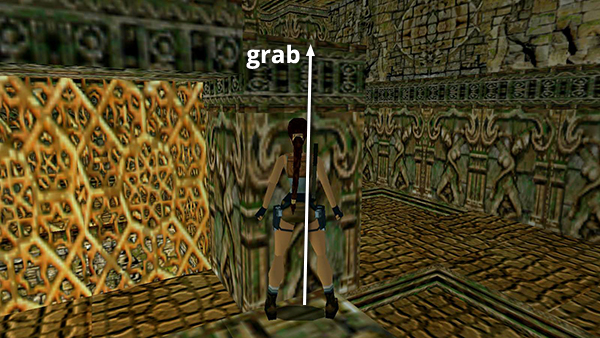
Climb onto the block you moved earlier. This time jump to grab the ledge on the right side of the central structure. Pull up.
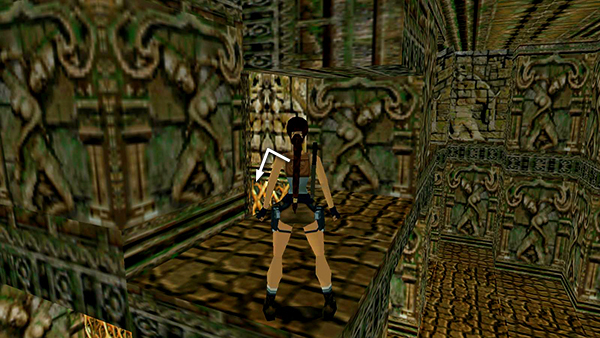
Now drop down through the gate you just opened into the pool below.
Copyright © 1998- - Stellalune ( ). All rights reserved. Feel free to copy or print this walkthrough for personal use. By all means, share it with friends, but please include this credit line so people can send me their feedback. No part of this walkthrough may be reproduced on another site without permission. Follow this link for details about this site's advertising and privacy policy.