Temple Ruins - Path to First Ganesha Key (part 4)
Includes Secret #2
After solving the MOVABLE BLOCK PUZZLE, as shown in Part 3, and using the switch to fill the pool where you saw the FIRST GANESHA KEY, you end up here.
If you want the next secret, ignore the room beyond the block you pushed four times. That area contains a boulder trap but no goodies. So you won't miss anything if you skip it completely. If you don't care about the secrets, proceed through the boulder trap area as shown here.
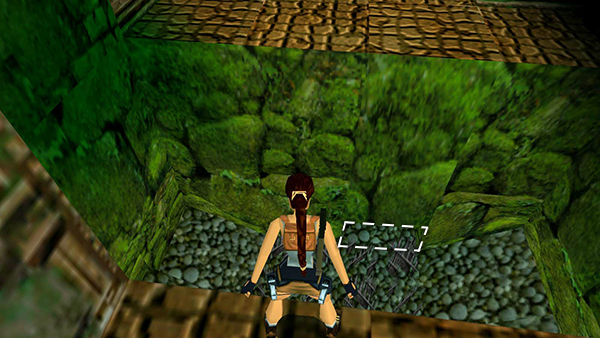
To get the second secret, return past the movable blocks to the room where you found the save crystal. The little crawlspace at the bottom of the pit is where you're headed next. Getting down there is a little tricky, though.
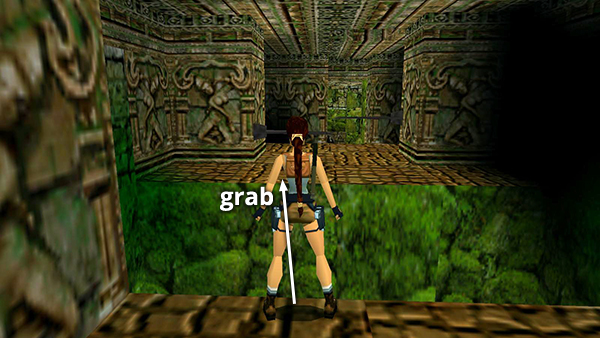
Take a standing jump from the edge of the blade-lined pit to grab the opposite edge.
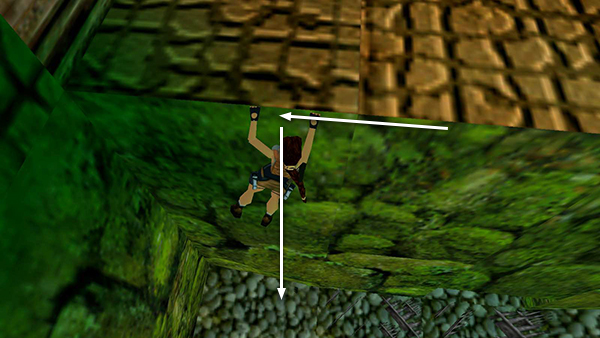
Traverse to the left and drop down to the flat area in the corner. (Don't drop down on the right or Lara will slide into the blades.)
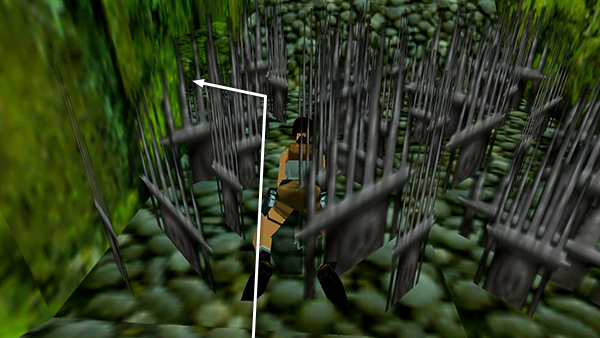
To avoid taking damage from the sharp blades, duck before moving into them and then crawl through the blades into the low tunnel.
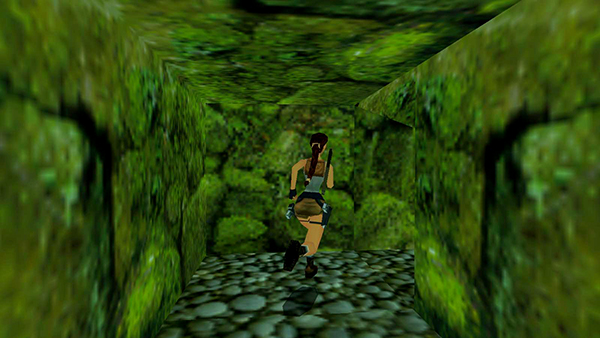
Crawl forward a bit until Lara can stand once more. Then follow this passageway to another crawlspace.
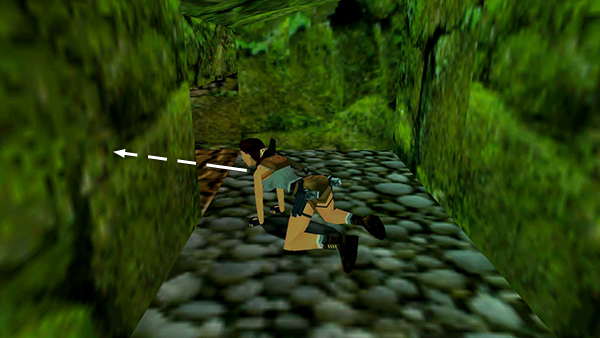
Continue through into a small room containing SECRET #2.
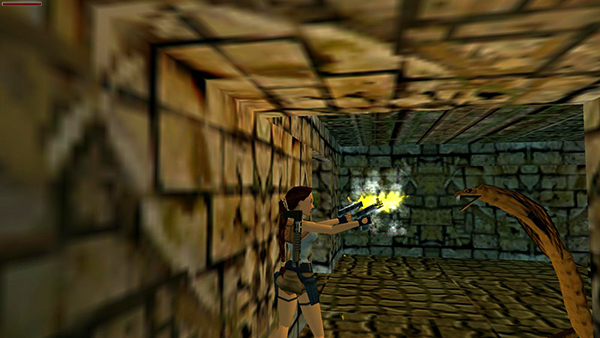
Kill the cobra just inside on the right.
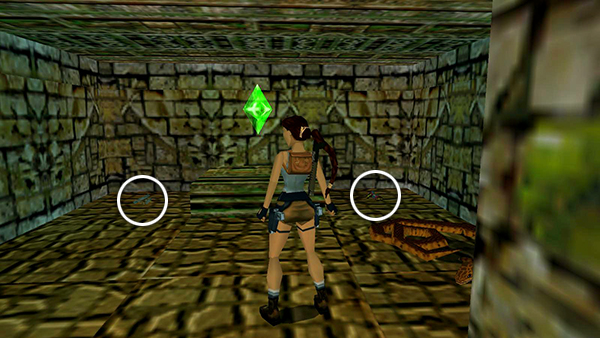
Claim some Desert Eagle and Uzi clips, plus a save/power-up crystal.
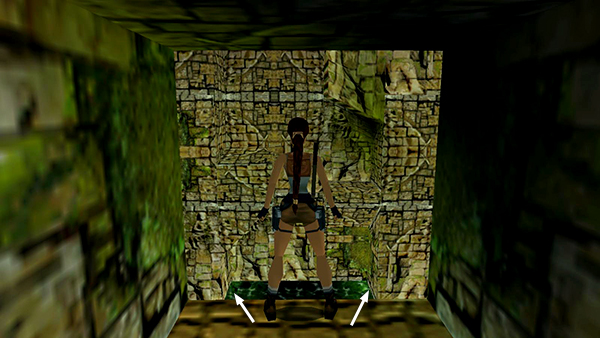
The square doorway overlooks the pool where you entered this area. Drop down into the pool on the left or right side to avoid the poisoned dart trap in the middle.
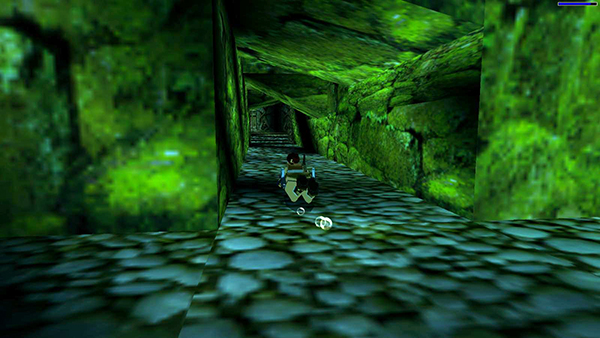
Then follow the underwater tunnel back to the ROOM WITH THE POOL AND FIRE-BREATHING STATUES. Just like before, be sure to swim along the bottom of the tunnel or one side to avoid being struck by the darts.
Copyright © 1998- - Stellalune ( ). All rights reserved. Feel free to copy or print this walkthrough for personal use. By all means, share it with friends, but please include this credit line so people can send me their feedback. No part of this walkthrough may be reproduced on another site without permission. Follow this link for details about this site's advertising and privacy policy.